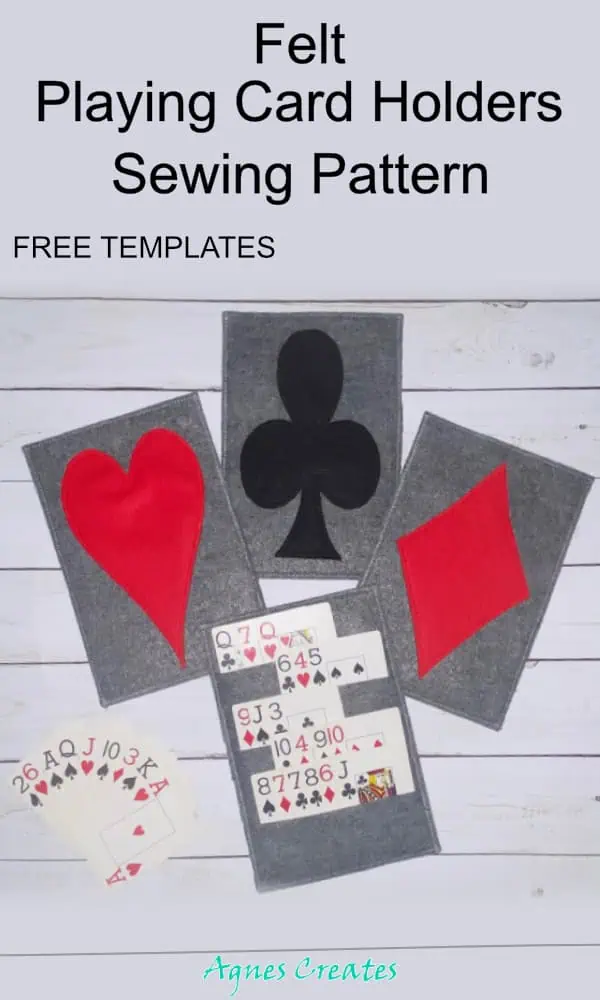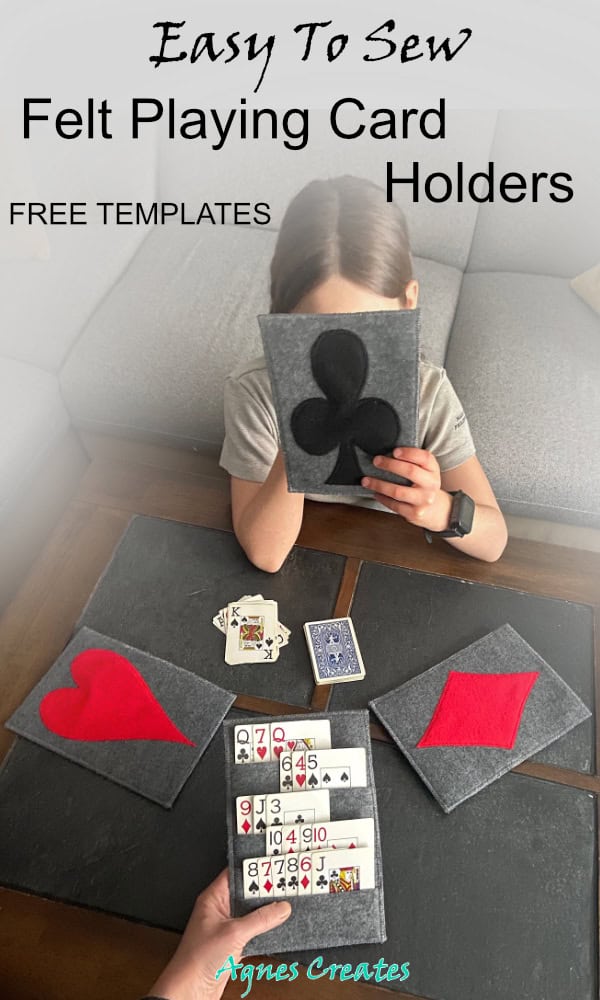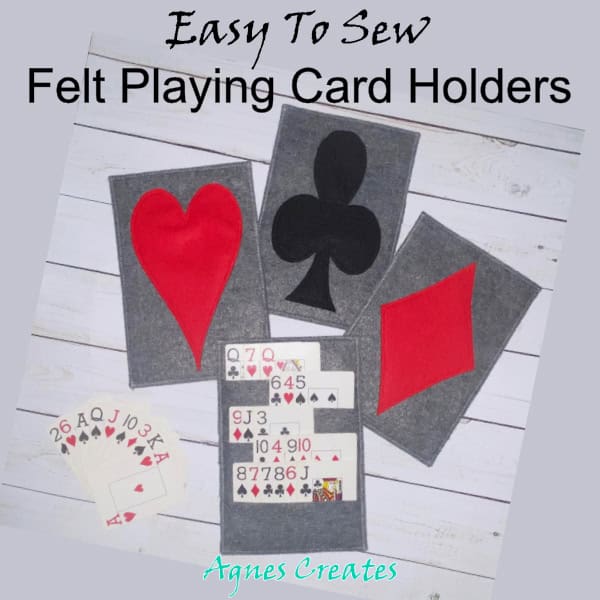
Make family game night fun with DIY playing card holders! My free playing card holder sewing pattern makes a perfect handmade felt gift idea!
Previously I designed and made circular playing card holders using felt. They worked perfectly for some card games. Lately, we’ve been playing Phase 10. During that game, you may end up holding plenty of cards and the circular playing card holders couldn’t fit that many of them. I designed a new DIY playing card holder sewing pattern to fit more cards.
This rectangular playing card holder can hold up to 30 playing cards. It is very easy to make because felt is used as a material. I advise using premium felt for the bases, to make the playing card holders sturdy. Use a rotary cutter to cut up the felt sheets, nice and straight. To nicely cut the playing card symbols, use sharp, detailed scissors. This post contains some affiliate links for your convenience (which means if you make a purchase after clicking a link I will earn a small commission but it won’t cost you a penny more)! I always recommend products I tried, use, and love.
What you need for DIY playing card holder sewing pattern
-
4 – 9×12″ or 2 – 12×18″ premium felt
-
3 – 9×12″ classic/regular felt sheets for the pockets/strips
-
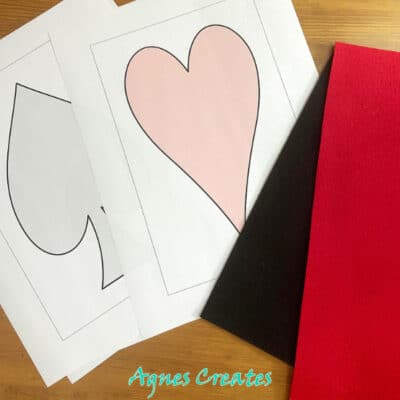
1 – 9×12″ classic/regular felt in black and red
-
cutting mat
-
rotary cutter
-
detailed scissors
-
pins
-
fabric pencil
-
sewing machine
-
sewing machine needles #14
-
thread in the chosen felt, matching colors
-
free playing card symbols template (PDF and SVG) is ready to download at my resource library,– to get the password, fill out the form at the bottom of this post.
YOU CAN GET THE AD-FREE, PDF PRINTABLE PATTERN OF THE FELT PLAYING CARD HOLDER AT MY SHOP! IT INCLUDES:
-
PLAYING CARD SYMBOLS TEMPLATE,
-
TEMPLATE OF THE RECTANGLE USED IN MAKING THE HOLDERS,
-
DETAILED STEP-BY-STEP SEWING TUTORIAL WITH PICTURES
Follow my step-by-step DIY playing card holder sewing pattern and tutorial
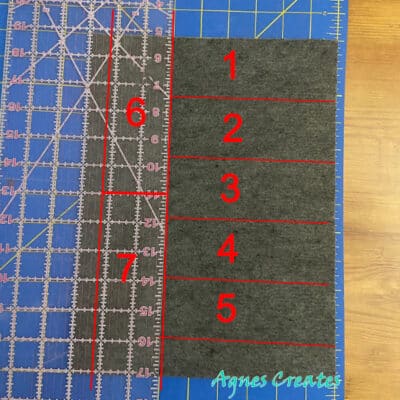
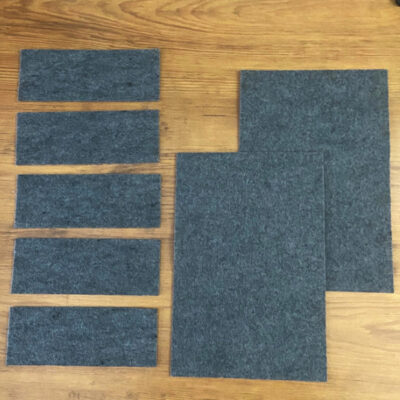
Step 1. Gather all materials. First, cut the rectangular bases and strips for the playing card holders. Use premium felt sheets for the playing card holder bases. If you are using felt sheets in a 9×12″size, then cut them in half. You need eight 9×6″ rectangles to make four holders.
Cut seven strips out of one regular/classic felt sheet 9×12″. Follow the template below on how to efficiently cut the strips out of one felt sheet. You need five 6×2.25″ strips for each holder.
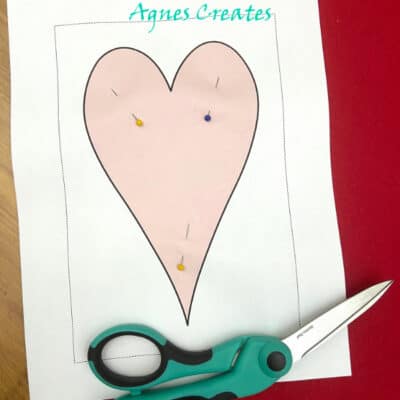
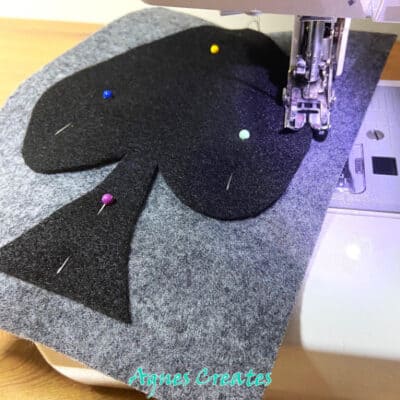
Next, cut the playing card holder symbols out of red and black felt. Pin the printed templates to the felt sheets and cut them out using sharp, detailed scissors.
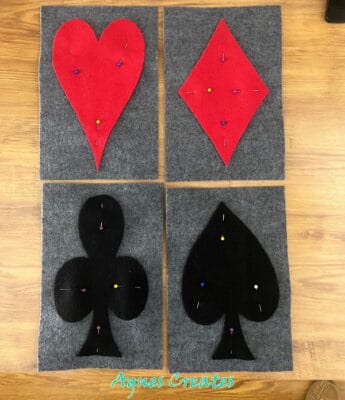
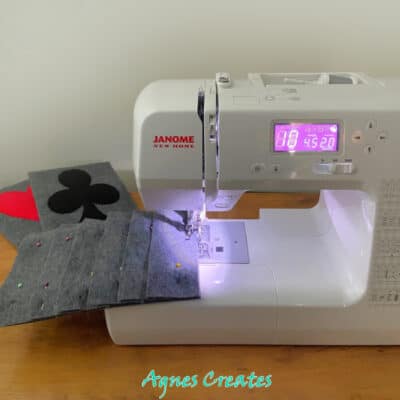
Step 2. Pin the symbols to the four rectangular bases. Use a zig-zag stitch (4 x 1.5) and matching thread to applique them on the four bases.
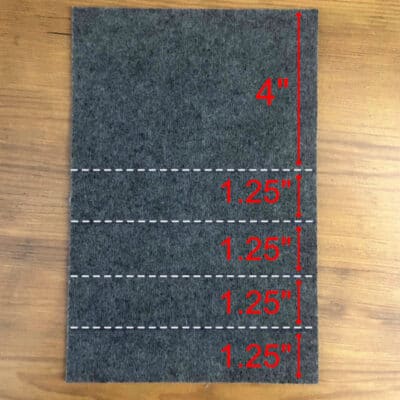
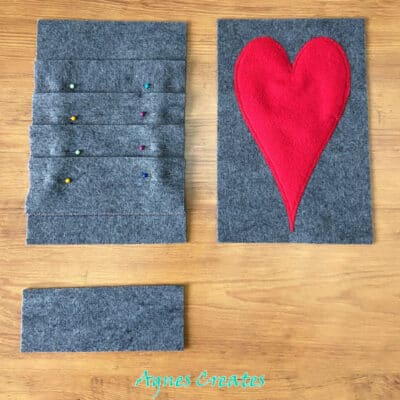
Using a fabric pencil, mark lines where you’ll stitch on the pocket strips. Stitch first pocket strip 4″ from the top. Next three pocket strips, stitch 1.25″ apart. Do not stitch the last bottom strip yet. To stitch the pocket strips to the base rectangle, use a zig-zag stitch (4 x 1.5).
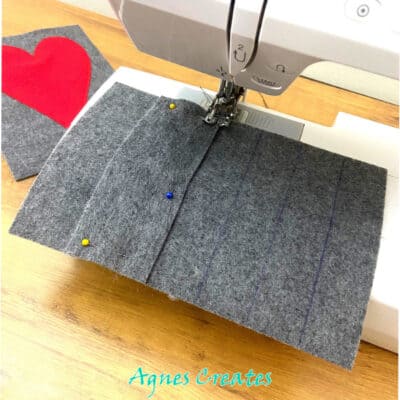
Step 3. Now, you have a base with pockets, a base with playing card symbols and one pocket strip for each holder. Pin the two bases and bottom pocket strip together. Use a zig-zag stitch (4.5 x 2.0) to stitch the pieces together. To stitch through three layers of felt, use a #14 sewing machine needle. Also, set up your machine to a bigger zig-zag stitch.
How do you like my new playing card holder sewing pattern? I hope you will find the DIY felt playing card holders useful, for your next family game night. Share your playing card holders on my Facebook page!

You can make an even bigger felt playing card holder to hold more cards. It would be square one. You can cut the premium felt sheets to 9×9″ size. So, the pocket strips would be size 2.25×9″. (TUTORIAL COMMING SOON!)
Happy Sewing!
Love,
Agnes

Want To Remember This? Save The DIY Playing Card Holder Sewing Pattern To Your Favorite Pinterest Board!