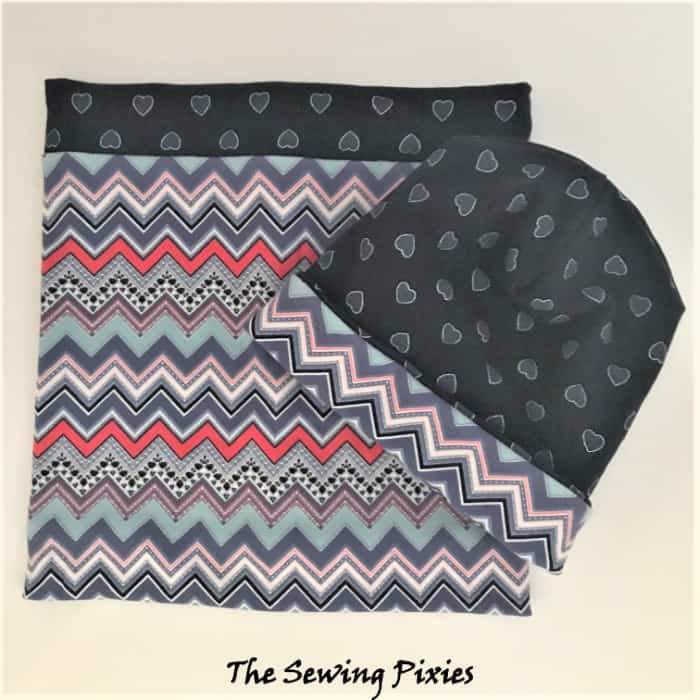
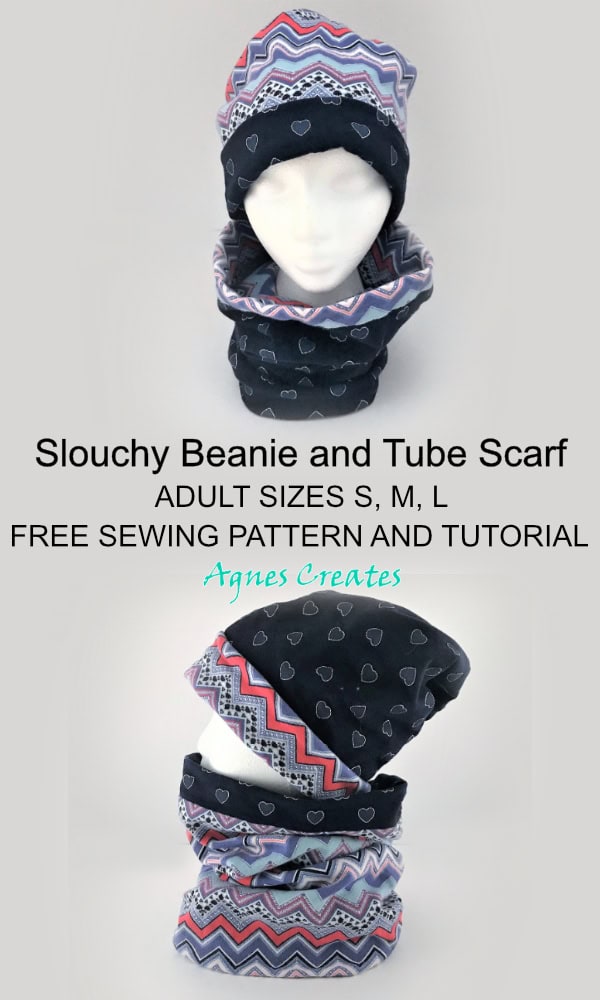
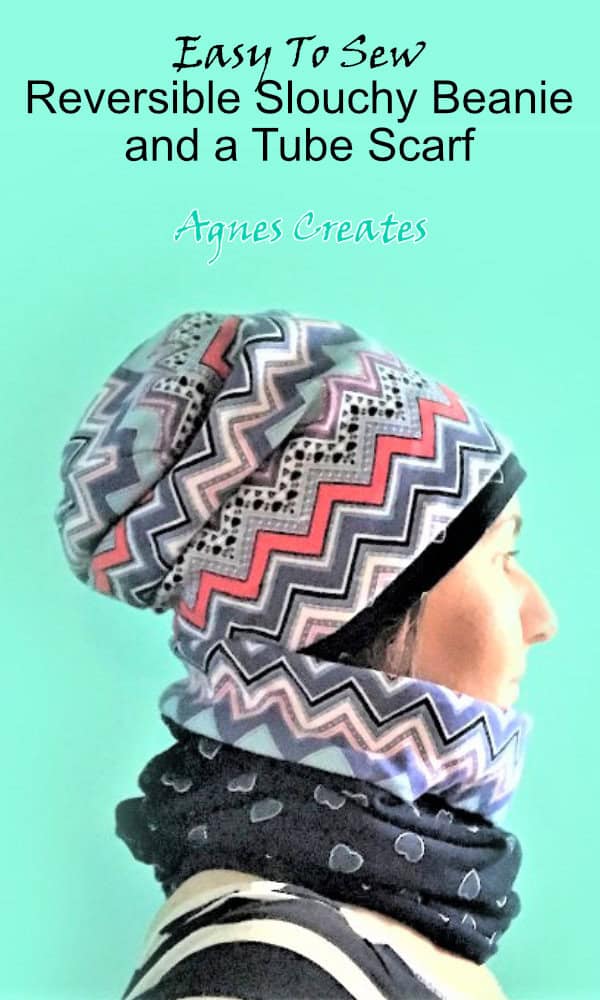
Learn how to sew a slouchy beanie and tube scarf in adult size for crisp fall weather! Follow my slouchy beanie free sewing pattern and tube scarf sewing tutorial!
This easy-to-sew slouchy beanie and tube scarf is perfect on cool and windy fall days. I like the slouchy part of the hat because I can put it up and tuck my long hair inside. And what is nice about it, that my hair is not getting all flat out and squished so much 🙂
My slouchy beanie and tube scarf pattern is in adult sizes: S, M, and L. If you need a beanie hat sewing pattern for children, check out my post on how to sew a reversible beanie and a tube scarf. It is a perfect idea for mommy and me matching outfits! You can get the free PDF template for the child-size reversible beanie and tube scarf from my library. This post contains some affiliate links for your convenience (which means if you make a purchase after clicking a link, I will earn a small commission, but it won’t cost you a penny more)!
What you need for a slouchy beanie and tube scarf sewing pattern
a slouchy beanie PDF printable template is available at my resource library – to get the password, fill out the form at the bottom of this post
You Can Get The Slouchy Beanie Sewing Pattern and Tube Scarf Tutorial PDF Printable Pattern At My Shop.
The pattern sizes are only approximate; you may need to use the pattern sizes according to how stretchy the fabric you are using is and your head circumference.
Follow my slouchy beanie and tube scarf tutorial
When sewing with knits, use ballpoint needles and pins. Regular needles and pins may damage knit fabrics. Set up your sewing machine to use a knit stitch. Most machines should have that option.
For more information on how to sew with knit fabrics, go to one of my previous posts. I wrote about all the tricks and tips for sewing with knits.
Remember, always wash and dry fabric ahead of time to pre-shrink it.
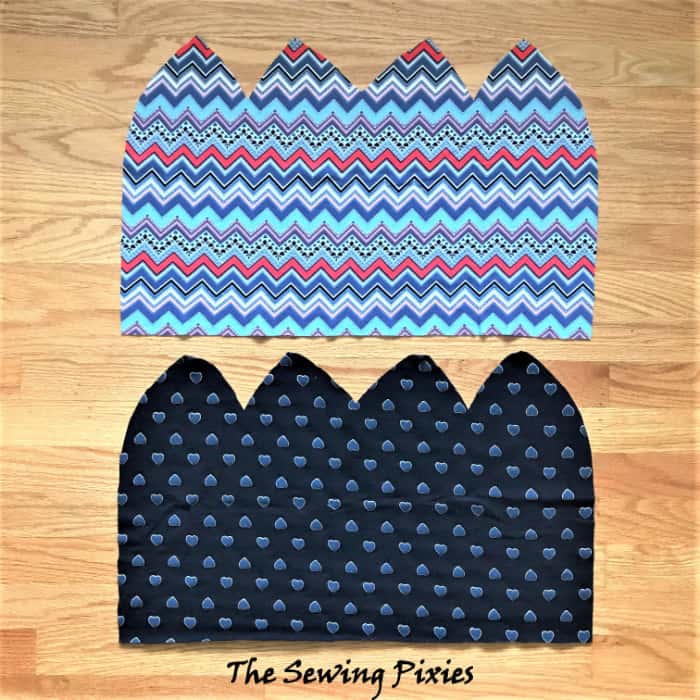
Cut one hat piece out of each fabric on fold
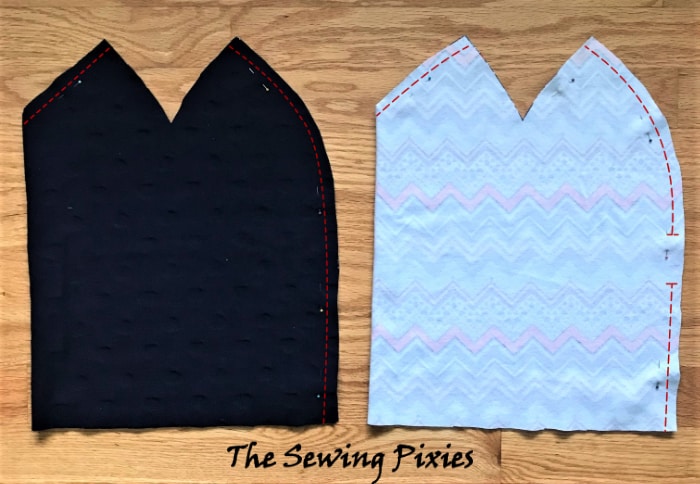
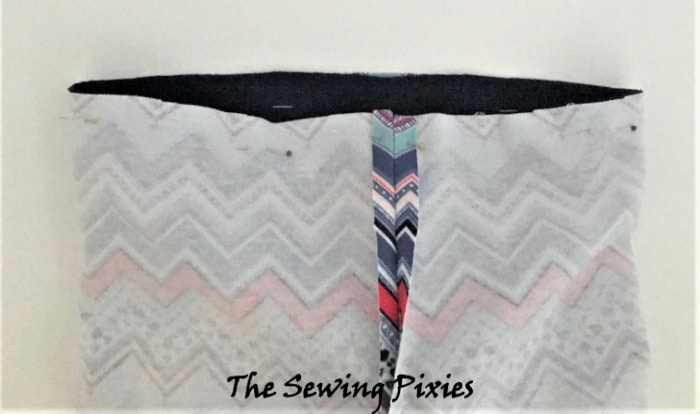
Fold the pieces right side together and stitch the center back, leaving a 3” opening just in one piece. Stitch center front along upper edge
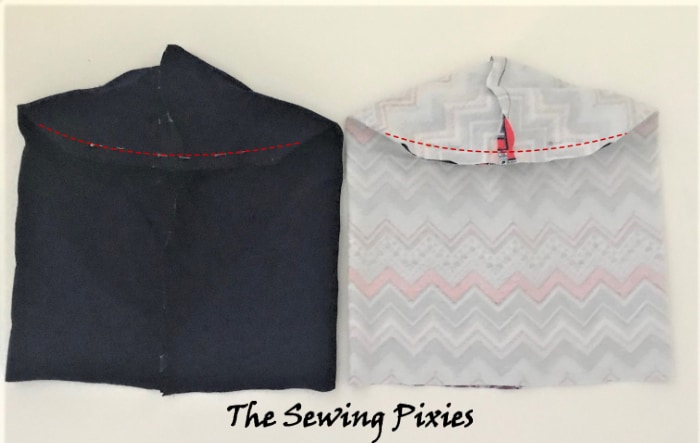
Stitch the remaining upper edge together, matching centers.
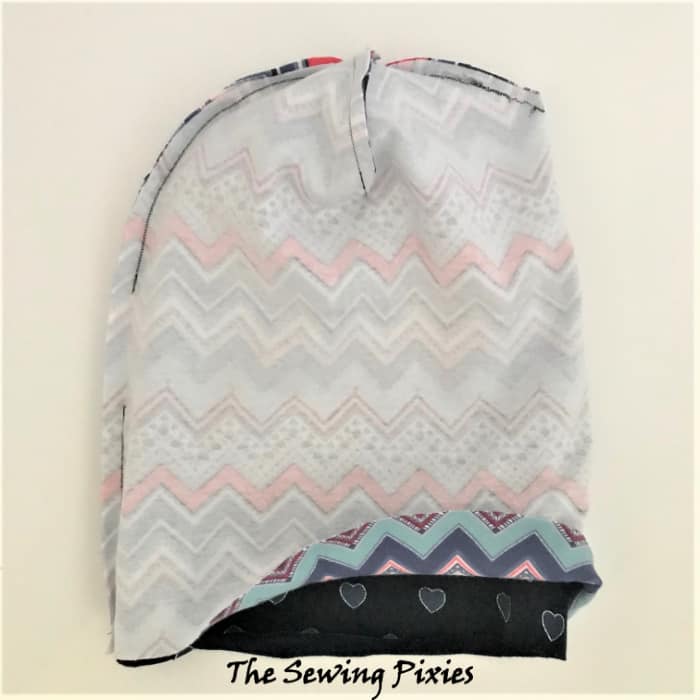
Turn one of the pieces right side out and put it inside the other piece.
Align the seam and stitch the lower edges together, all the way around.
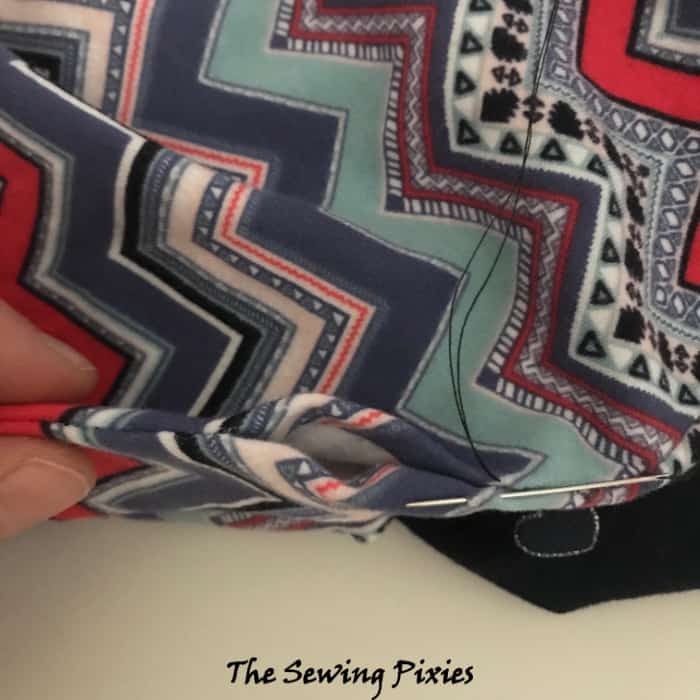
Turn right side out through the opening and hand stitch the opening closed.
Tuck one side of the hat in and nicely arrange the edge, that the other fabric print is visible.
Ta Da! You just learned how to sew a slouchy beanie! Wasn’t that easy? Because the slouchy beanie is reversible, you can wear it in a few different ways. If you don’t like slouchy, you can fold out the bottom and have a nicely fitted beanie.
Now, the tube scarf sewing tutorial is included in the slouchy beanie printable pattern that you can grab at my store. I’ll also share the tube scarf sewing tutorial below.
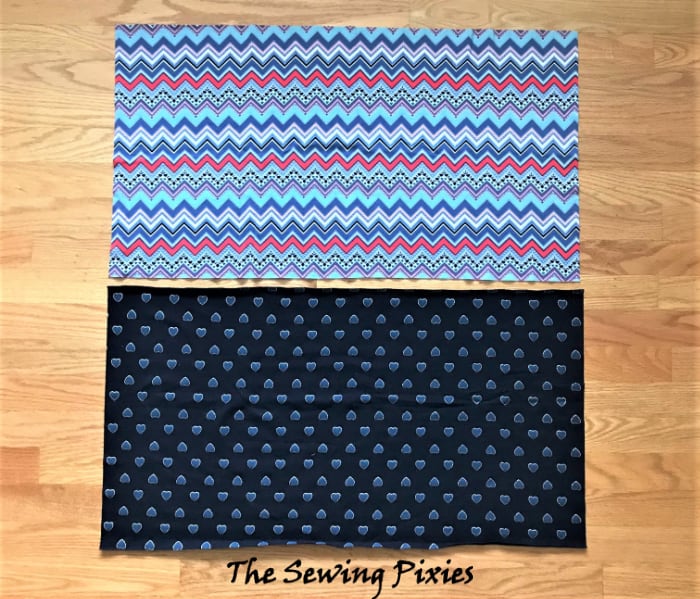
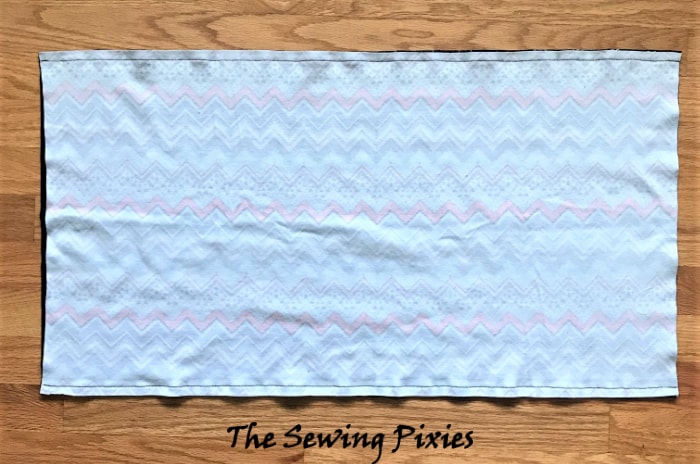
Cut two rectangles 26″ wide x 14-16″ tall, out of each fabric.
Align and pin the two pieces right sides together and stitch the longer edges.
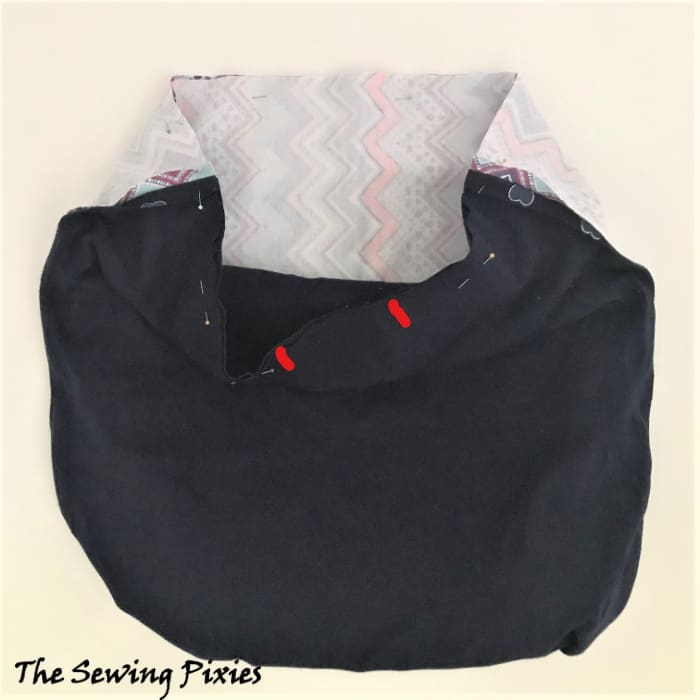
Turn that sewn-up piece right side out and take one edge and bring it up to the other edge. Align the seams. Pin the edges together with the right sides of the fabric facing each other. Sew the edges together, leaving a 3” opening. Reach into the opening and pull the fabric right side out.
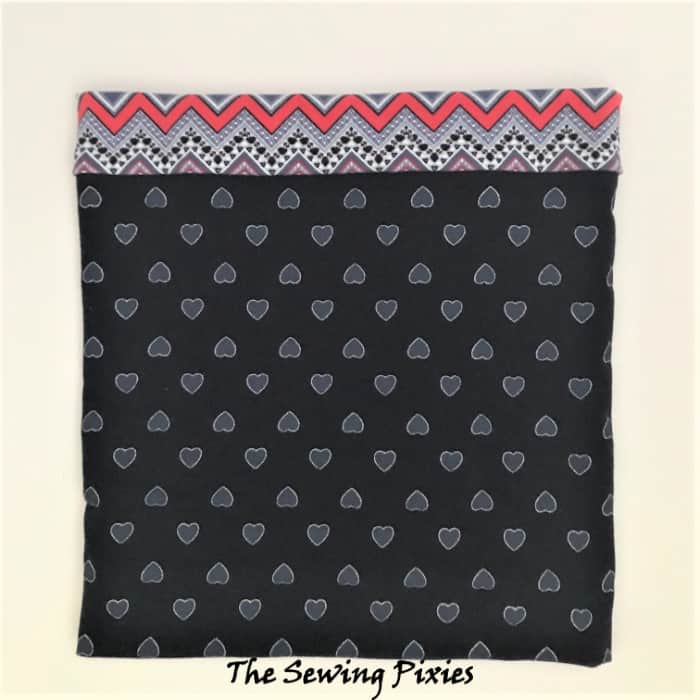
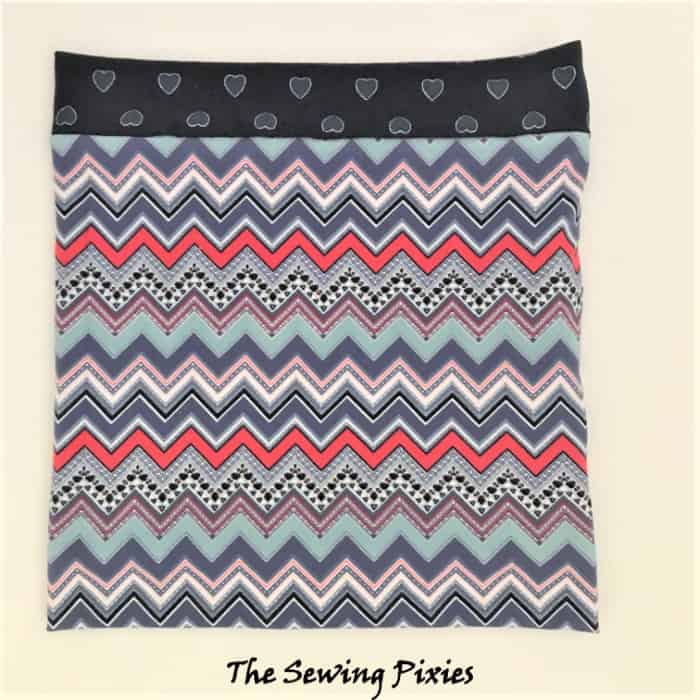
Hand stitch the opening closed, and your scarf is finished! And the fun part is that you can wear it two ways!
I hope you enjoyed learning how to sew a slouchy beanie and tube scarf. Please feel free to share a picture of your beanie and scarf on my Facebook page.