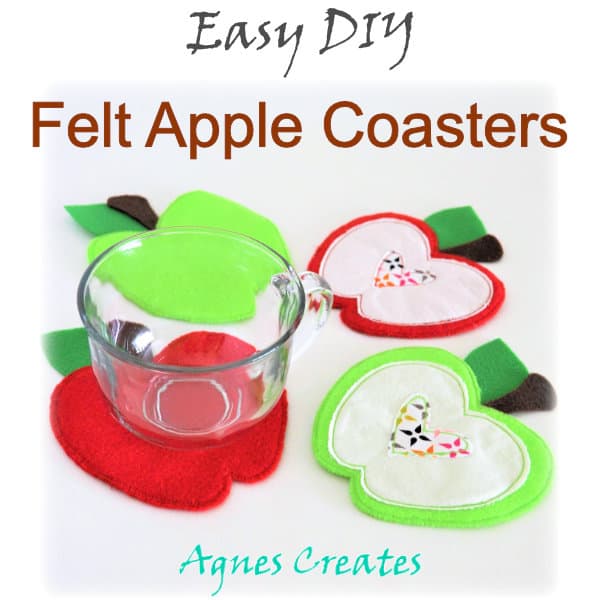
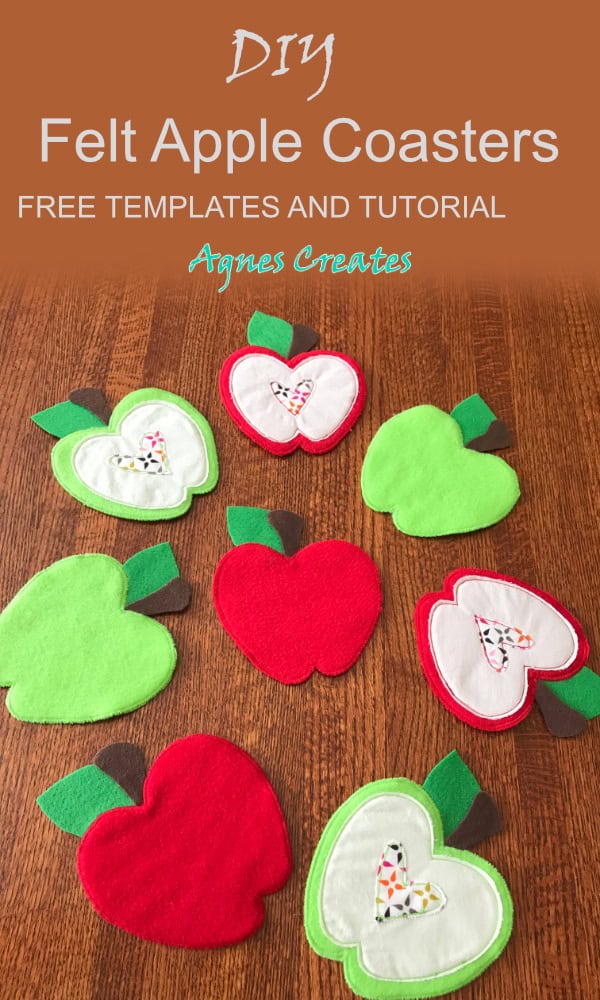
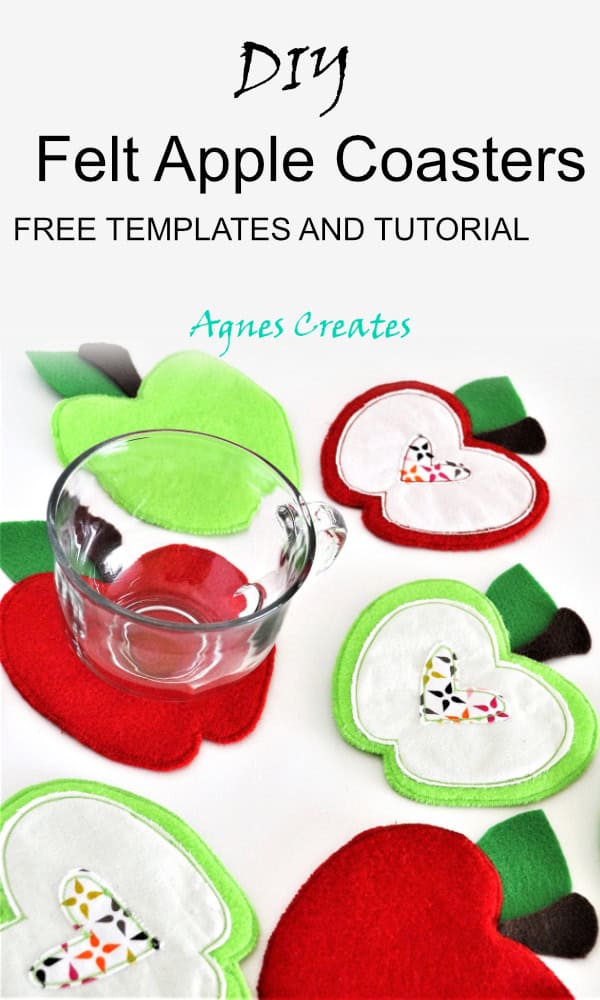
Learn how to sew felt apple coasters to decorate and protect your table! Follow my tutorial on how to make these fun felt coasters, that may also work as a handmade gift!
The school year came to an end, again! It seems that every year the time goes by even faster. My son and I were searching for a DIY project as a gift idea for teachers and we came across felt apple coasters at the Purl Soho site. We liked the coasters but I had a little different idea of how to make them. This post contains some affiliate links for your convenience (which means if you make a purchase after clicking a link I will earn a small commission but it won’t cost you a penny more)!
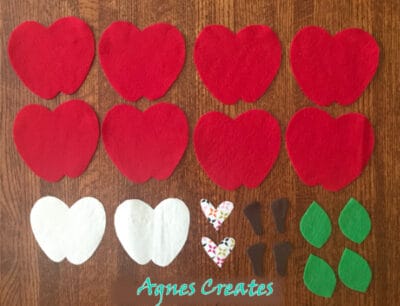
I had Emma and Mila Geo in Multi fabric in my home stash, which I bought some time ago at Walmart. Also, the fabric pattern looks like an apple core inside, and it would be perfect to use in our felt coaster project. I thought cutting hearts out of that fabric and sewing them on as an apple core would be a great idea. You can use a different pattern fabric for the hearts. I think a polka dot pattern fabric would work as well.
I am happy to share how to sew these fun felt apple coasters! They are very easy DIY project.
I also found in my stash a red felt that I bought by the yard at Joann Fabrics. I cut all the fabrics I needed for this project into 12”x 12” squares and I used a Cricut Maker to cut out all the pieces. If you have a Cricut Maker machine that is great! It saves you a lot of time, especially if you are making items in bulk. You set it up, and the machine is cutting the fabric, while you are doing something else.
free apple coaster template is ready to download at my resource library– to get the password, fill out the form at the bottom of this post.
Are you ready to learn how to sew felt apple coasters?
Iron on the interfacing on the back of the Emma and Mila and muslin fabric. Cut out all the apple pieces.
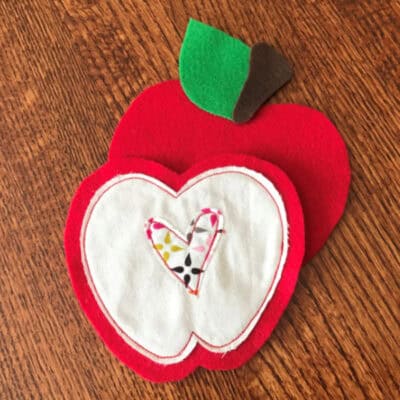
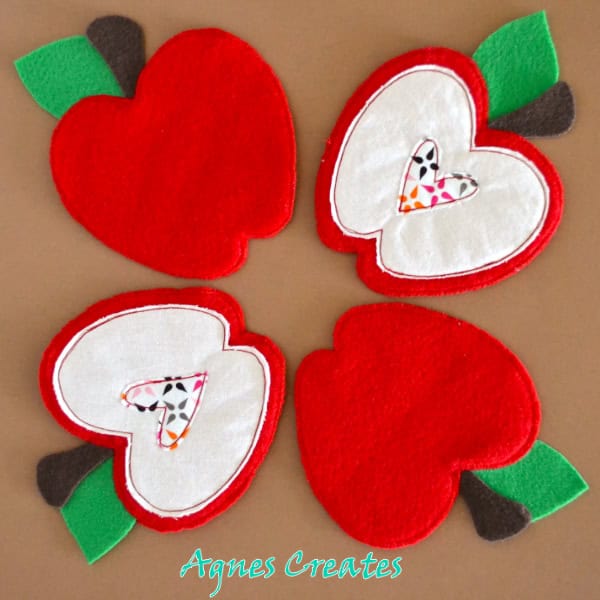
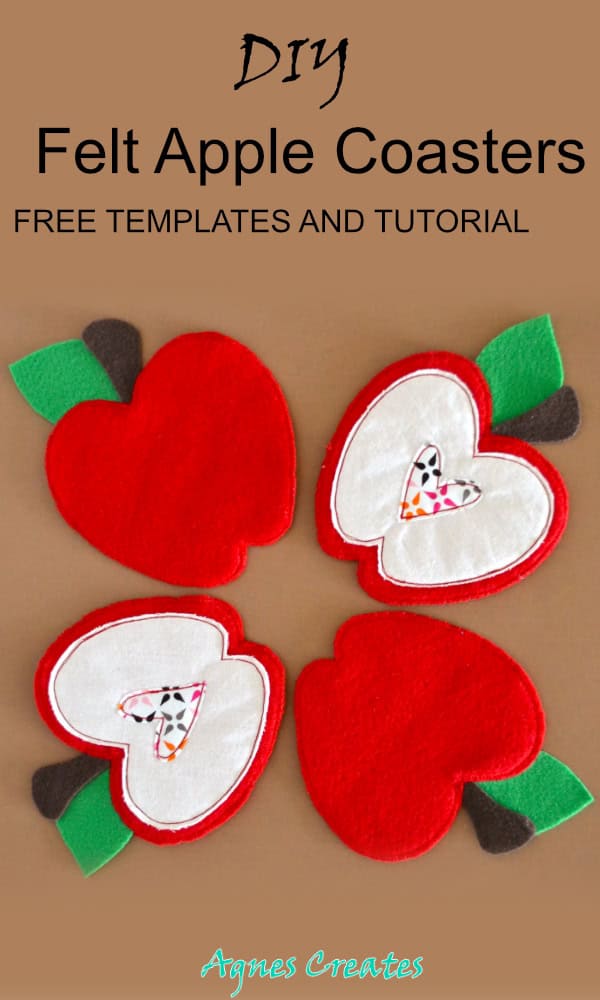
First, I’ll show you how to make sliced apple coasters
Using a straight stitch on the sewing machine, stitch the heart to the muslin fabric and then, stitch the muslin to one felt piece. Also, you can run the stitch twice to give the costers a bolder look. Arrange the leaf and stem between the piece you just made and another felt piece. Use a zig-zag stitch to stitch the pieces all around.
Now, make a basic felt apple coasters
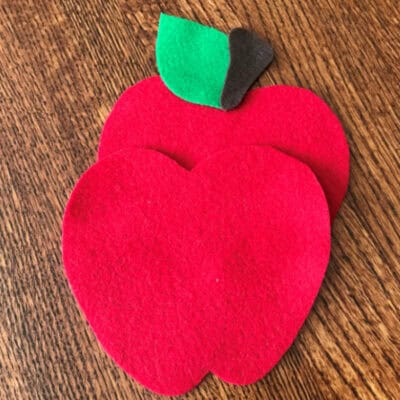
Put together two plain felt pieces, with the leaf and stem pieces in between. Zig-zag stitch all around and Ta-Da! You just made an apple coaster set!
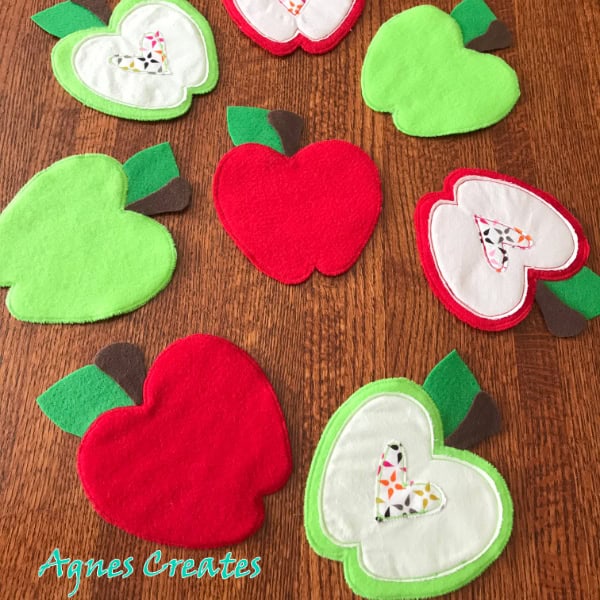
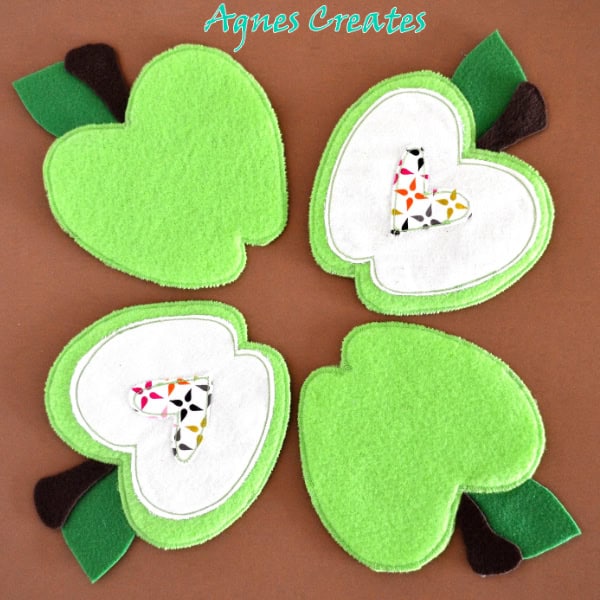
I also used neon lime green felt to make green apple coasters.
The felt apple coaster set makes a perfect handmade gift for teachers. The red apple coasters can be used as a Valentine’s Day decor to accent your table.
I hope you had fun sewing felt apple coasters and will enjoy having them on your table. You can share a picture of your felt apple coasters on my Facebook page.
Your apple coasters are adorable! The muslin “flesh” applique technique is called frayed edge applique. For anyone that doesn’t like that look (I have a daughter that is OCD and can’t stand little stray threads) you can add a couple of steps and then the muslin won’t fray. Before you cut out the “flesh” you can iron the back of the muslin onto some mediumweight interfacing (Pellon 809 Decor-Bond is my favorite, but any visible interfacing should work). Immediately after you cut out the “flesh” you can carefully apply Fray Check to the edges. Allow it to dry completely before handling or sewing it down. After the edges are dry then you can apply the “seeds” and keep going with your instructions.
Also, after they’ve been through the washing machine felt items can wrinkle or wad themselves up so I allow felt to air dry most of the way, place the felt between 2 layers of printer paper or inside a paper bag, and then use a really warm iron to get them flat and spread back out again. If you use the iron directly on the felt, it can melt onto the iron and make quite a mess. I also discovered the hard way that felt can bleed and stain pressing cloths and ironing board covers too so that’s why I use paper instead of fabric to press the felt.
Gwendolyn, there is just one password and you should have received it in an email after you signed up to my newsletter. Please let me know if you got it.
After I read your comment I made an experiment and machine washed the apple coasters. They still look pretty good, just the flash and heart fabric got some fringe on the edges. I think that makes them look even better 🙂

Your apple coasters are adorable! The muslin “flesh” applique technique is called frayed edge applique. For anyone that doesn’t like that look (I have a daughter that is OCD and can’t stand little stray threads) you can add a couple of steps and then the muslin won’t fray. Before you cut out the “flesh” you can iron the back of the muslin onto some mediumweight interfacing (Pellon 809 Decor-Bond is my favorite, but any visible interfacing should work). Immediately after you cut out the “flesh” you can carefully apply Fray Check to the edges. Allow it to dry completely before handling or sewing it down. After the edges are dry then you can apply the “seeds” and keep going with your instructions.
Also, after they’ve been through the washing machine felt items can wrinkle or wad themselves up so I allow felt to air dry most of the way, place the felt between 2 layers of printer paper or inside a paper bag, and then use a really warm iron to get them flat and spread back out again. If you use the iron directly on the felt, it can melt onto the iron and make quite a mess. I also discovered the hard way that felt can bleed and stain pressing cloths and ironing board covers too so that’s why I use paper instead of fabric to press the felt.
Thank you for all the tips Merianne!
I am not able to get password. I have tried several times. Is there a different password for each project?
Thank
Gwen
Gwendolyn, there is just one password and you should have received it in an email after you signed up to my newsletter. Please let me know if you got it.
If these are made of felt are they washable and will they not bleed? sewbeeit42@yahoo.com
After I read your comment I made an experiment and machine washed the apple coasters. They still look pretty good, just the flash and heart fabric got some fringe on the edges. I think that makes them look even better 🙂