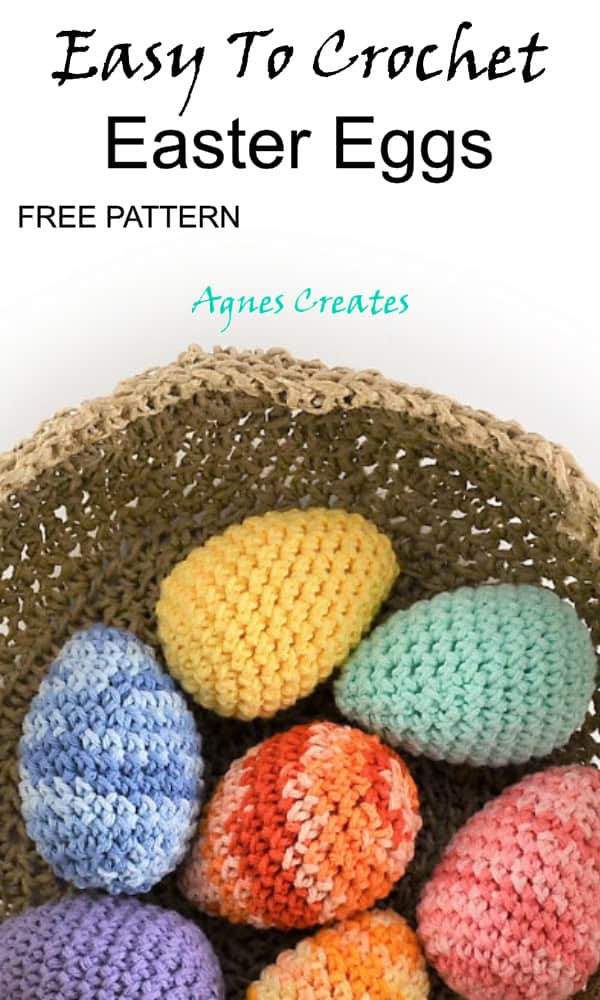
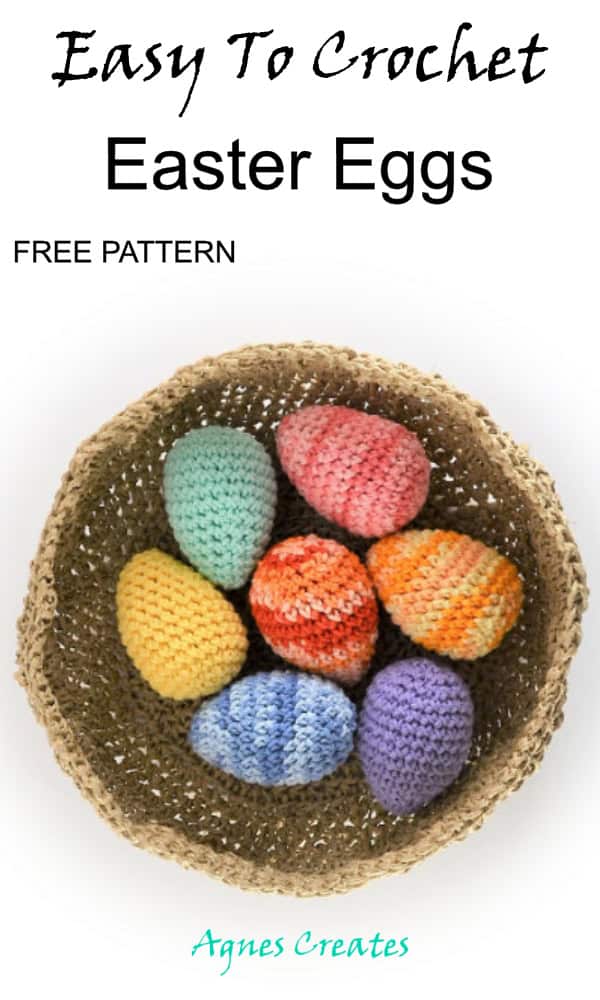
Follow my free easter eggs crochet pattern and learn how to crochet a perfectly shaped egg! It’s a beautiful crochet Easter décor idea!
I found a bunch of cotton crochet yarns in my home stash and wanted to crochet Easter décor. So, I designed an egg crochet pattern to use the cotton yarn.
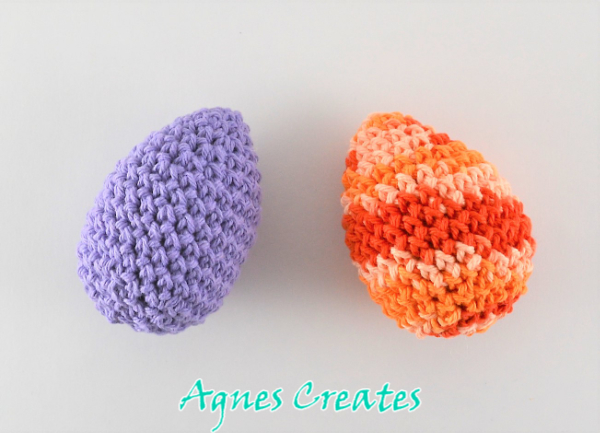
My easter eggs crochet pattern shows how to crochet an egg from top to bottom and from bottom to top. I think it doesn’t make a difference how the egg looks. But, crocheting an egg from top to bottom is easier. But, that’s just my opinion.
The picture below shows the purple egg crocheted from top to bottom and the orange from bottom to top. This post contains some affiliate links for your convenience (which means if you make a purchase after clicking a link I will earn a small commission but it won’t cost you a penny more)!
Check my post on a nesting chicks crochet free pattern and find a free baby chick crochet pattern and nest crochet pattern. It will give you another crochet Easter decor idea.
What you need for the easter eggs crochet pattern
-
yarn #4 – I used Sugar’N Cream yarn in different colors
-
crochet hook H 5.0mm – Clover brand is my favorite
-
yarn needle
-
fiberfill
YOU CAN GET AN AD-FREE PRINTABLE PDF OF THE EASTER EGGS CROCHET PATTERN AT MY SHOP.
ABBREVIATIONS:
ch – chain
sc – single crochet
st(s) – stitch(es)
sc2tog – single crochet two together
Work in a continuous spiral and use a stitch marker to know where is the end of a round.
Also, the eggs are 2.25″ wide and 3.25″ long.
Learn how to crochet an egg from the bottom to the top.
1. Mage a magic ring and work 6sc into the ring
2. 2sc in every sc around (12)
3. (2sc in next sc, sc in next sc) x6 (18)
4. (2sc in next sc, sc in next 2sc) x6 (24)
5-9. sc in every sc around (24)
10. (sc2tog, sc in next 6sc) x3 (21)
11. (sc2tog, sc in next 5sc) x3 (18) start filling up the inside with fiberfill
12. (sc2tog, sc in next 4sc) x3 (15)
13. (sc2tog, sc in next 3sc) x3 (12) stuff more fiberfill if needed
14. (sc2tog, sc in next 2sc) x3 (9)
15. (sc2tog, sc in next sc) x3 (6)
Cut the yarn leaving a long tail and tread on the yarn needle. Stitch the opening close and finish. Scroll to the bottom to learn how to nicely stitch and finish opening in round crochet projects.
Now, how to crochet an egg from the top to the bottom.
1. Mage a magic ring and work 6sc into the ring
2. (2sc in next sc, sc in next sc) x3 (9)
3. (2sc in next sc, sc in next 2sc) x3 (12)
4. (2sc in next sc, sc in next 3sc) x3 (15)
5. (2sc in next sc, sc in next 4sc) x3 (18)
6. (2sc in next sc, sc in next 5sc) x3 (21)
7. (2sc in next sc, sc in next 6sc) x3 (24)
8-12. sc in every sc around (24)
13. (sc2tog, sc in next 2sc) x6 (18) stuff the inside with fiberfill
14. (sc2tog, sc in next sc) x6 (12)
15. sc2tog around (6)
Cut the yarn leaving a long tail and tread on the yarn needle. Stitch the opening close and finish.
How to stitch the opening close and finish in round crochet projects.
Step 1. Using the treaded yarn needle, grab the outer loops of each stitch around.

Step 2. Pull the yarn tail tight to close the hole. Run the needle through the center of the top and to the side and snip the yarn.
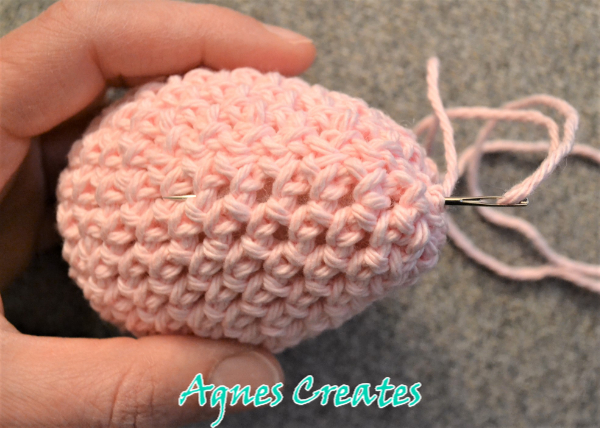
And, that’s how the stitched and finished top of the egg looks like.
I hope you found my free easter eggs crochet pattern useful and easy to follow. You are welcome to share a picture of your crochet eggs on my Facebook page. I’m curious what colors of yarn you’ll use.
Happy Crocheting!
Love,
Agnes
Want To Remember This? Save The Free Easter Eggs Crochet Pattern To Your Favorite Pinterest Board!