
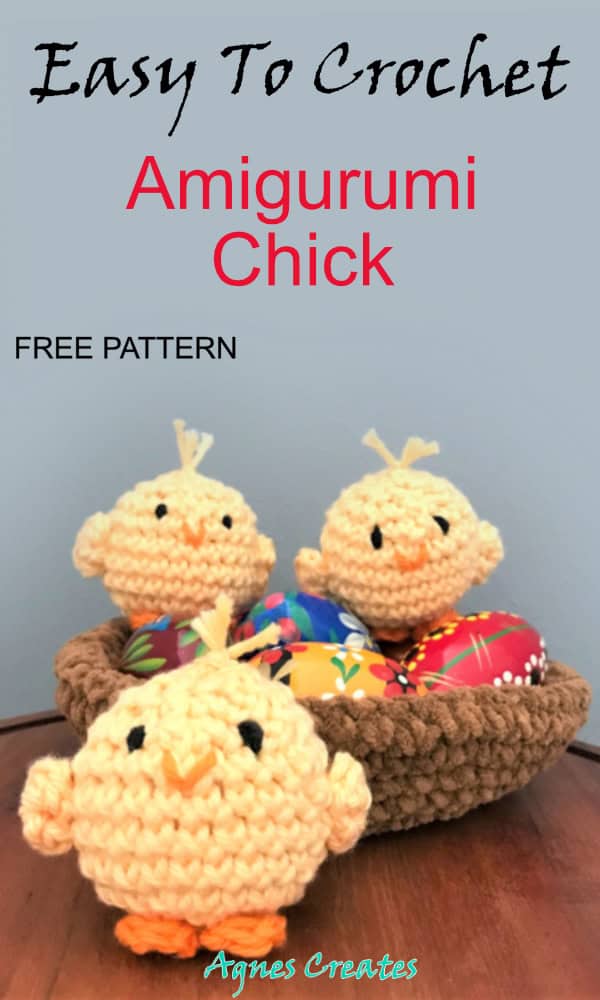
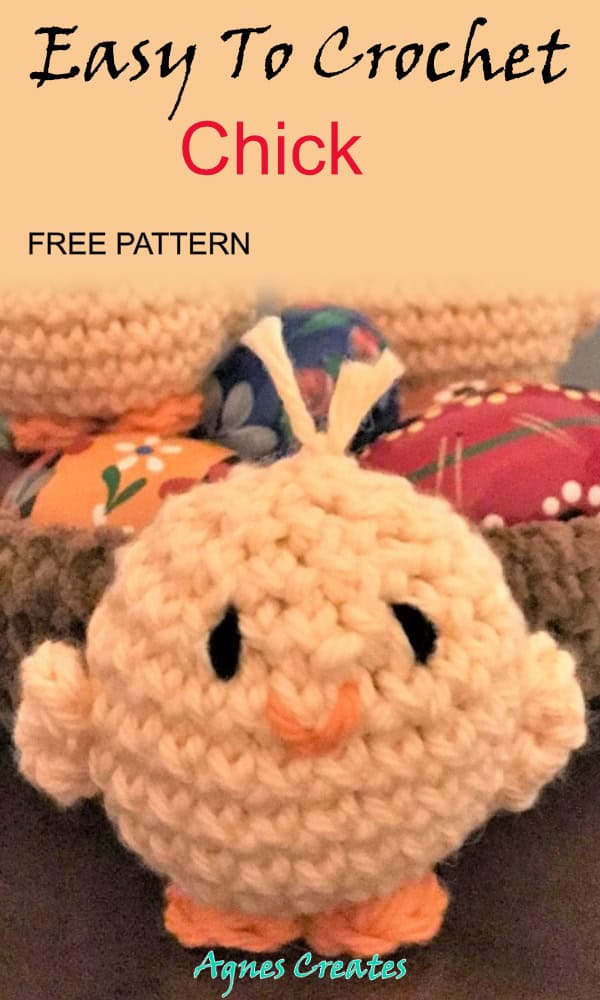
Decorate your home with these easy-to-crochet nesting chicks! Follow my chick crochet pattern and nest crochet pattern as well!
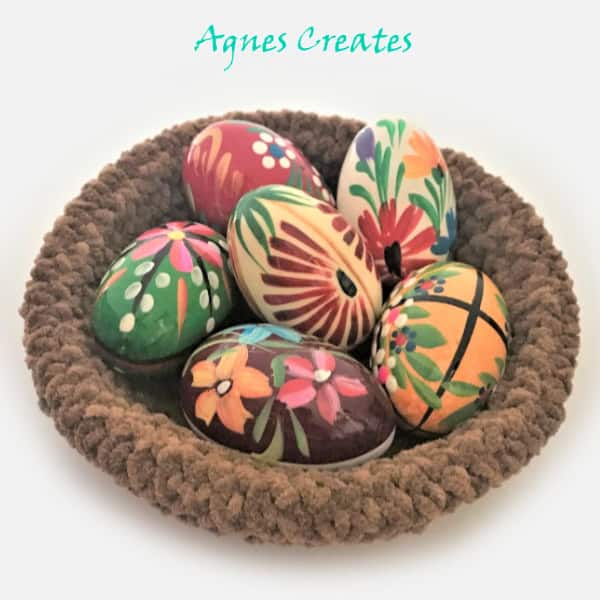
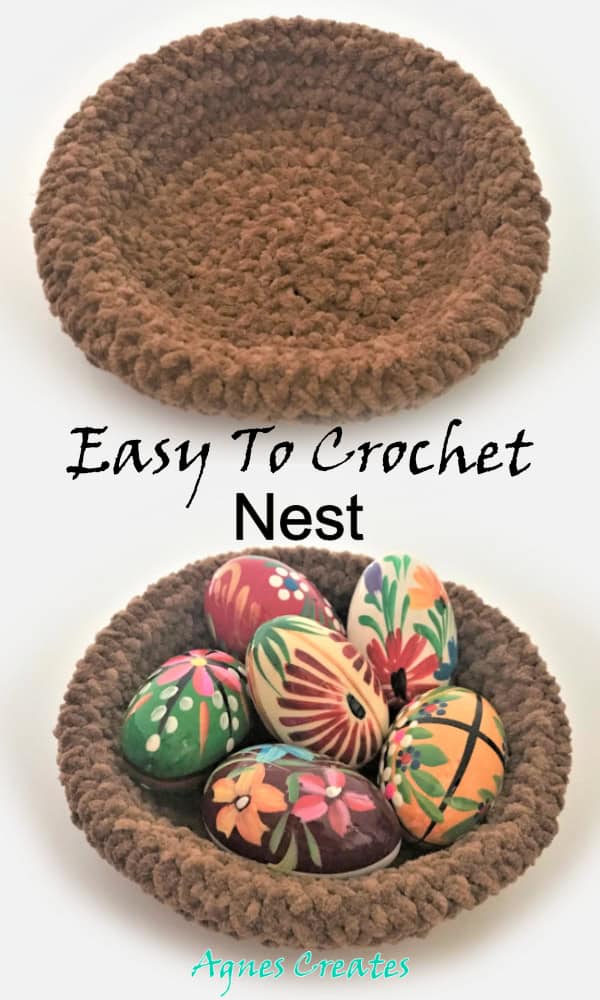
Easter is right around the corner and it’s nice to have a little décor that signifies its coming. I like the Polish Pysanky so I made a nest for them. The nest is incomplete without the chicks, so I created a nesting chicks crochet pattern. This post contains some affiliate links for your convenience (which means if you make a purchase after clicking a link I will earn a small commission but it won’t cost you a penny more)!
What you need for nesting chicks crochet pattern
-
yellow, black, and orange yarn – I like 24/7 cotton Lion Brand
-
G 4mm crochet hook – Clover brand is my favorite
-
brown bulky yarn for the nest
-
J 6mm crochet hook
-
yarn hand needle
-
hot glue gun
-
fiberfill
ABBREVIATIONS:
ch – chain
dc – double crochet
hdc – half double crochet
sc – single crochet
st(s) – stitch(es)
sl st – slip stitch
sc2tog – single crochet two together
YOU CAN GET AN AD-FREE PRINTABLE PDF OF THE NESTING CHICKS CROCHET PATTERN AT MY SHOP.
The ad-free pattern includes a chick crochet pattern and a nest crochet pattern.
Let’s follow my nesting chicks crochet pattern!
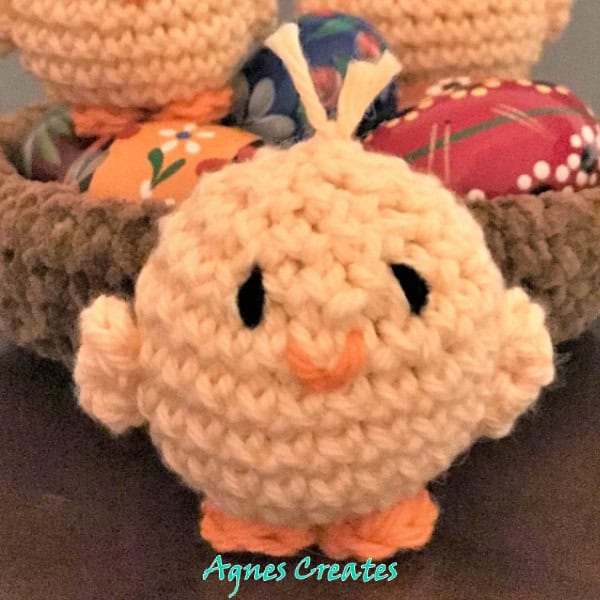
First, I’ll show you how to crochet the body for a chick. It measures around 2.25″ in diameter.
1: Start with yellow yarn and a magic circle. Work 6sc into the center of the circle. Join with a slip stitch. (6 sc)
IMPORTANT! Join with sl st after every round and Ch 1 to start the next round.
2: 2sc in each sc around (12sc)
3: (sc in next sc, 2sc in next sc) around (18sc)
4: (sc in next 2 sc, 2sc in next sc) around (24sc)
5-8: sc in every sc around (24)
9: (sc in next 2 sc, sc2tog) around (18)
10: (sc in next sc, sc2tog) around (12)
11: sc2tog around (6)
Cut the yarn leaving a long tail, hand stitch the opening close, and snip the yarn to about ¼ “ long. Run the needle with yarn through the top of the body close to the sticking yarn and make a knot. Snip the yarn and that will make a nice chick fluff.
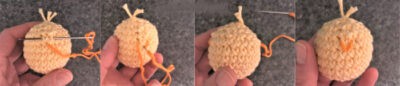
Next, let’s make a beak for the chick.
Thread yarn needle with orange yarn and run it through the body from the back to the front. Embroider V in the upper half of the body and run the needle to the back. Cut the yarn tails very close to the body so that the ends will slide inside the body.
Now, I’ll teach you how to make eyes for the crochet chick.
Using black yarn embroider the eyes in the same manner as the beak.
Next, crochet two wings.
1. Using yellow yarn ch 2.
2. Sc, hdc, 2dc, hdc, sc in second ch from the hook
3. Cut the yarn leaving a long tail and make a knot with the beginning yarn tail. And, then snip the yarn tails.
Now, crochet a tail for the chick.
1. Ch2 with yellow yarn
2. Sc, hdc, 4dc, hdc, sc in second ch from the hook
3. Finish off as with wings.
Finally, crochet two feet.
1. Using orange yarn ch 2
2. Sc, 2hdc, sc in second ch from the hook
3. Finish off.
Hot glue all the pieces together and make as many chicks as you like.
Now, let’s learn how to crochet a nest!
And, the nest measures around 6.5″ in diameter.
1. Using brown bulky yarn start with a magic circle and work 8 sc into the circle. Join with a slip stitch. (8sc)
Join with sl st after every round and Ch 1 to start the next round.
2. 2sc in each sc around (16)
3. 2sc in next sc, sc in next sc around (24)
4. 2sc in next sc, sc in next 2 sc around (32)
5. 2sc in next sc, sc in next 3 sc around (40)
6. Sc in each sc around (40)
7. 2sc in next sc, sc in next 4 sc around (48)
8. Sc in each sc around (48)
9. 2sc in next sc, sc in next 5 sc around (56)
10-15. Sc in each sc around – work those six rounds in rounds, place a marker at the end of round 9. That way you know what round you are at while working in rounds.
Now, go back to sl st after every round and ch 1 to start the next round.
16. Sc2tog, sc in next 5 sc around (48)
17. sc in each sc around (48)
18. sc2tog, sc in next 4 sc around (40)
19. sc in each sc around (40)
20. sc2tog, sc in next 3 sc around (32)
21. sc2tog, sc in next 2 sc around (24)
22. sc2tog, sc in next sc around (16)
23. sc2tog around (8)
Finish off and push one half into another.
I hope you enjoyed my nesting chicks crochet pattern. You can share a picture of your chicks on my Facebook page.
You may also like:
-
eggs crochet pattern free, where you’ll learn how to crochet a perfectly shaped egg,
-
hemp nest crochet free pattern for keeping all the eggs in,
-
chicken crochet pattern and
-
egg chick crochet free pattern
All of the above free crochet patterns make fun Easter crochet decor ideas.
Happy Crocheting!
Love,
Agnes
Want To Remember This? Save Nesting Chicks Crochet Pattern To Your Favorite Pinterest Board!
Thank you