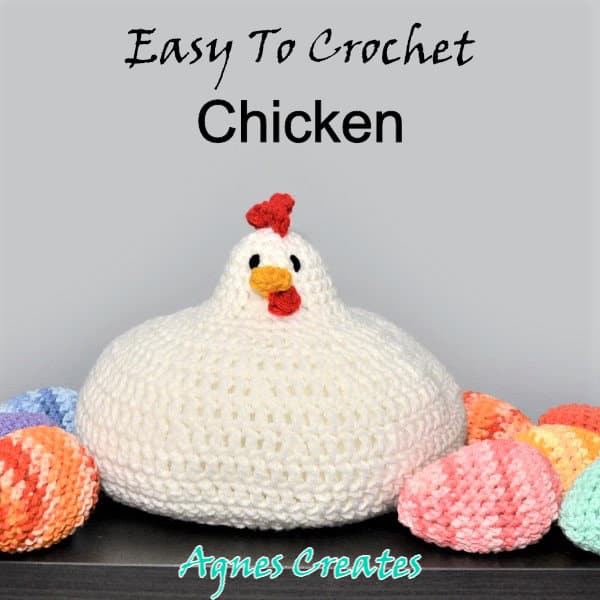
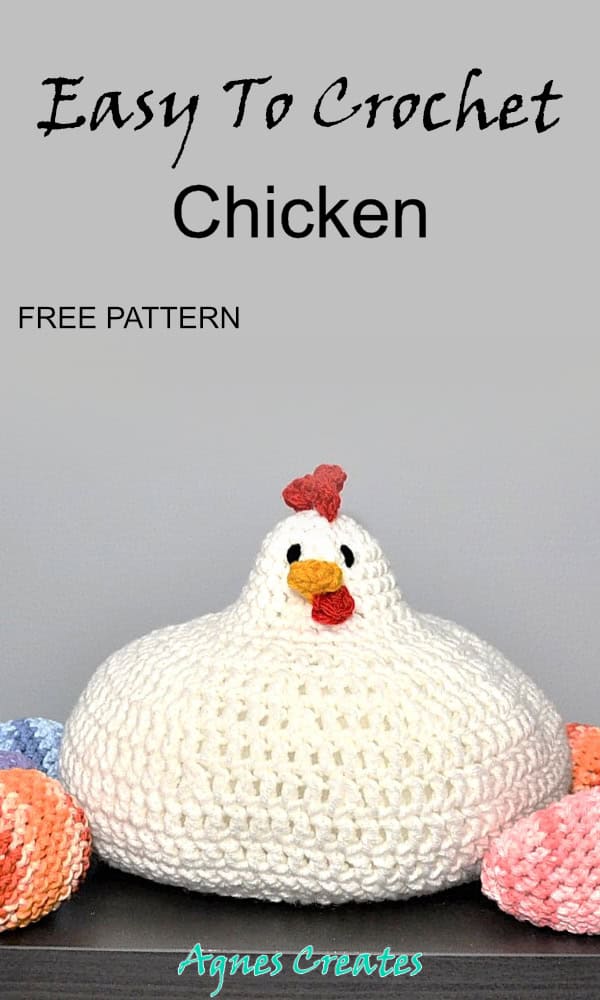
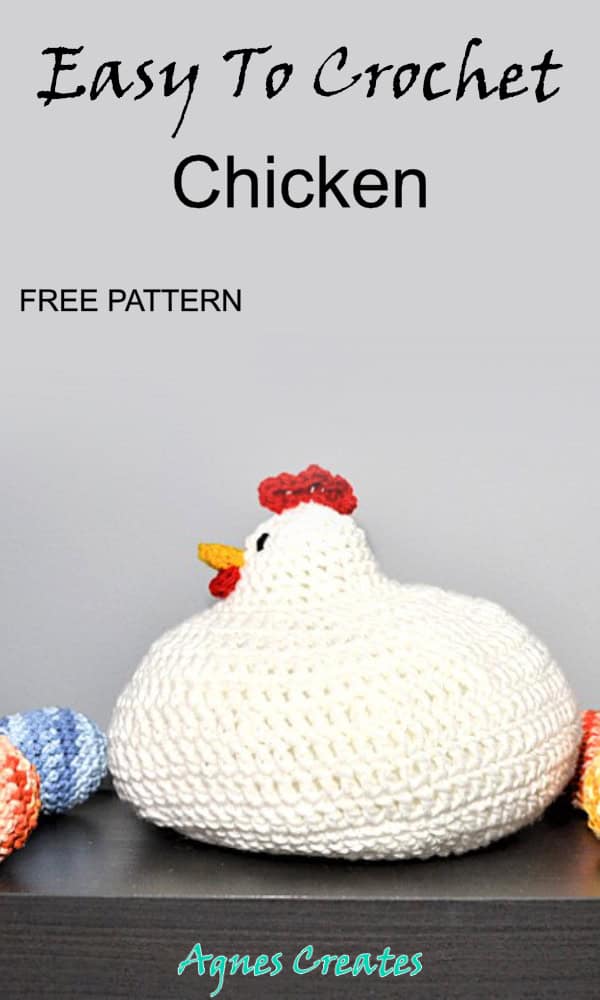
Follow my free chicken crochet pattern and learn how to crochet a big hen! It makes a fun crochet Easter décor idea!
I designed the free chicken crochet pattern to go well with all the eggs I crocheted lately. Visit my post on Easter eggs crochet pattern and learn how to crochet a perfect-shaped egg. Also, in another post, you can find a chick crochet pattern, that you can use for a crochet Easter décor idea. This post contains some affiliate links for your convenience (which means if you make a purchase after clicking a link I will earn a small commission but it won’t cost you a penny more)!
What you need for an amigurumi chicken crochet pattern
-
one skein (7oz) of white yarn medium 4 – red hear super saver
-
scraps of red and yellow yarn for crest and beak – I used red heart super saver cherry red and gold
-
a scrap of black yarn – I used Bernat Softee chunky yarn
-
crochet hook H 5.0mm – Clover brand is my favorite
-
yarn needle
-
fiberfill
Abbreviations:
ch – chain
sc – single crochet
sc2tog – single crochet two together (decrease)
dc – double crochet
dc2tog – double crochet two together (decrease)
sl st – slip stitch
YOU CAN GET AN AD-FREE PRINTABLE PDF OF THE CHICKEN CROCHET PATTERN AT MY SHOP.
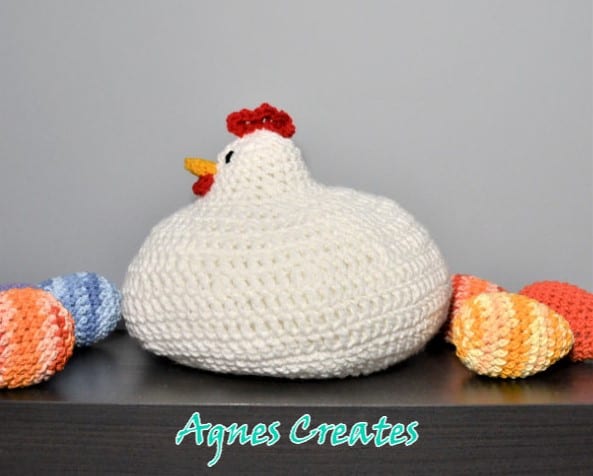
So, the finished chicken is about 11” in diameter and 7.5” tall.
Use white yarn to crochet the chicken’s body. Work in rounds and join with sl st to first dc or sc after every round. Also, ch2 or ch1 DOES NOT count as a stitch.
1. Make a magic ring and ch2. Work 12 dc into the ring, sl st to first dc. (12)
2. ch2, 2dc in every dc around, sl st to first dc (24)
3. ch2, (2dc in next dc, dc in next dc) x12, sl st to first dc (36)
4. ch2, (2dc in next dc, dc in next 2 dc) x12, sl st to first dc (48)
5. ch2, (2dc in next dc, dc in next 3 dc) x12, sl st to first dc (60)
6. ch2, (2dc in next dc, dc in next 4 dc) x12, sl st to first dc (72)
7. ch2, (2dc in next dc, dc in next 5 dc) x12, sl st to first dc (84)
8. ch1, sc in every dc around, sl st to first sc (84)
9- 11. ch2, dc in every st around, sl st to first dc (84)
12. ch2, (dc2tog, dc in next 5sts) x12, sl st to first dc (72)
13. ch2, dc in every st around (72)
14. ch2, (dc2tog, dc in next 4sts) x12, sl st to first dc (60)
15. ch2, (dc2tog, dc in next 3sts) x12, sl st to first dc (48)
16. ch2, (dc2tog, dc in next 2dc) x12, sl st to first dc (36)
17-18. ch1, sc in every st around, sl st to first sc (36)
19. ch1, (sc2tog, sc in next st) x12, sl st to first sc (24)
20-22. ch1, sc in every st around, sl st to first sc (24)
23. ch1, sc2tog around, sl st to first sc (12)
24. ch1, sc2tog around, sl st to first sc (6)
Cut the yarn leaving a long tail and tread on the yarn needle. Stitch the opening close and finish.
Now, using a yellow yarn, crochet a beak for the chicken.
1. make a magic ring, ch1, and work 4sc into the ring. Sl st to first sc (4)
2. ch1, (2sc in next sc, sc in next sc) x2, sl st to first sc (6)
3. ch1, sc in every sc around, sl st to first sc (6)
Cut the yarn leaving a long tail.
Next, using a red yarn, crochet the wattle.
Sl st red yarn into last st in the beak. Ch2, (2dc, hdc, sc, sl st) in the same st. Cut the yarn and pull through the last st. Tuck the yarn tail inside the beak.
Flatten the beak that the wattle is little to the side and stitch to the chicken’s head.
To crochet the comb, use a red yarn.
Ch 8, sl st in second ch from the hook, (hdc, dc, hdc, skip 1st) x3, sl st
Cut the yarn leaving a long tail and stitch to the top of the chicken’s head.
Use black yarn to embroider the eyes.
And, that’s how the chicken looks like from the side.
I hope you found my free chicken crochet pattern useful and easy to follow. You can share a picture of your crochet Easter decor on my Facebook page.
Happy Crocheting!
Love,
Agnes
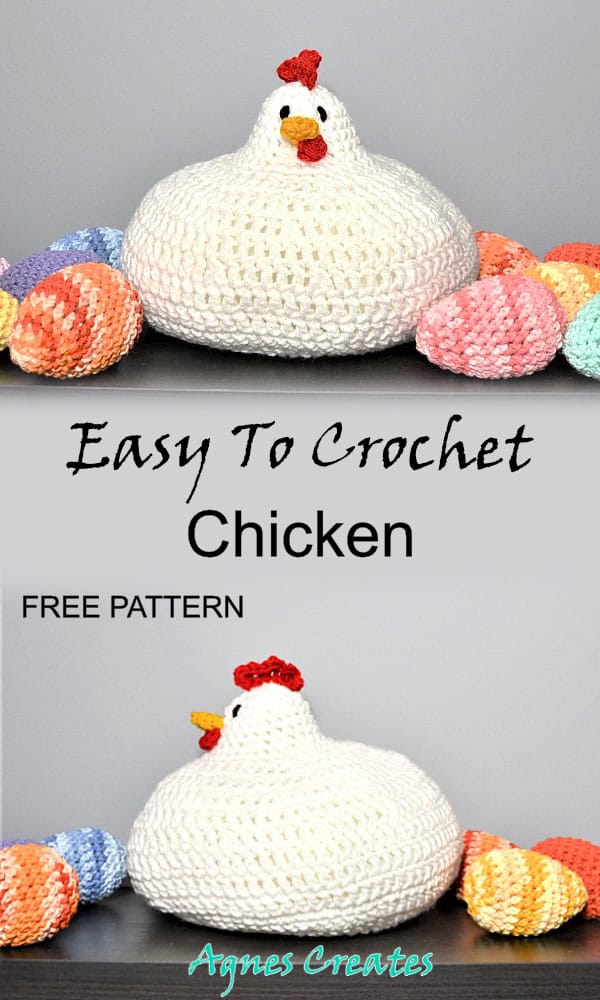
Want To Remember This? Save The Chicken Crochet Pattern Free Amigurumi To Your Favorite Pinterest Board!
Oops! Missing the directions for the head
Hello BillieJo, the head is included in the pattern. You do not need to crochet the head separately.