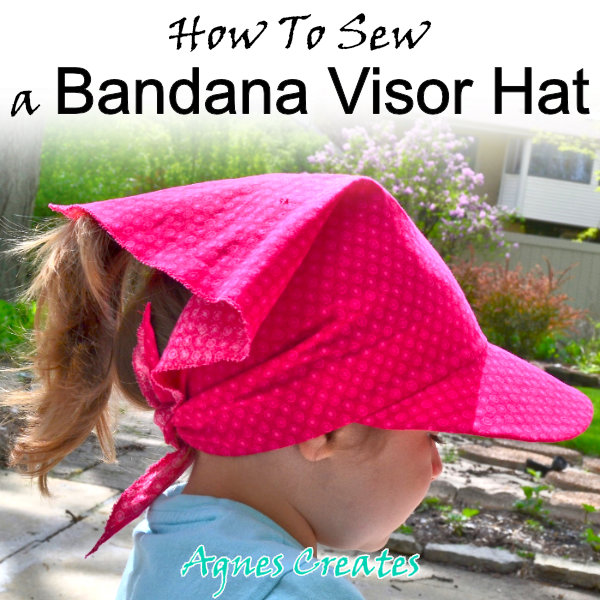
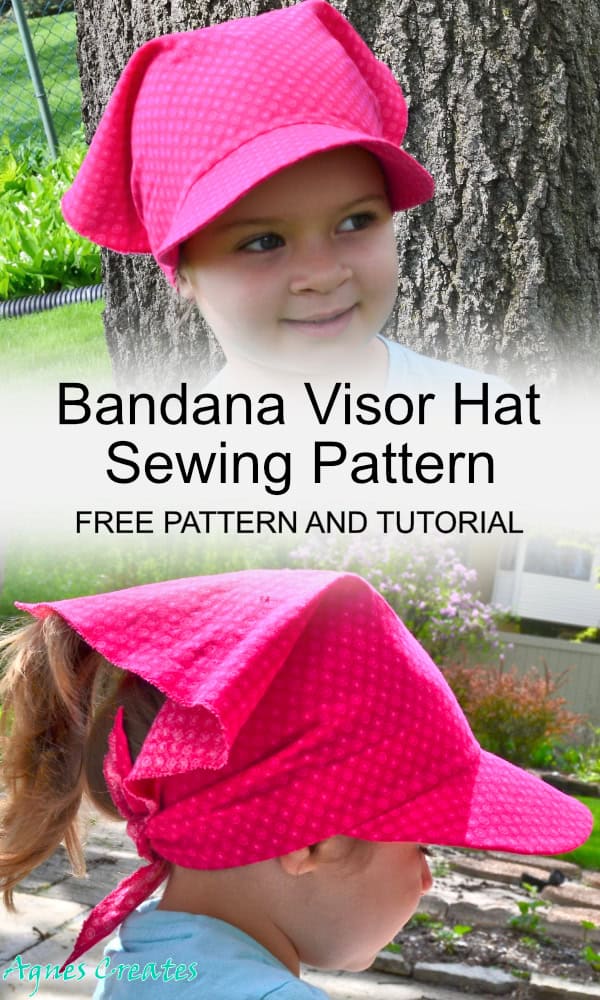
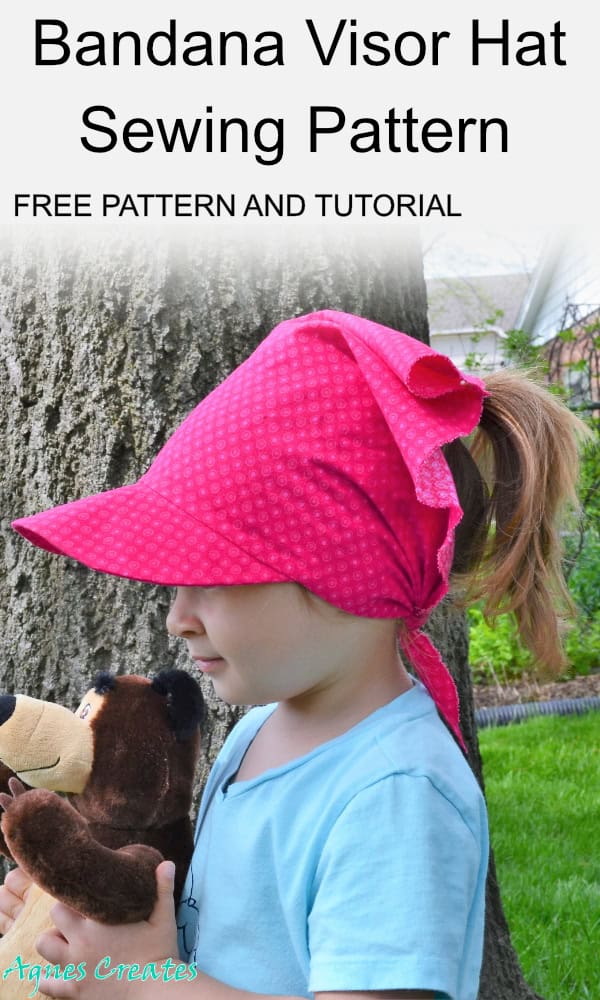
Learn how to sew a bandana visor hat, that is perfect for a little stylish girly! Follow a detailed step-by-step tutorial on how to sew a beautiful summer hat in no time!
My daughter loves to watch the “Masha and the Bear” cartoon and play with the toys created from the show. Masha is a mischievous little girl who gets into trouble, but her friend Bear always saves her. So, I thought, that I could make my daughter one of Masha’s garments. I decided on Masha’s babushka headscarf, with a twist. And that’s when an idea on how to sew a bandana visor hat came to my mind. It is a more modern-looking hat than Masha’s babushka headscarf.
I am happy to share with you how to sew a bandana visor hat!
This bandana hat pattern is for a head of 19-21” in circumference. Also, this post contains some affiliate links for your convenience (which means if you make a purchase after clicking a link I will earn a small commission but it won’t cost you a penny more)!
free printable bandana visor pattern is ready to download in my resource library– request the password at the bottom of this post.
Let’s learn how to sew a bandana visor hat!
Always wash and dry fabric ahead of time to pre-shrink it.
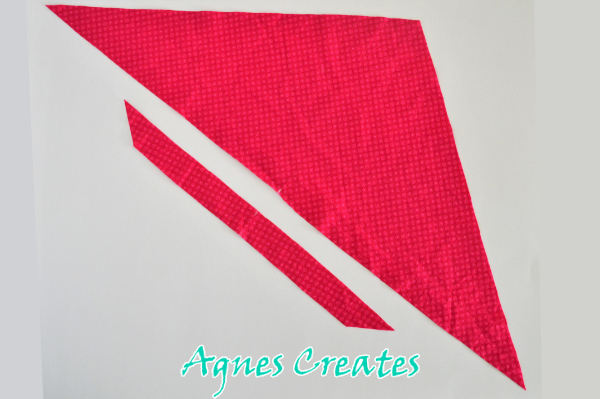
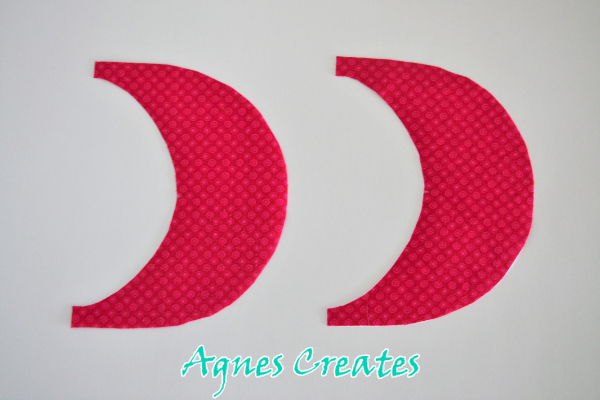
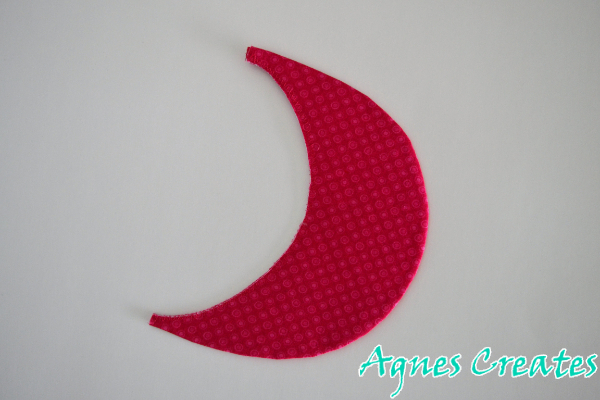
Step 1. Cut all the pieces out of the fabric. Iron on the 931TD fusible interfacing to both visor pieces, wrong side. Iron on the P44F Jas fusible interfacing to the wrong side of the band piece. Mark centers on the right side of all pieces with a fabric pencil.
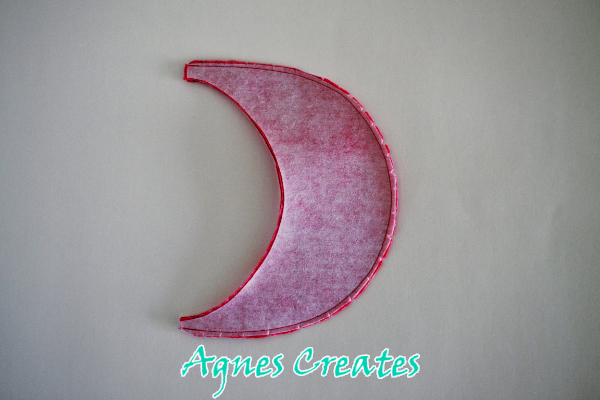
Step 2. Pin the visor pieces, right side together and then stitch along the outer curved edge. Notch outer curve and turn right side out and iron press. Staystitch the inner curve using a zigzag stitch.
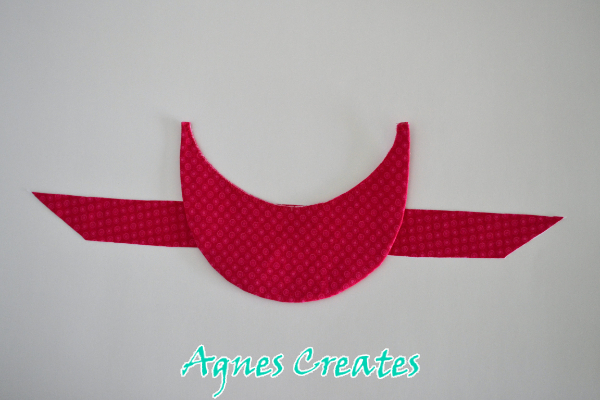
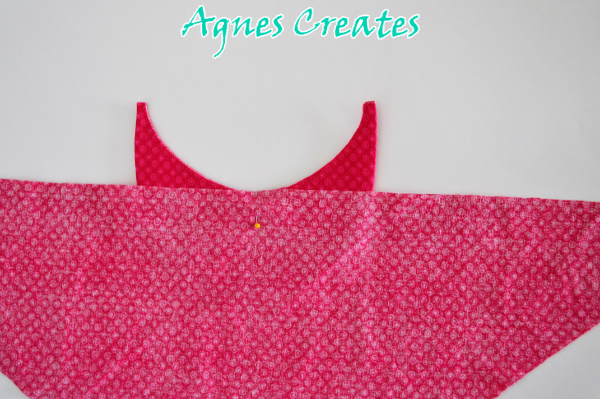
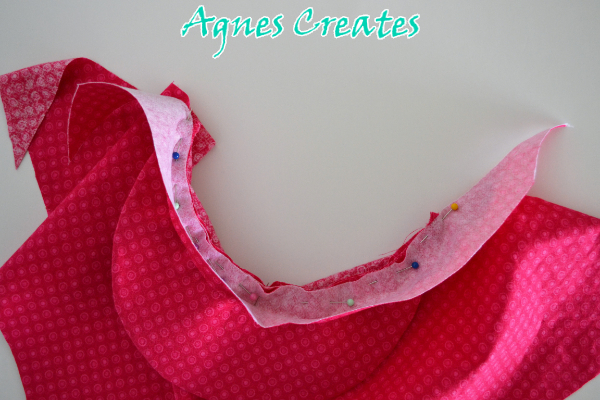
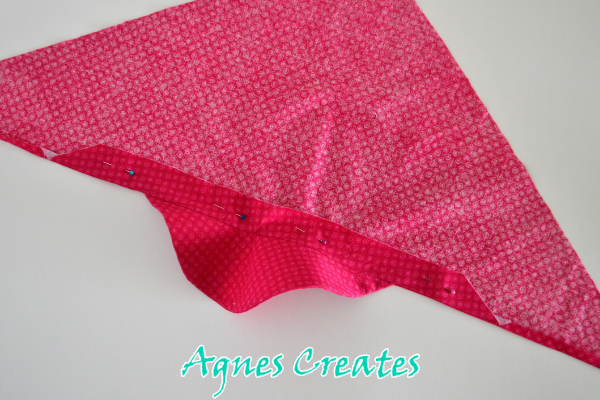
Step 3. Align the center of the longer edge of the band and the center of the inner curve right side together. Also, align the center of the bandana to the center of the visor and band. Then, pin centers together.
Step 4. Now, pin all pieces along the inner edge of the visor. Start stitching the longer band edge of the bandana, through the visor, and end on the other end of the band. Do not be afraid to straighten the raw edges of all pieces to stitch it. The visor may be disfigured, but it will go back to a nice round form. Press the band and bandana wrong side together and pin, then edgestitch the raw edges of the band.
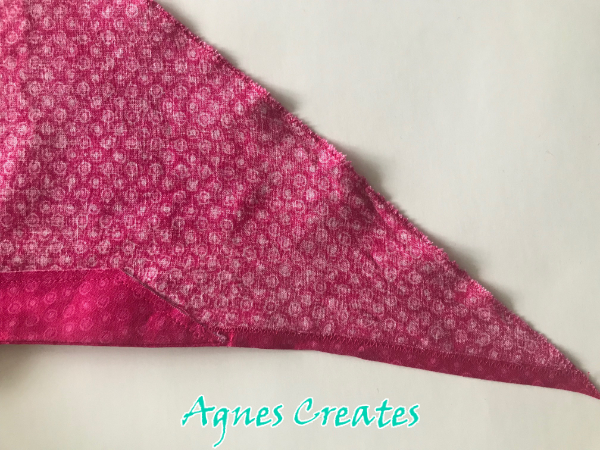
Step 5. Use a zigzag stitch to stitch the folded edges of the bandana. You can also use a zigzag stitch to finish the raw edges of the bandana.
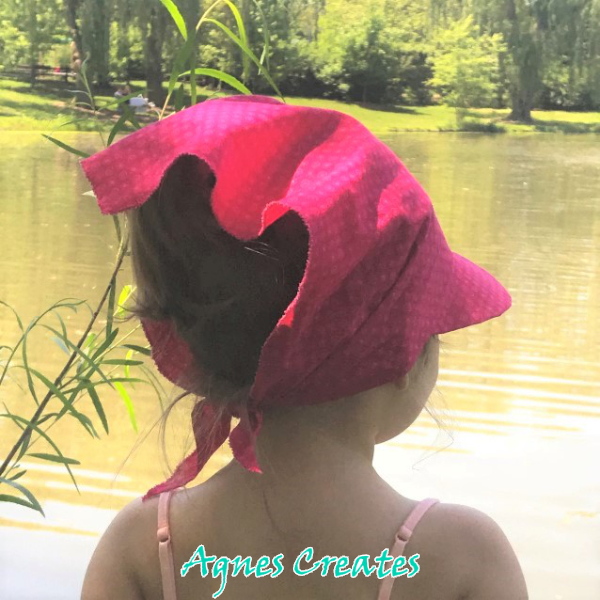
And, done!
I hope you enjoyed learning how to sew a bandana visor hat. If you made it for your little fashionista, I would love to see how it turned out! You are welcome to post a picture on my Facebook page.
If you are looking for a different summer hat sewing pattern, check my post on how to sew a newsboy hat! And this hat pattern can be used to sew a summer hat for a girl and a boy as well. Another unisex hat sewing pattern you can find by visiting my post on how to sew a visor hat out of old t-shirts.

Questionable download process for free bandana hat that requires too many apps. Not sure why you can’t just use a simple downloadable .pdf.
Hello Wendy, It is a downloadable pdf. Not sure why you are having issues downloading.