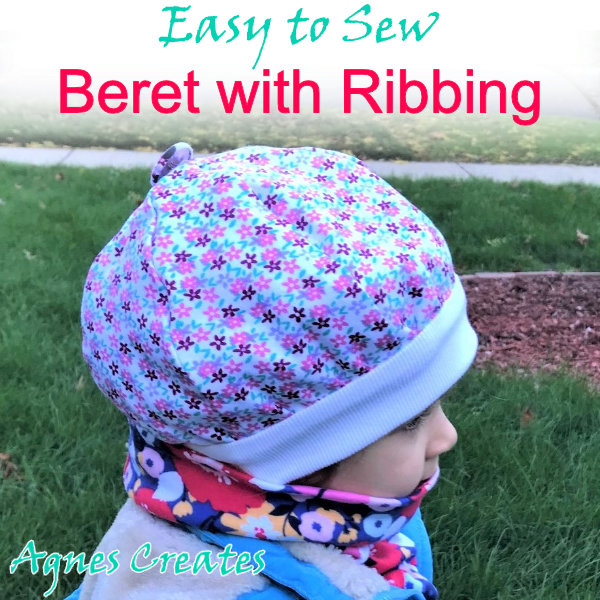
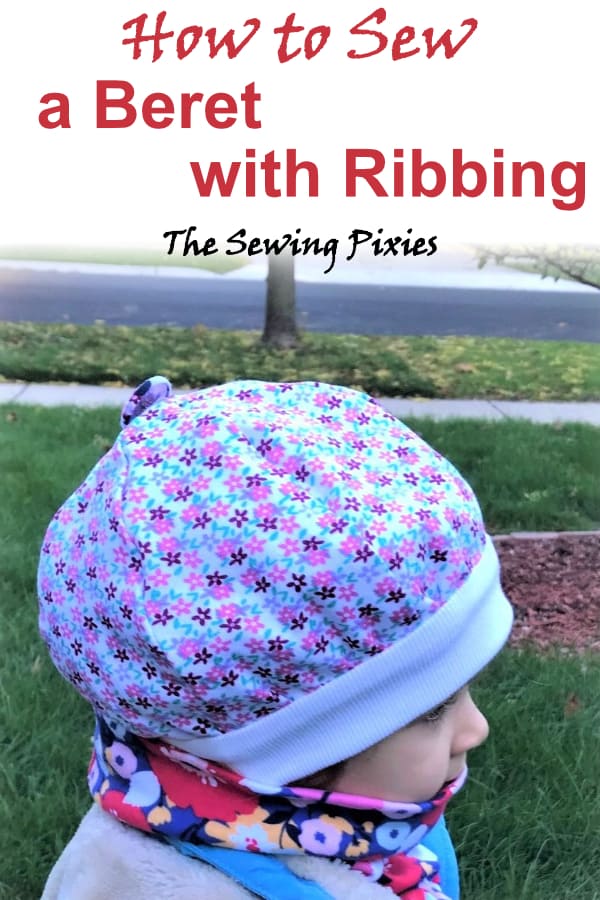
Learn how to sew a beret with ribbing for your little fashionista’s hat collection! I’ll teach you how to use a knit fabric to sew a reversible beret!
Not so long ago, I wrote a post with a pattern for a reversible beanie and a tube scarf. Since I had some leftover knit fabrics, I created a new beret sewing pattern that you can print out from my resource library. You will really like the pattern and step-by-step tutorial because it also shows how to make the beret reversible.
If you’ve never sewn with knit fabric, make sure you read my post tips on sewing with knits for beginners first. You are going to need some extra sewing tools and know some hacks because sewing with knits is a little different than sewing with regular cotton fabrics. This post contains some affiliate links for your convenience (which means if you make a purchase after clicking a link, I will earn a small commission, but it won’t cost you a penny more)!
What you need to sew a beret with ribbing (size 1-10)
free beret PDF pattern is ready to download at my resource library – to get the password, fill out the form at the bottom of this post
The pattern sizes are only approximate; you may need to use the pattern sizes according to how stretchy fabric you are using and your child’s head circumference.
Remember, always wash and dry fabric ahead of time to pre-shrink it.
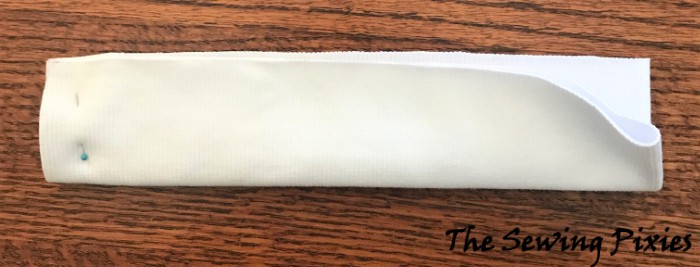
Step 1. Get the ribbed band ready. Cut out the band piece from the ribbed fabric. Fold the band piece in half, right side together, aligning the short edges.
Fold it in half again, but this time aligning the long edges together.
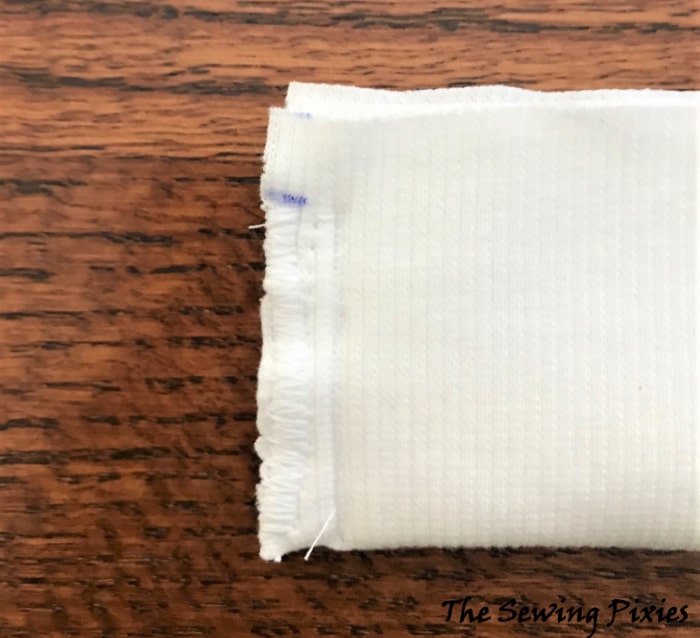
Stitch the short ends together, leaving a one-inch space from the upper raw edges.
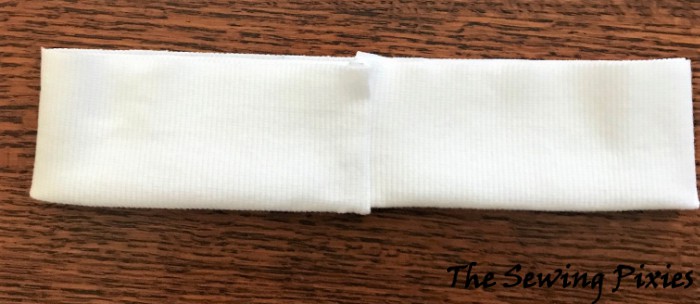
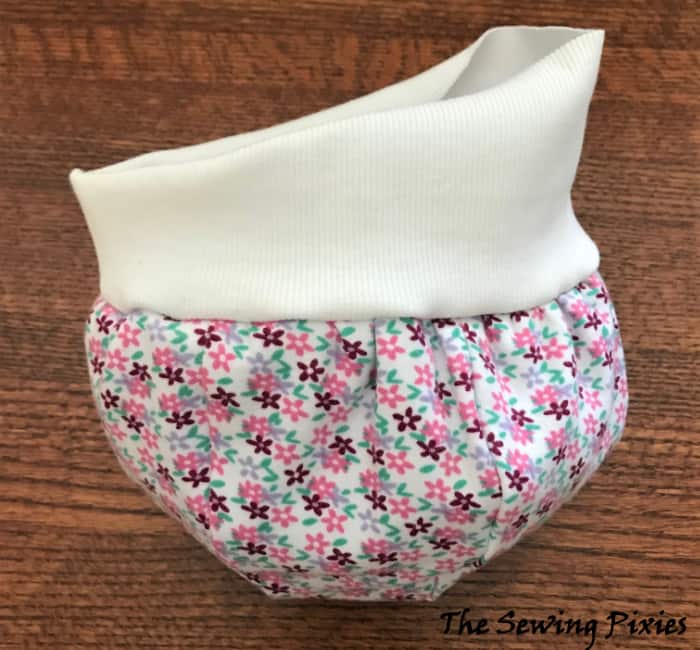
Turn the band right side out, and your ribbed band is ready.
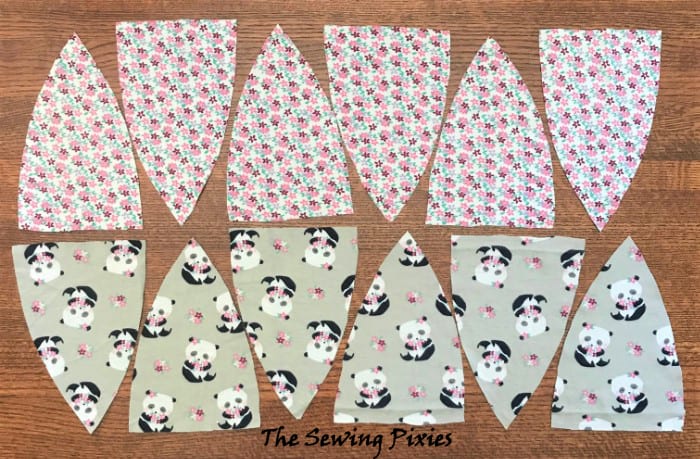
Step 2. Sew the crown section for the beret. Cut out the 6 crown pieces from two different print knit fabrics.
Stitch three crown pieces together at the sides.
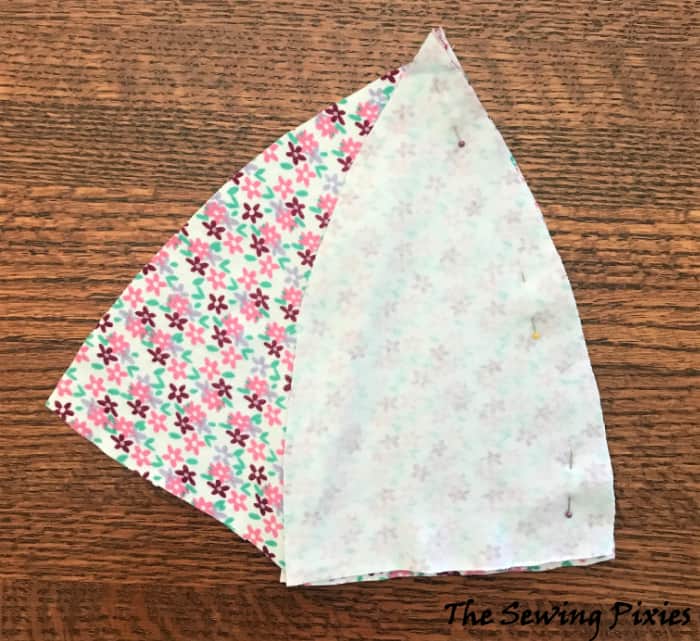
Pin crown sections right side together, making sure the tips align and stitch along the outer edge.
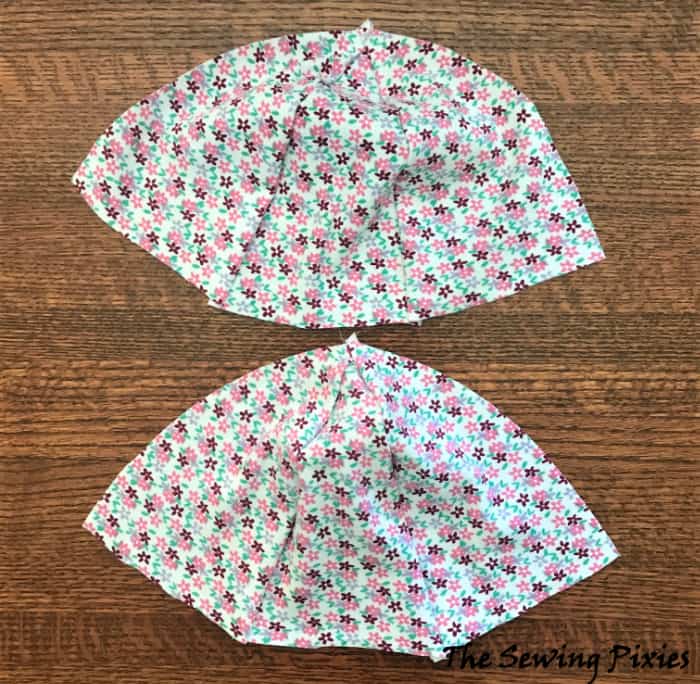
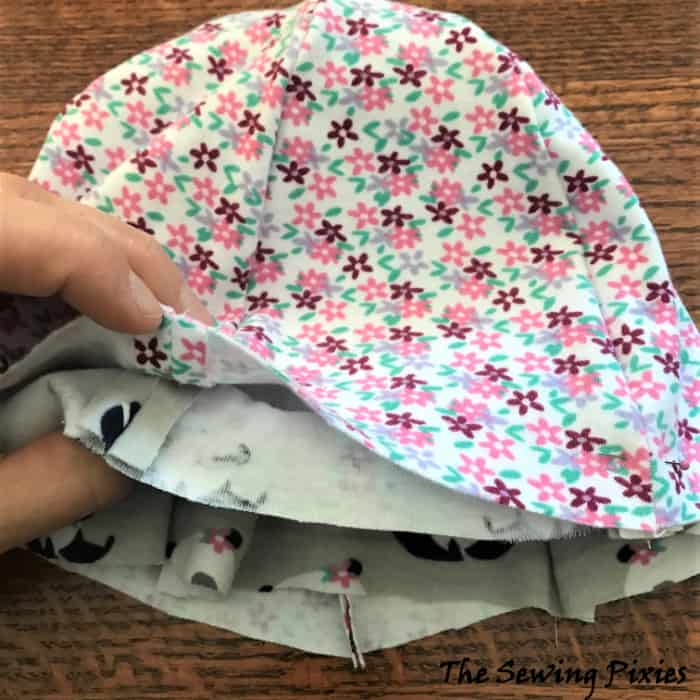
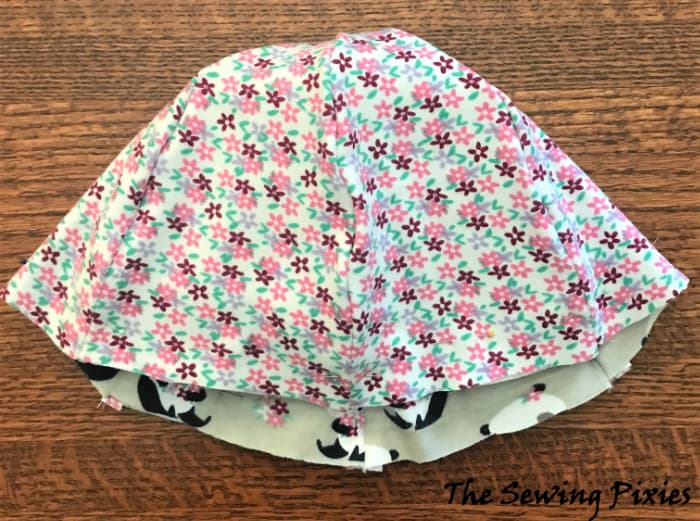
Turn right side out. Repeat with the other fabric crown pieces. Now you have two “domes”
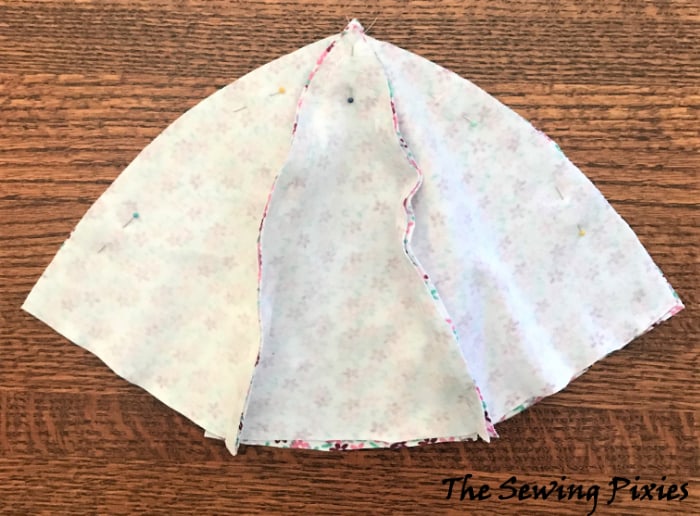
Turn one of the “domes” RIGHT side IN and put it inside the other “dome”. Align and pin the edges and seams of both “domes” together.
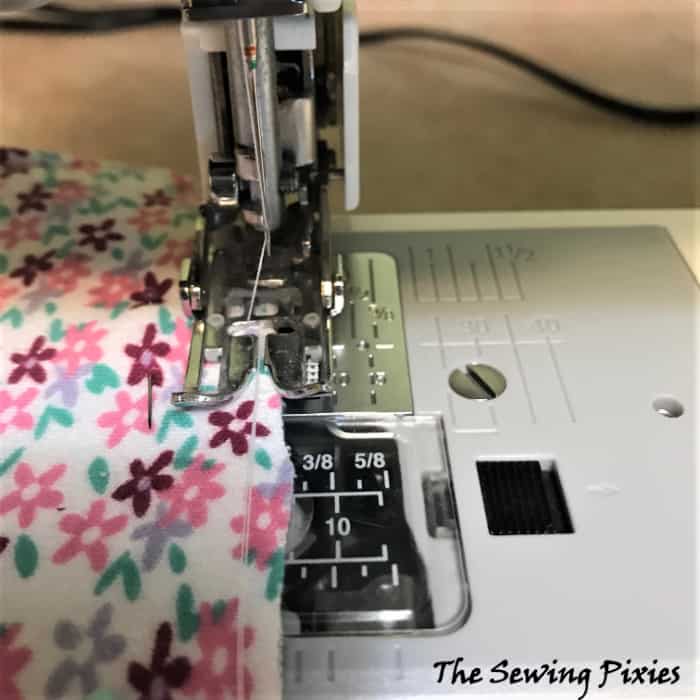
Now, gather the pinned bottom edges of the “domes”, both at the same time.
How I gather: I pull the thread from the bobbin and the spool (just enough to have it around the edges of the “dome”. And then I zig-zag all around along the edge, making sure both threads are in the middle of the zig-zag. Now, gather pulling the threads. It is very important to gather as evenly as possible. Gather to the size of the band.
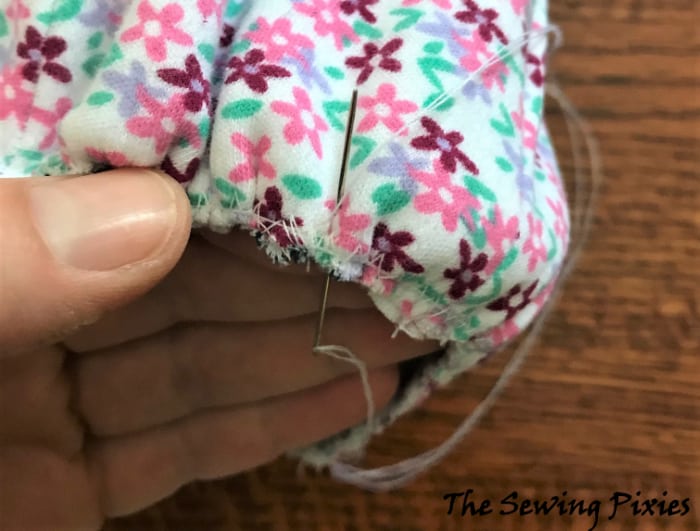
Secure the gather by hand sewing the gathering threads in place.
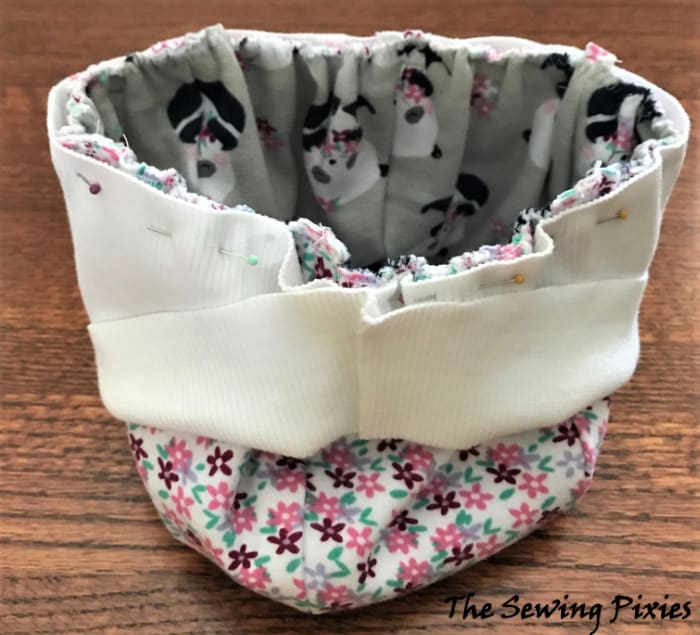
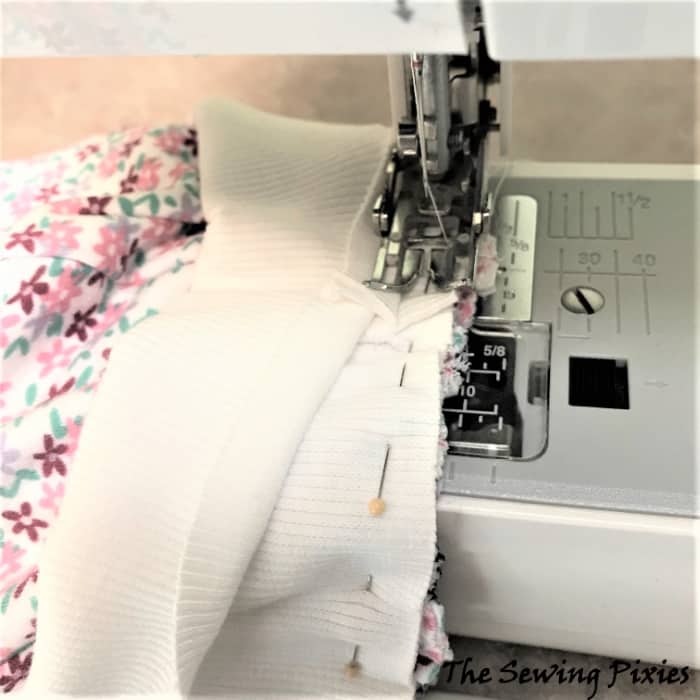
Step 3. Stitching the band to the beret crown section. Open up the band layers and pin one layer to the crown section, right side together, and slowly stitch around.
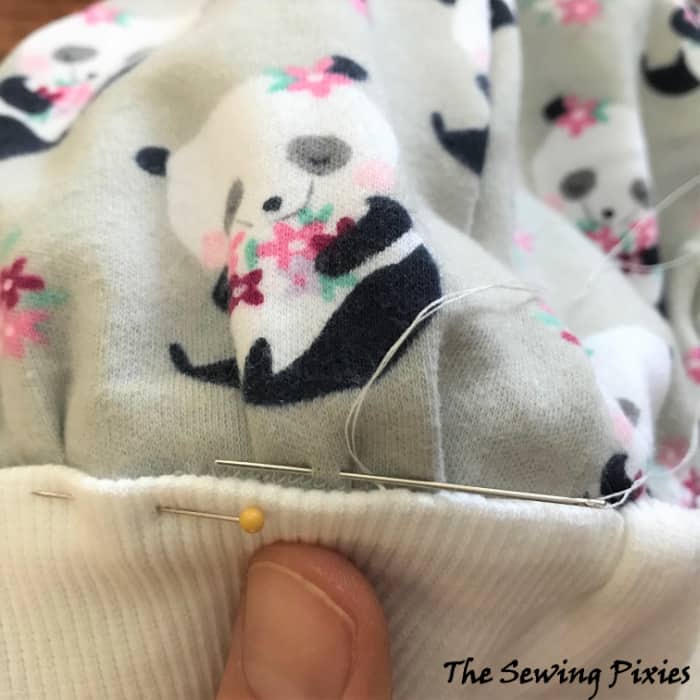
Flip the beret to the other side and pin the other layer of the band. Hand stitch around, and at some point, before finishing hand stitching, snip the gathering threads.
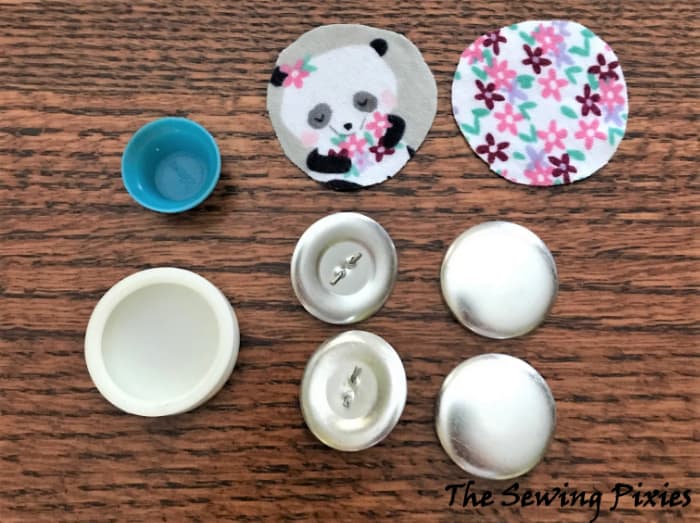
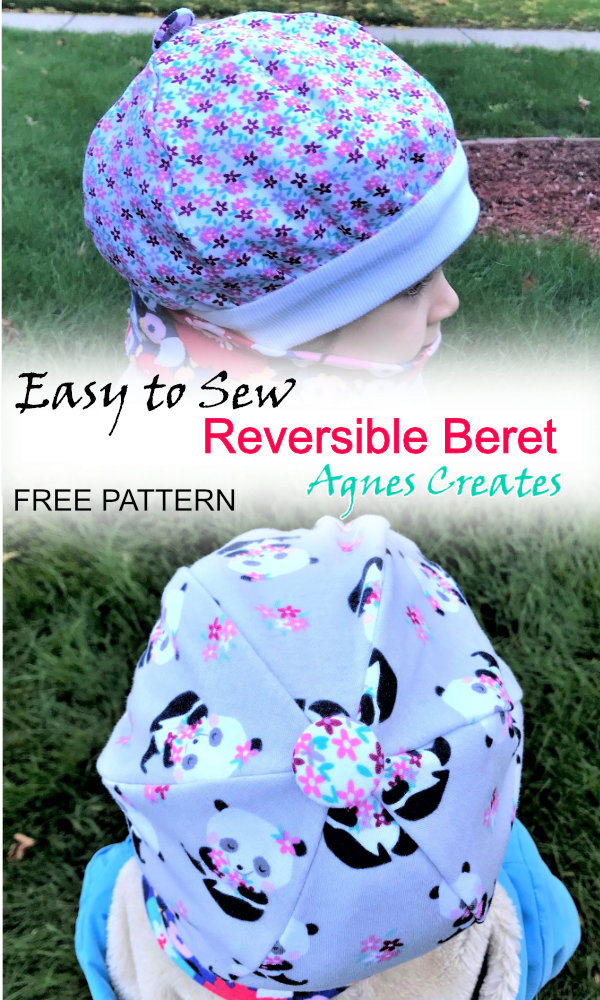
Step 4. Now, fabric-covered buttons. I think every beret needs to have a button on top, and that’s why I thought to use the scraps of fabric to make buttons to match the beret.
Fabric covering buttons is super easy to do, and there are instructions on the back of most button cover kits.
First, you need to cut the fabric circle about 0.75 inches bigger than the button shell.
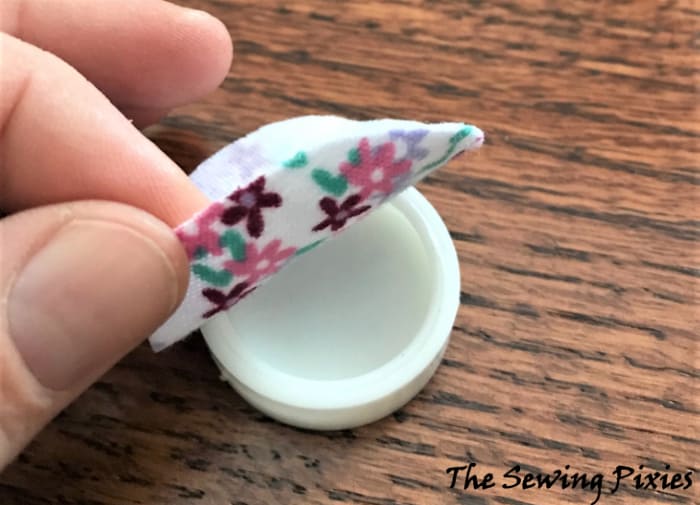
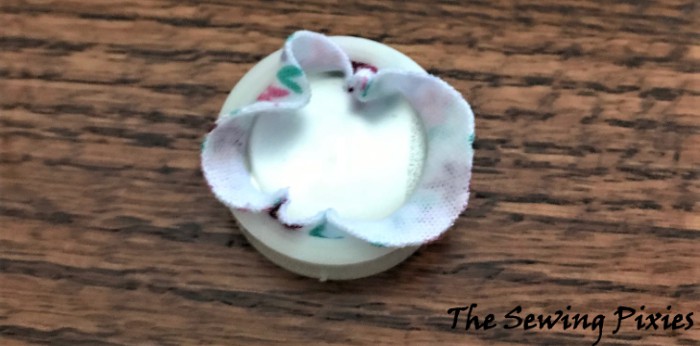
Center the fabric circle, wrong side up, over the mold, and hold it securely while pressing the button shell into the mold.
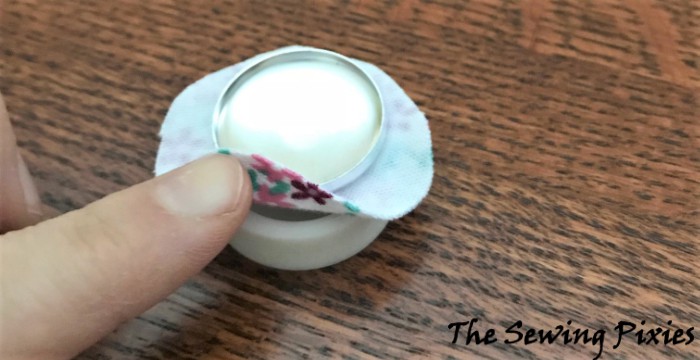
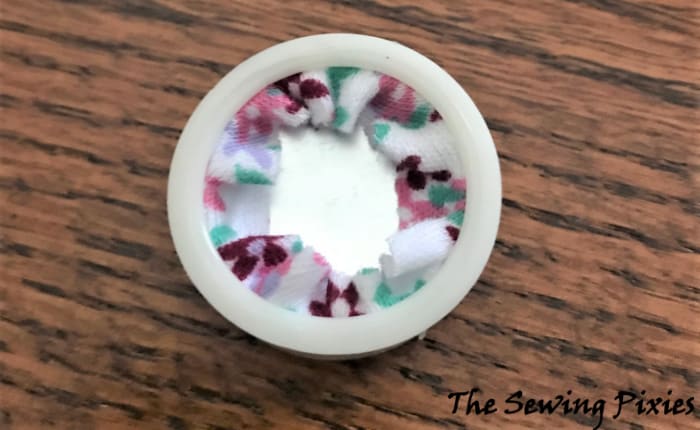
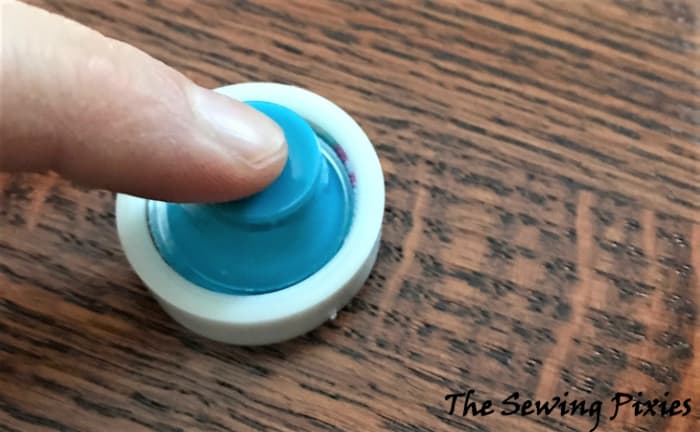
Tuck excess fabric into a button shell. Next, position back and use the pusher to press down back until it snaps into place.
Gently get the button out of the mold, and there you have a custom-made button.
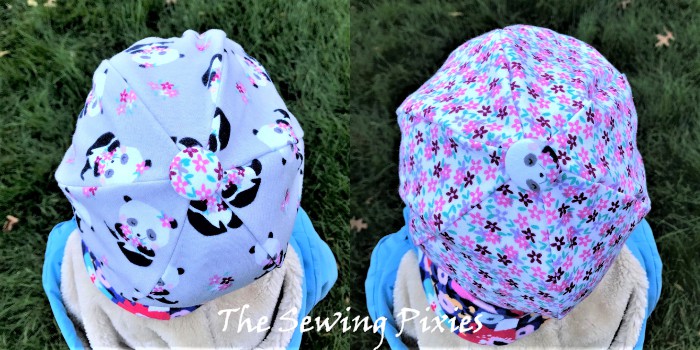
I made two of them, one using the flower fabric and sewn it to the panda print beret side. For the other button, I used a scrap of fabric with a panda face and sewn it to the flower print side.
I hope you enjoyed learning how to sew a beret with ribbing, and you are welcome to share a picture of your beret on my Facebook page.