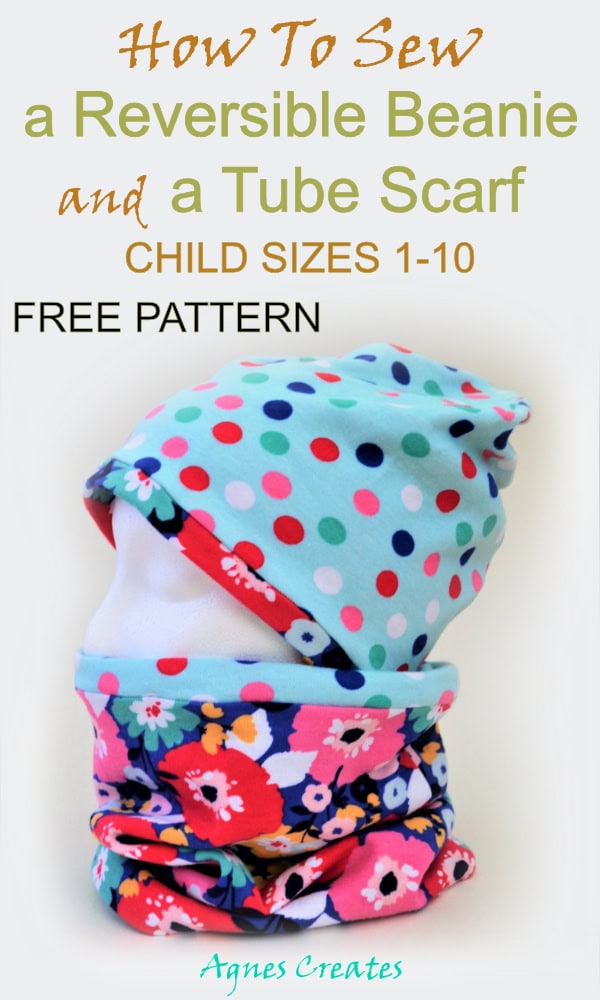
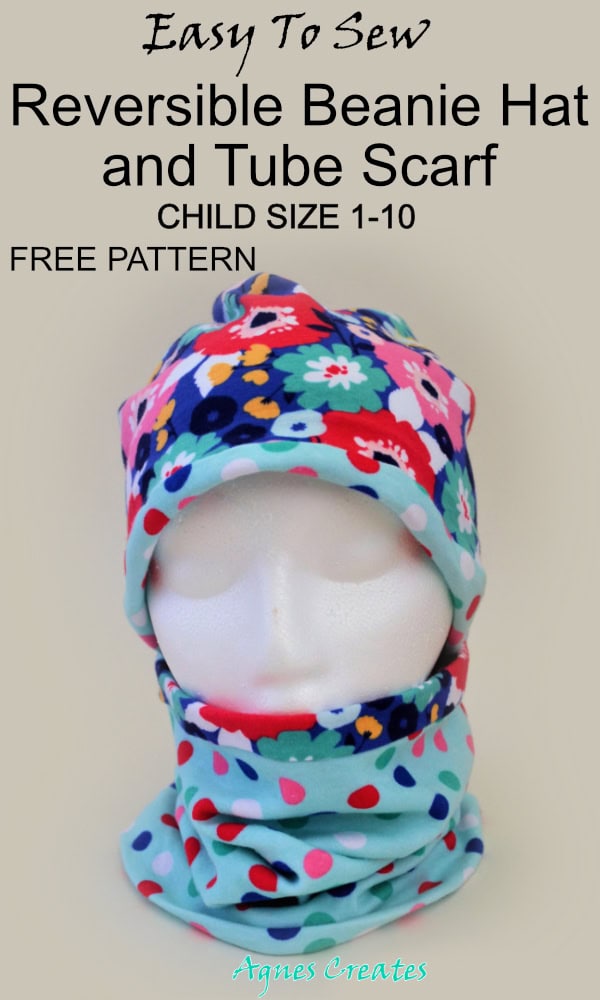
Would you like to learn how to sew a beanie hat and a tube scarf for chilly fall weather? Follow my beanie hat free pattern and tube scarf step-by-step tutorial! This sewing pattern is in child sizes 1-10.
It’s hard to believe that summer is almost over! I think that is a perfect time to start preparing for the cool and gusty months with warm and cozy accessories. And that is why I designed this beanie hat free pattern. Somehow, every season the beanies and scarves keep disappearing, and nobody knows why or when, lol. So, I keep sewing instead of buying them. It saves me money, and we have one-of-a-kind, handmade beanies and tube scarves. Additionally, the beanie hats are reversible, which is an awesome feature.
Let’s get ready to use my beanie hat free pattern and a tube scarf tutorial!
You need to use stretchy knit fabric to sew a beanie hat, and sometimes sewing with knits can be tricky. If you’ve never sewn with stretchy fabric before, I recommend reading my post, tips on sewing with knits for beginners. And then, you’ll be ready and prepared to start sewing beanie hats and tube scarves, which also make great gifts!
I like sewing with cotton knit interlock rather than jersey fabrics. Interlock is thicker and more stable than a jersey, and that means it doesn’t stretch out of shape as easily as a jersey. Also, jersey curls at the edges, which makes it more difficult to sew. But you are welcome to choose whichever stretchy fabric you prefer.
When sewing with knits, use ballpoint needles and pins. Regular needles and pins may damage knit fabrics, which would result in a “run” along the seam line. Also, set up your sewing machine to use the knit stitch; most machines should have that option. This post contains some affiliate links for your convenience (which means if you make a purchase after clicking a link, I will earn a small commission, but it won’t cost you a penny more)!
free beanie and scarf templates are ready to download at my resource library – to get the password, fill out the form at the bottom of this post
The pattern sizes are only approximate; you may need to use the pattern sizes according to how stretchy the fabric you are using is and your child’s head circumference.
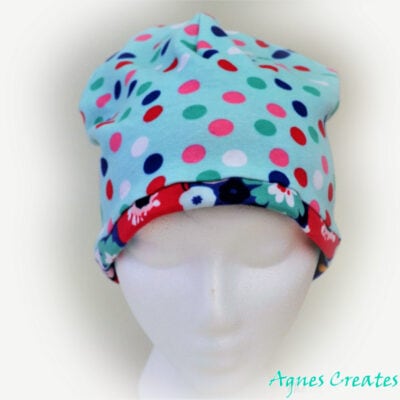
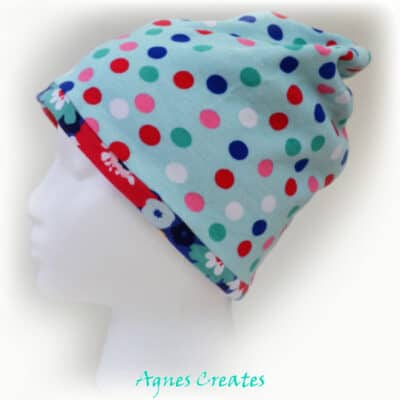
Learn how to sew a beanie hat! Just follow my free beanie hat sewing pattern and tutorial below!
Remember, always wash and dry fabric ahead of time to pre-shrink it.
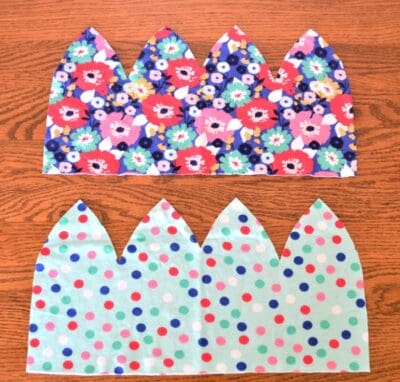
Step 1. Cut one hat piece out of each fabric on the fold
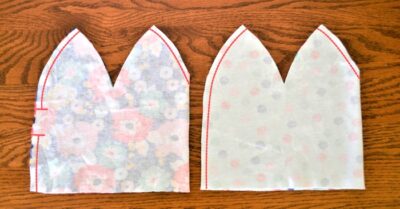
Step 2. Fold pieces right side together and stitch center-back, leaving a 3” opening just in one piece. And then, stitch center-front along upper edge.
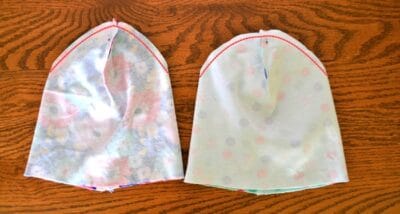
Step 3. Now, stitch the remaining upper edges together, making sure to match the centers.
Step 4. Turn one of the pieces right side out and put it inside the other piece. And then, stitch the lower edges together, all the way around.
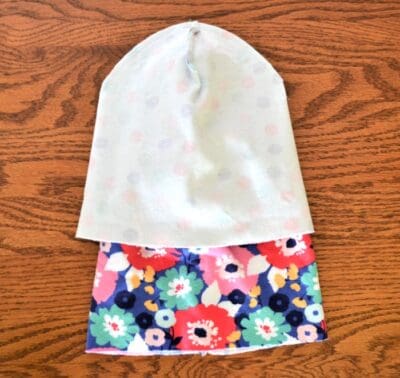
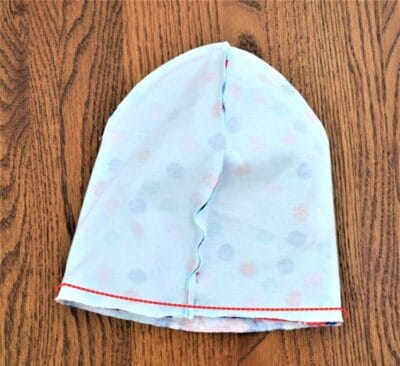
Step 5. Turn the hat right side out through the opening and hand stitch the opening closed.
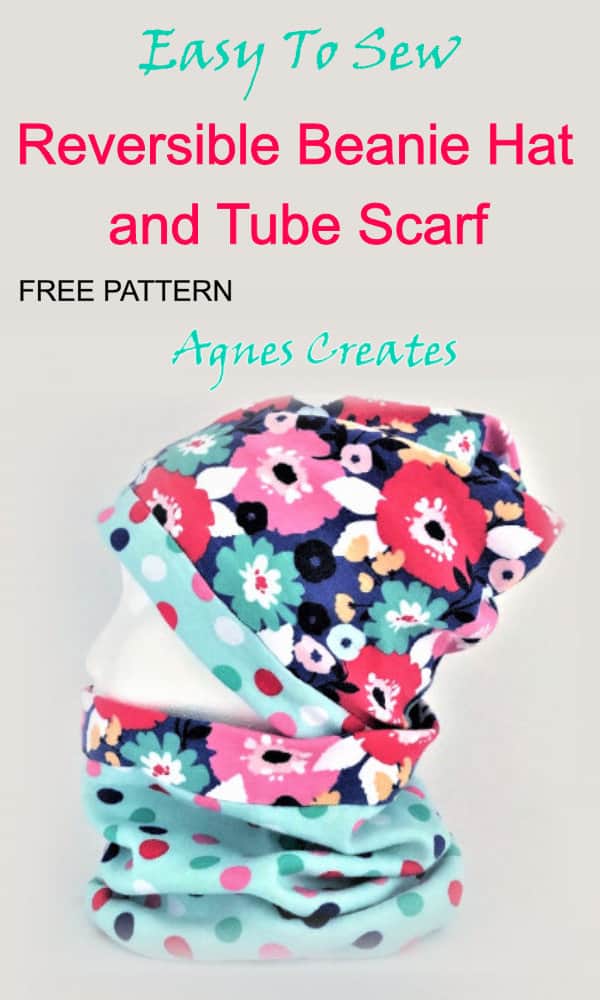
Step 6. Tuck one side of the hat in and arrange the edge, that the other fabric print is visible.
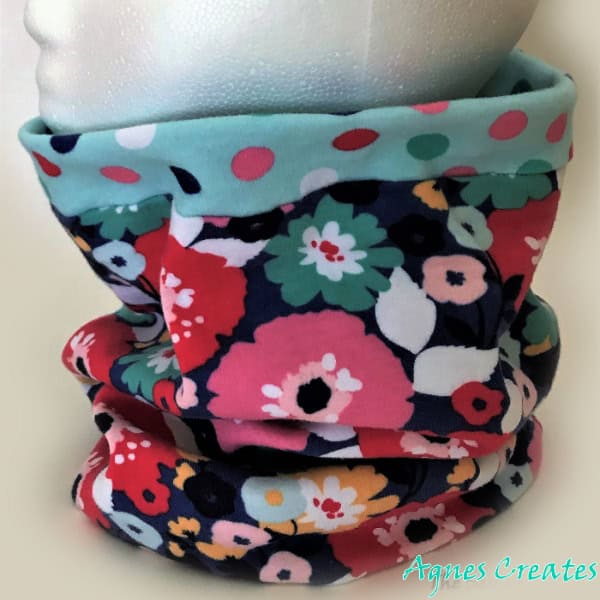
Wasn’t sewing a reversible beanie hat easy and fast? Now, I will show you how to sew a tube scarf, and it’s also super easy.
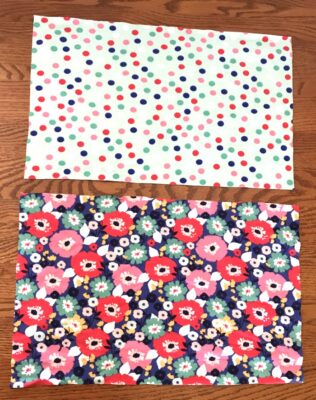
Step 1. Cut one scarf piece out of each fabric on the fold.
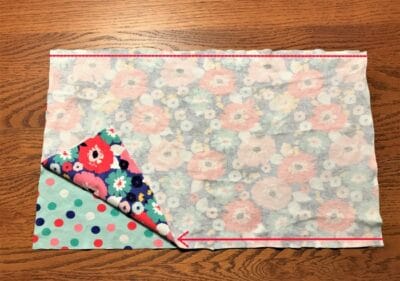
Step 2. Align and pin the two pieces right sides together and stitch the longer edges.
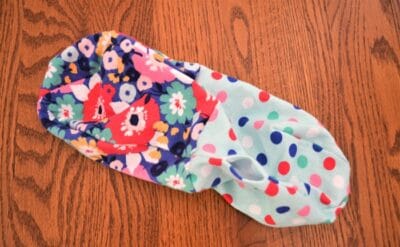
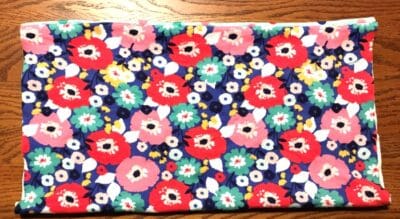
Step 3. Now, turn that sewn-up piece right side out.
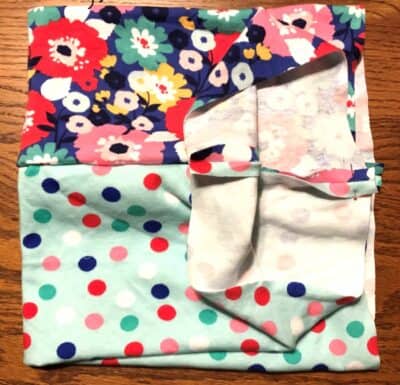
Step 4. Take one edge and bring it up to the other edge, and align the seams.
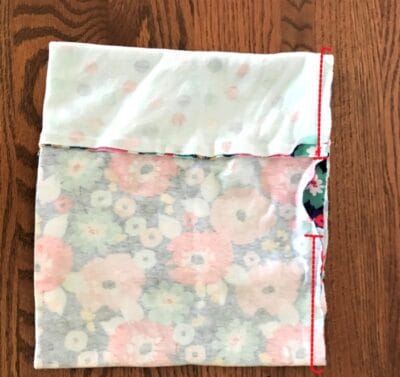
Step 5. Pin the edges together with the right sides of the fabric facing each other. Sew the edges together, leaving a 3” opening. Then, reach into the opening and pull the fabric right side out.
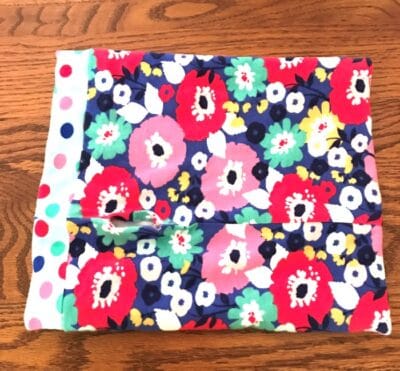
Step 6. Finally, stitch the opening closed, and your scarf is finished!
Done! You just learnt how to sew a tube scarf!
I hope you enjoyed learning how to sew a beanie hat and a tube scarf. It would be lovely to see how your beanie turned out and what fabric prints you used. You are welcome to share a picture on my Facebook page, and also check out my post on sewing a slouchy beanie and tube scarf with a pattern in adult sizes.
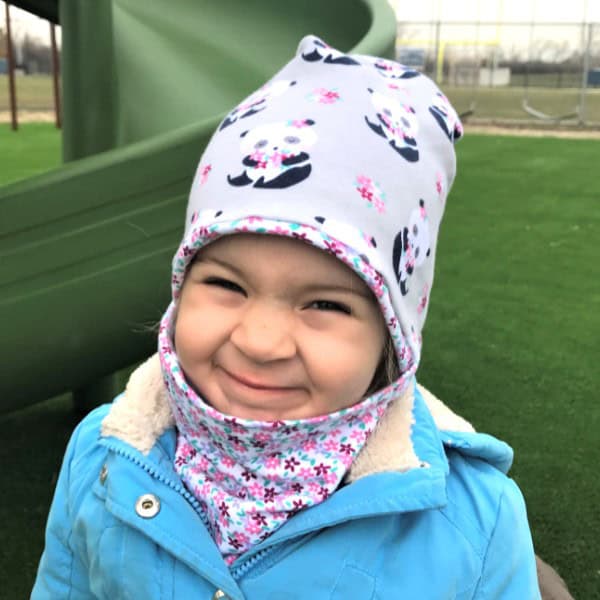
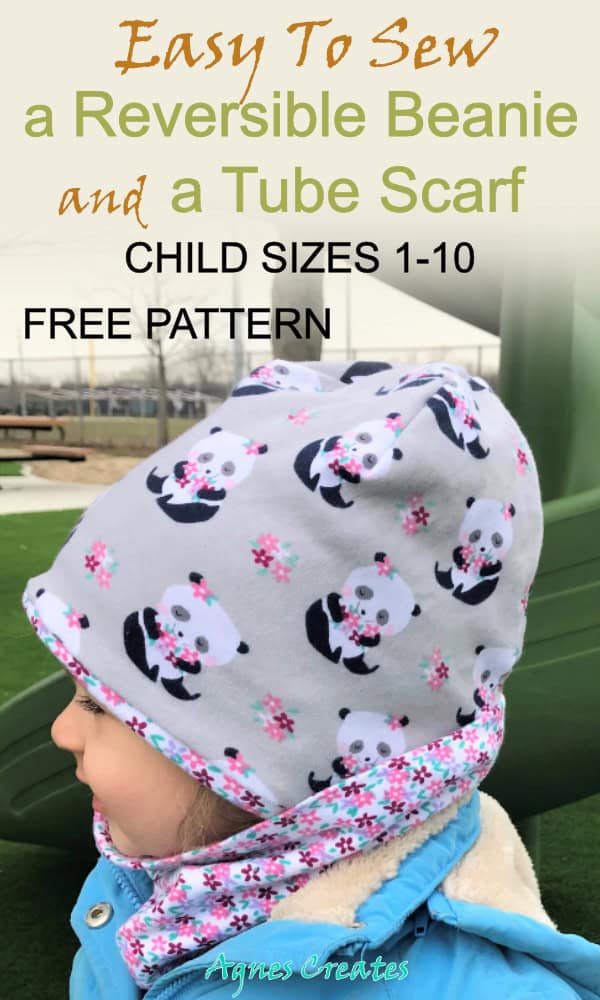
Here is a picture from last fall of my silly daughter in her favorite panda beanie and tube scarf.
Stay warm and cozy this fall season, and happy sewing!
I just made one out of fleece and flannel!! It worked really well abs turned out so cute. Thank you forthe pattern and instructions. I had to draw it myself because I needed to make it bigger, but using yours as a template was perfect!

So…this pattern us for children only? I assume yr numbers in the pattern is childrens’ ages?
Yes, it’s kids’ sizes.
I just made one out of fleece and flannel!! It worked really well abs turned out so cute. Thank you forthe pattern and instructions. I had to draw it myself because I needed to make it bigger, but using yours as a template was perfect!
Elsa, you can post pictures of your hats on my Facebook page AgnesCreates
Where is the template for the hat. Cna’t wait to make several
Virginia, you need to open emails you received from me and you’ll find the password to my library in them. The pattern for the hat is in my library.
Thank you for sharing the pattern:)
Have fun sewing it! You are welcome to post a picture on my facebook page.
Lovely, thank you for sharing
You are welcome and have fun sewing!
Lovely, thank you for sharing the pattern
Can’t wait to sew it!
I entered the password into the library and can’t seem to gain access to the pattern files.
Hello Tonya,
I just entered the password into the resource library and it worked for me. I am not sure why it wouldn’t work for you.
Can’t wait to try this pattern ?
Let me know how it turned out for you!
Can we order anything or is this sight only for learning.? Holly testa
Hello Holly,
Thank you for visiting my blog. You can use all the patterns and templates from my blog but you sew it yourself.