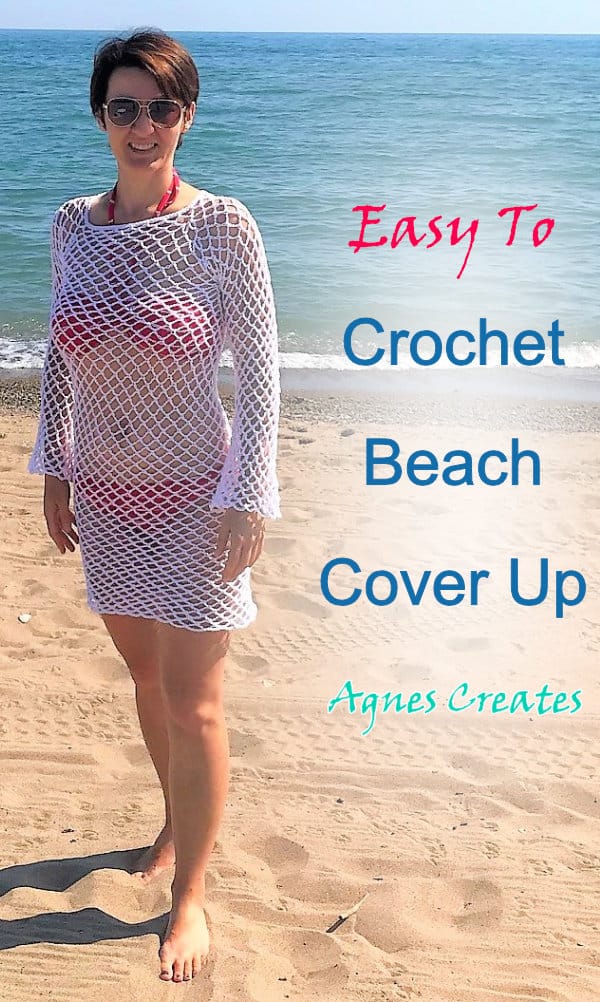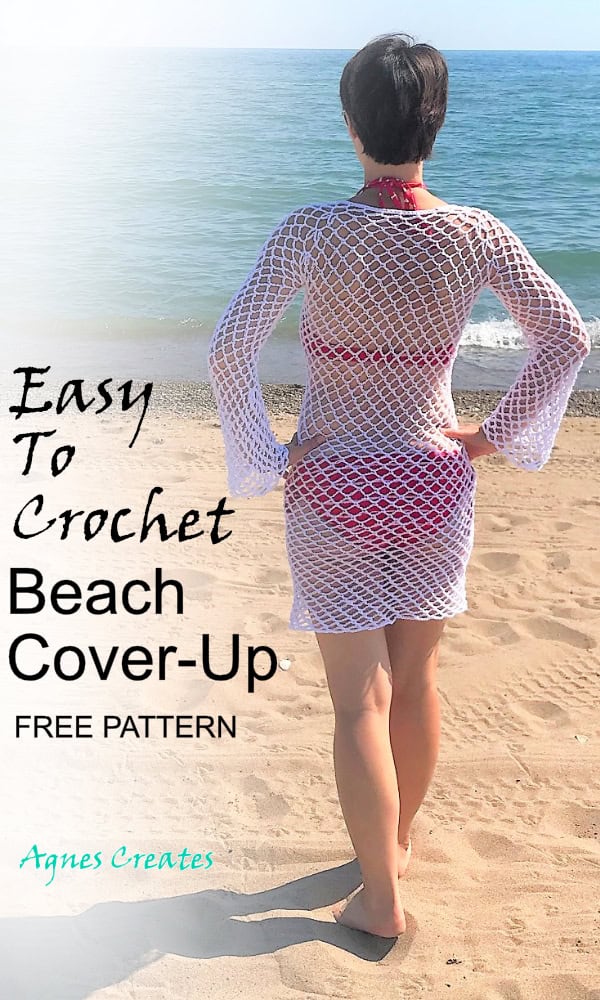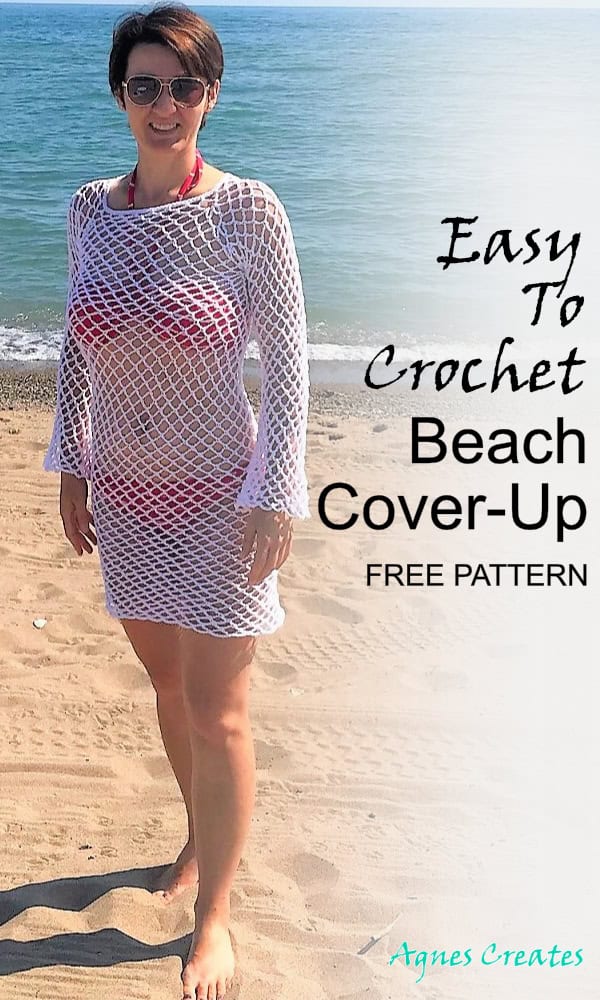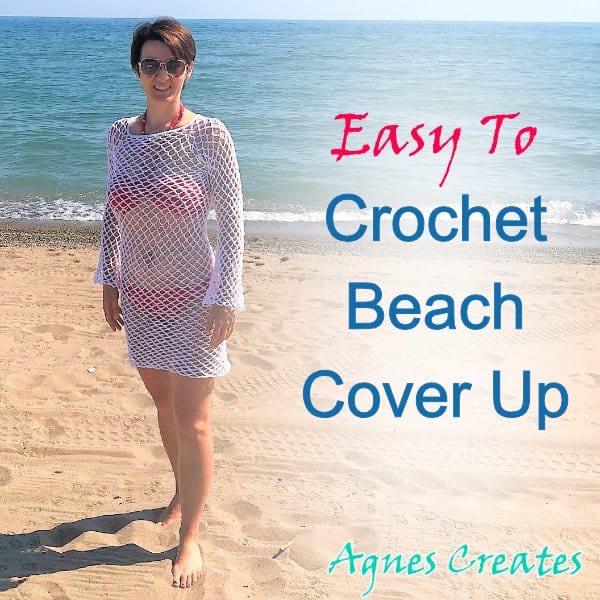
Follow an easy-to-crochet beach cover-up free pattern and learn how to crochet a basic trellis stitch in the rounds! It’s an easy summer top crochet pattern idea. It also makes a lacy top crochet pattern idea!
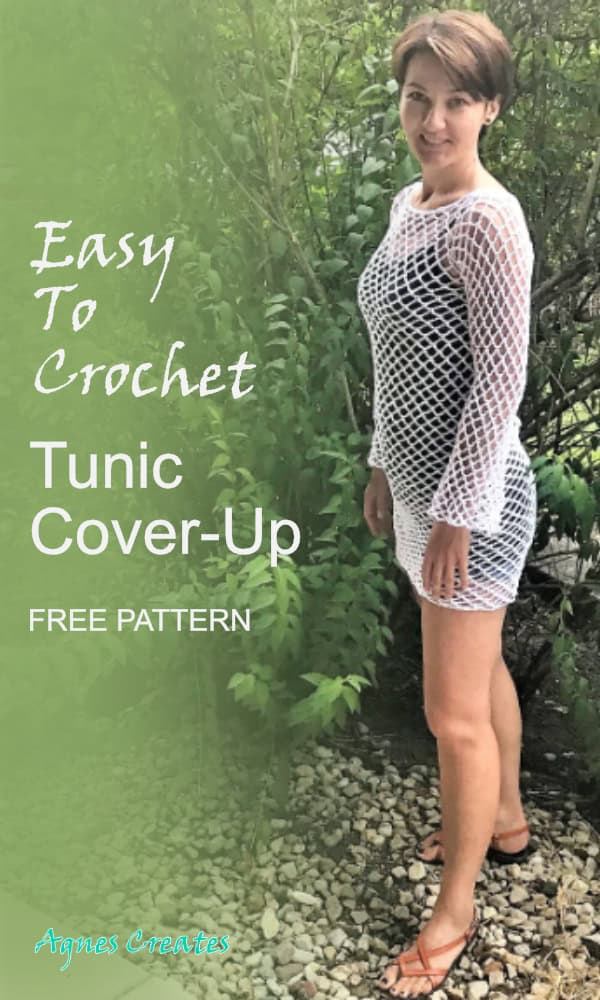
I designed this crochet beach cover-up pattern using a mesh diamond stitch, also known as the basic trellis stitch. It gives the crochet tunic a beautiful lacey look. The tunic is worked in one piece, starting from the top, in a round.
You’ll be making a circle of loops at the top, and the number of loops is increased through rounds to the underarm. Also, the number of increases determines the size of the tunic. Then, after joining the rows, the body is separated from the arms and continued crocheting in the round. This post contains affiliate links for your convenience (which means if you make a purchase after clicking a link, I will earn a small commission, but it won’t cost you a penny more)!
What you need to crochet a beach cover-up
-
3 skeins of lightweight yarn #3 – I used Sinfonia Omega mercerized cotton or Lion Brand Yarn Coboo
-
crochet hook F 3.75mm – Clover brand is my favorite
-
stitch marker
ABBREVIATIONS:
ch – chain
sc – single crochet
ss – slip stitch
Ad-free printable PDF crochet pattern of the beach cover-up is available at my SHOP
Let’s follow the easy-to-crochet beach cover-up free pattern!
Step 1. First, you’ll crochet the top of the tunic, which is also called a yoke. In this step, you’ll be increasing the rounds, and that will determine the size of the tunic you want.
1. Ch 88, starting with the second ch from the hook, sc in every ch.
2. Then, ss to the first sc, ensuring not to twist the chain.
3. Now, you’ll crochet the first loop row. So, *ch 5, skip 3, sc, ch 5, skip 3* to the end, and join with a sc in the first ch loop. (22 loops)
Note: as you see, if you crochet in round the mesh stitch, you’ll always going to be finishing the round by sc to the last loop. Because the mesh stitch is stretchy, joining to the last loop is not visible on the tunic.
Also, use a stitch marker to know where rounds end.
4. *ch 5, sc in ch loop, rep from * to the end and join with a sc in the first ch loop. (22 loops)
And that’s how you form the basic trellis or mesh crochet stitch.
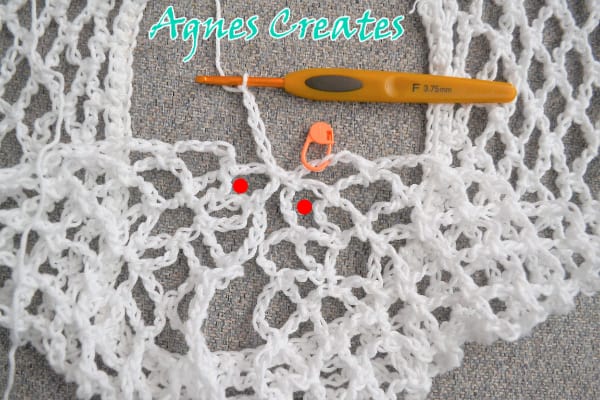
5. So, now you’ll crochet an increase round. Increases are made by crocheting two ch 5 loops in one loop of the previous round.
– make two ch 5 loops in the last loop,
– crochet one loop in the next 4 loops,
– make two ch 5 loops in the last loop,
– crochet one loop in the next 7 loops,
– make two ch 5 loops in the last loop,
– crochet one loop in the next 4 loops,
– make two ch 5 loops in the last loop,
– crochet one loop in the next 7 loops, the last loop you make is by sc to the first increase loop.
Four pairs of two ch 5 loops have been added at the corners, and that way this row increased by 8 loops. (30)
6. Work loops around (30)
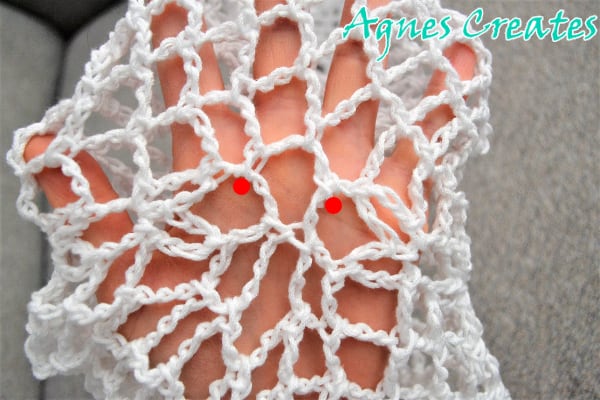
7. Now, you’ll make an increase round by making ch 5 loops in each corner loop. So, the corner loop is located between the two ch 5 of the previous round.
– make two ch 5 loops in the last loop,
– crochet one loop in the next 6 loops,
– make two ch 5 loops in the last loop,
– crochet one loop in the next 9 loops,
– make two ch 5 loops in the last loop,
– crochet one loop in the next 6 loops,
– make two ch 5 loops in the last loop,
– crochet one loop in the next 9 loops, and as previously, the last loop you make is by sc to the first increase loop. And that makes 38 loops in this increase round.
8. Work loops around. (38)
9. Increase round (46)
10. Work loops around (46)
11. Increase round (54)
12. Work loops around (54)
Four increases in the yoke make the size of the tunic small or size 4. If you want a bigger size, you need to make more increases in the yoke. Also, try on the top and adjust the number of rounds and increases.
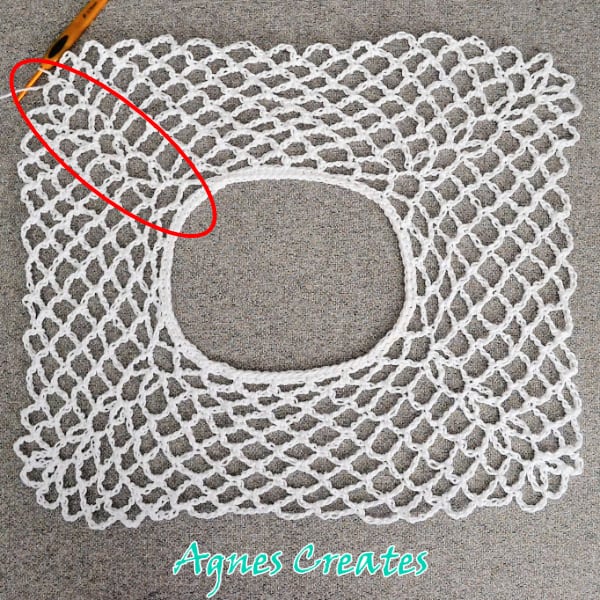
Step 2. Joining the row. With the yoke left side together, skip the shorter edge of the loops and sc in the next corner loop. Continue working loops to the next corner loop.
Then, skip the other shorter edge of the loops and sc in the next corner loop. Work loops to the first joining, and for the small size, you’ll have 30 loops around for the body. Keep working the loops in the round until the desired length.
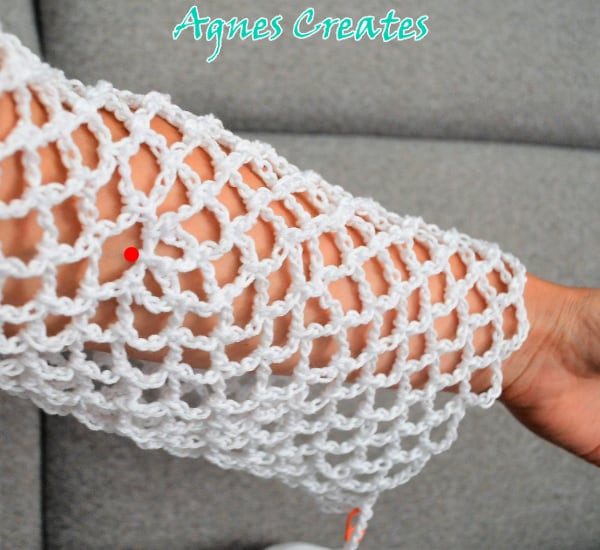
Step 3. Crocheting the sleeves. With the right side facing you, locate the corner loops previously joined for the body. Join with a ss to the right corner loop, then ch 5 and sc to the left corner loop. And then work loops around until the desired length.
If you want the sleeves to have a flare look, you need to make an increase in a row around the elbow level. Make two ch 5 loops on the inside of the sleeve.
And there! You’ve learned how to crochet a beach cover-up that you can make in any color you desire. It would look great in a gold or silver glittery yarn for an evening cover-up to wear over a cami dress.

Check my other post on:
-
easy crochet tunic free pattern that is also in child size
-
mandala beach cover-up crochet pattern
-
summer top crochet pattern
I hope you enjoyed my easy-to-crochet beach cover-up pattern. You can share a picture of your crochet mesh tunic on my Facebook page. I wonder what color of yarn you will use.
Happy Crocheting!
Love,
Agnes
Want To Remember This? Save The Easy To Crochet Beach Cover-Up Free Pattern To Your Favorite Pinterest Board!