Decorate your home with a beautiful fabric cone Christmas tree! I’ll teach you step by step how to make a fabric cone tree, that is perfect as a Christmas decor!
So, I found this gorgeous paisley print fabric in my home fabric stash. I was thinking, about what to make out of it. Looking at the crisp colors I thought, that it would be perfect to make a Christmas decor. And that’s how ended up making a fabric cone Christmas tree out of it. Also, the white pompoms give a nice wintry touch to this seasonal décor, and the tutorial on how to make them is at the end of this post.
Let’s get ready to learn how to make a beautiful fabric tree to decorate your home!This post contains some affiliate links for your convenience (which means if you make a purchase after clicking a link, I will earn a small commission but it won’t cost you a penny more)!
What You Need To Make A Fabric Cone Christmas Tree
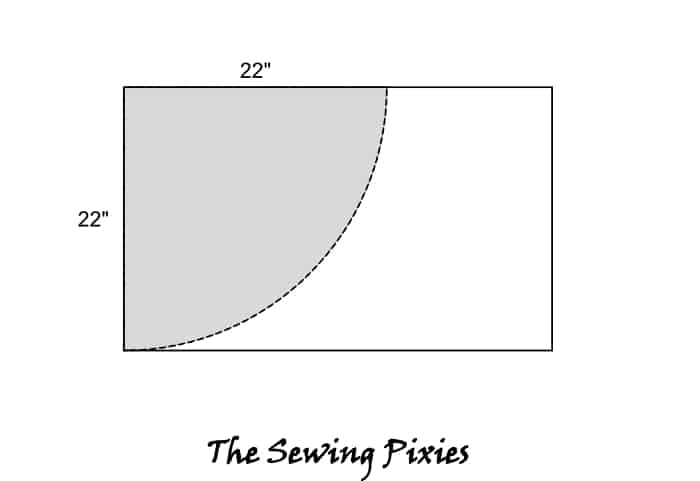
Step 1. First, make a paper cone, which is very easy to do. Using a ruler, measure the height of the cone from one of the corners. My cone is 22” that’s what I marked on the picture. Moving the ruler toward the other edge, mark the height all along.
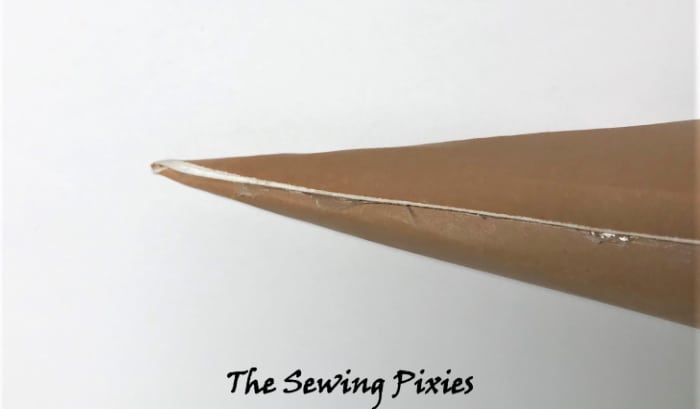
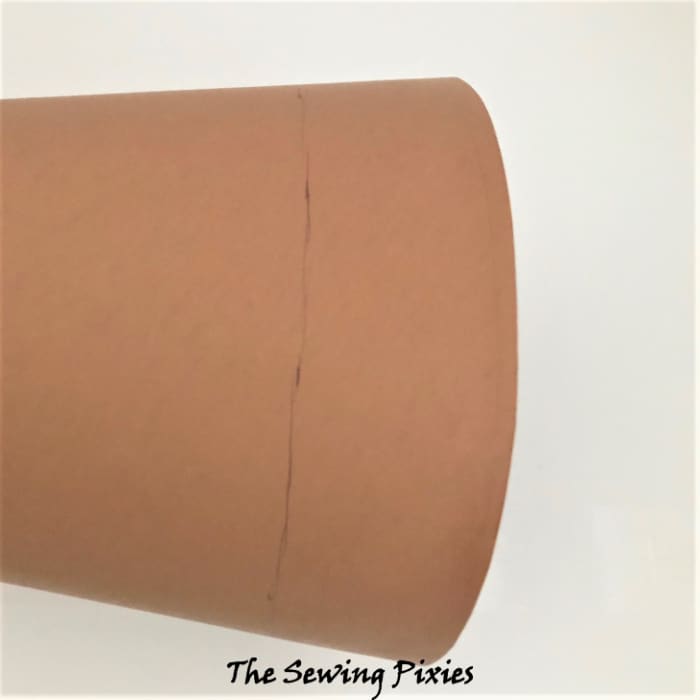
Cut out the piece and hot glue the edges together. If you want the cone to be slimmer, slide the edges in, farther apart. For reference, mark lines on the cone every 2” where to glue the fabric pieces.
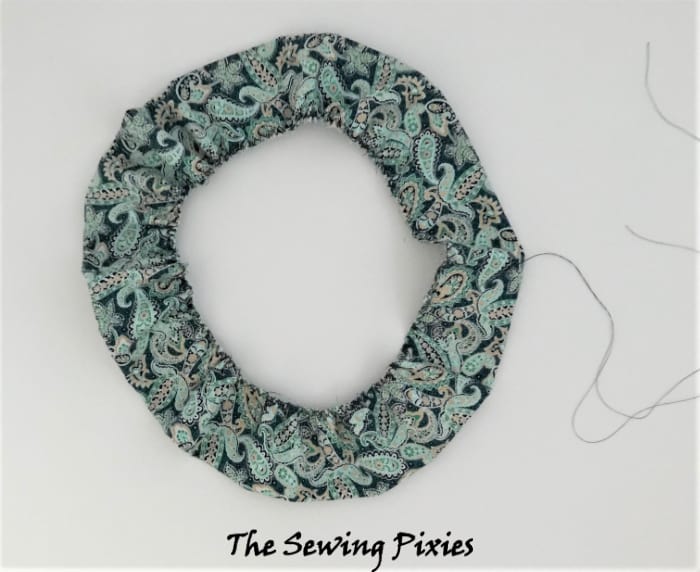
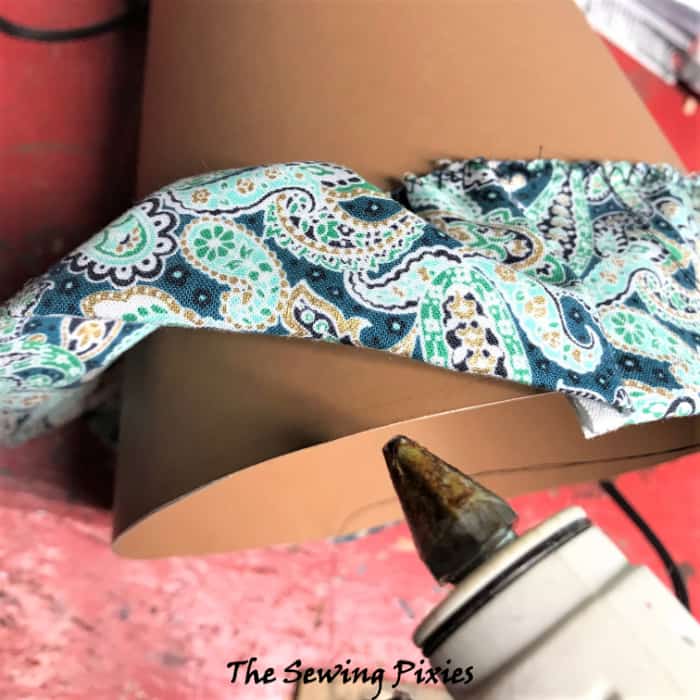
Step 2. Now, sew the fabric rings and glue them around the cone. For my fabric cone Christmas tree, I cut 5” wide strips out of the quilting fabric, so they are 2.5” wide when folded in half. The length of each strip for each ring should be double the circumference of the cone on marked lines.
So, fold each fabric strip lengthwise and stitch short edges together. Next, gather the raw edges to make a ring.
How I gather: I pull the thread from the bobbin and the spool (just enough to have it around the edges of the ring. Then zig-zag all around, along the edge, making sure both threads are in the middle of the zig-zag. Now, gather pulling the threads. It is very important to gather as evenly as possible. Gather to the size of the cone circumference.
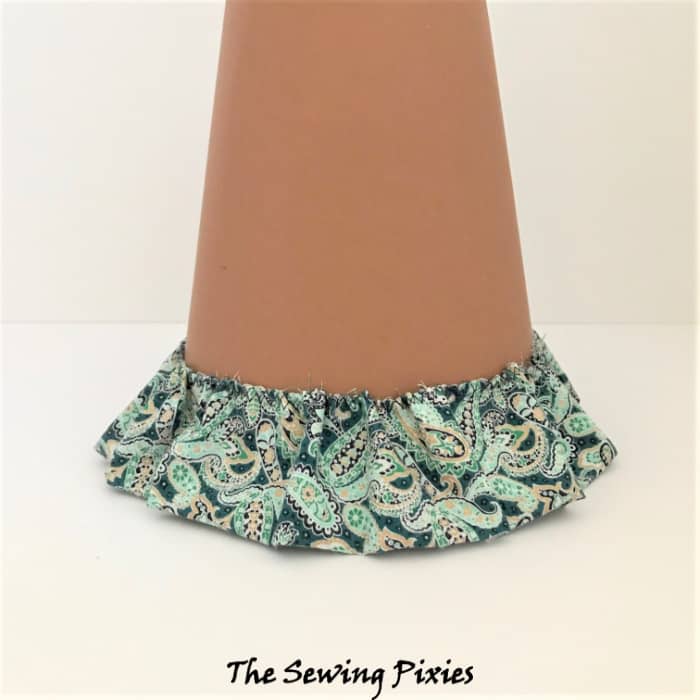
Hot glue each ring to the cone right on the marked lines.
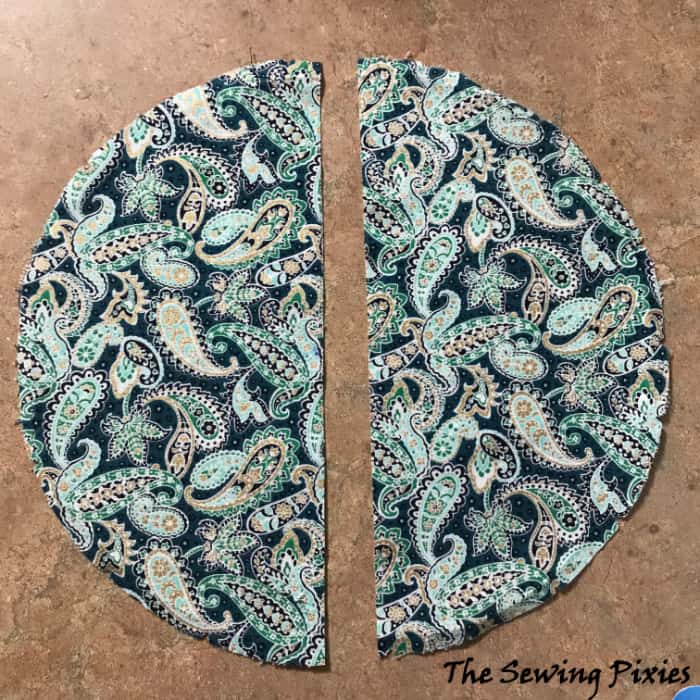
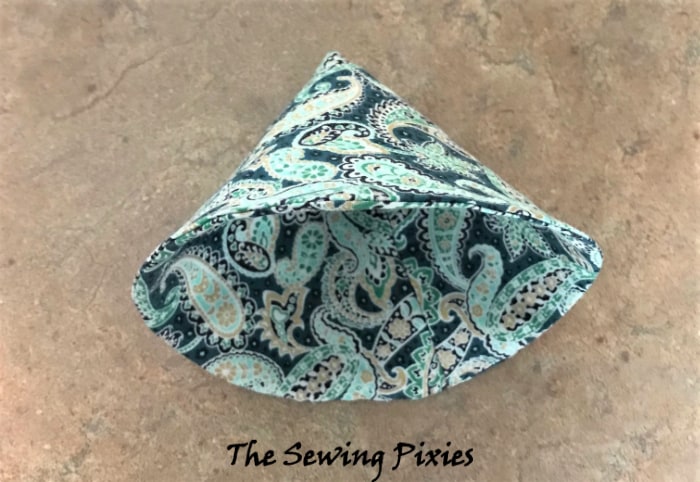
Step 3. Make the top of the fabric cone Christmas tree. It took me some time to figure out how to finish the top of the tree, but finally, I got it.
Cut a circle of 11” diameter out of the quilting fabric and cut it in half.
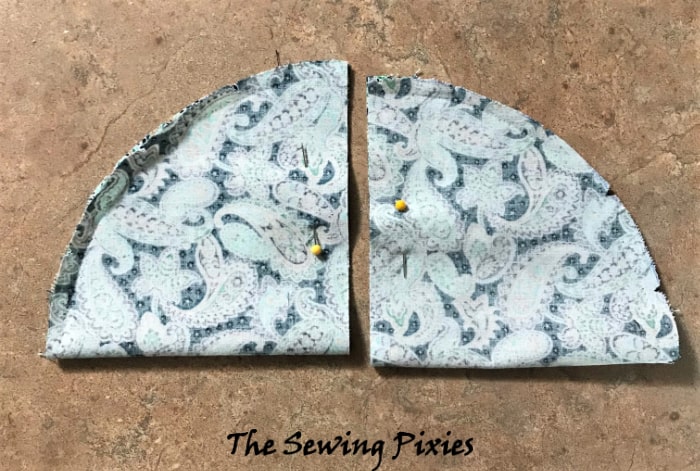
Fold each piece right side together and stitch the straight edges.
You will end up with two small fabric cones. Turn one of the cones right side out and put it into the other one.
Stitch around leaving an opening for turning the cone right side out. Hand stitch the opening close and iron press the edge around.
Hot glue the fabric cone to the top of the tree making some pleats.
There, you made a beautiful fabric cone Christmas tree to decorate your house for the season.
I also thought that white pompoms would nicely accent the tree, and here’s how to make them.
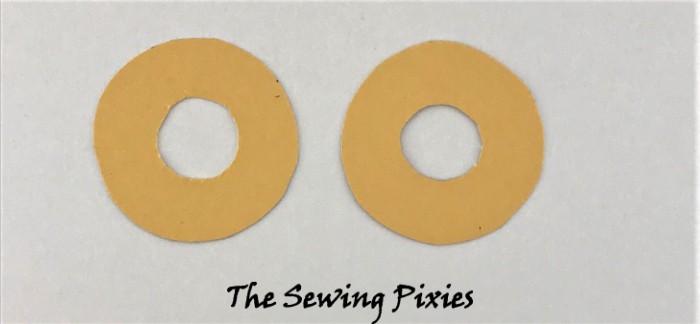
Cut out two identical cardboard discs to the diameter of the intended pompom. Cut the smaller inner circles out of each disc. As a rule, this circle should be half the diameter of the outer circle.
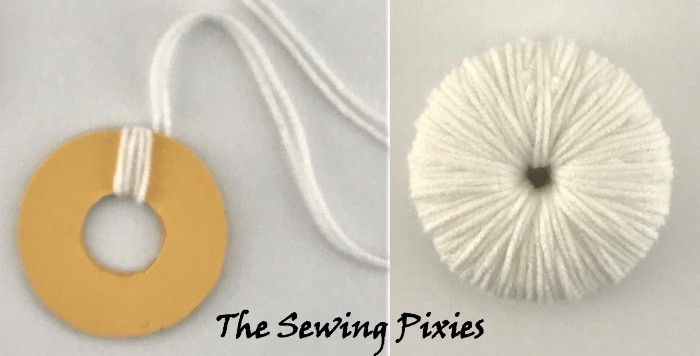
Hold the two cardboard discs together and start to wind the yarn through the center hole and around the ring. Cover the ring entirely until the hole in the center has almost disappeared.
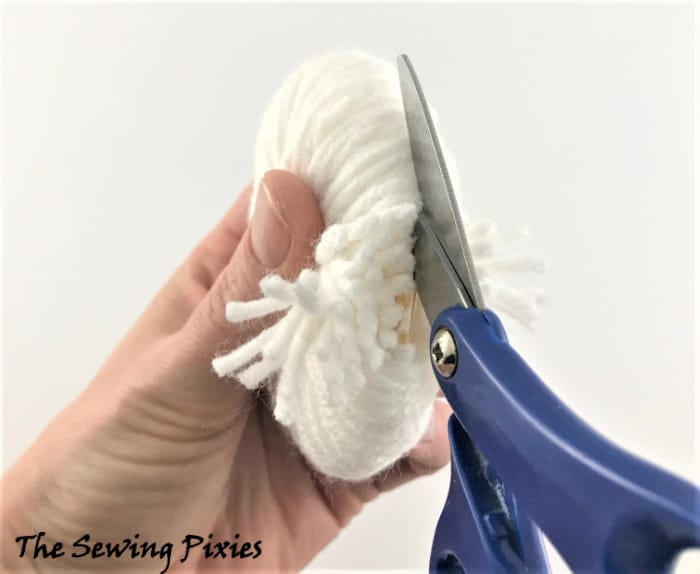
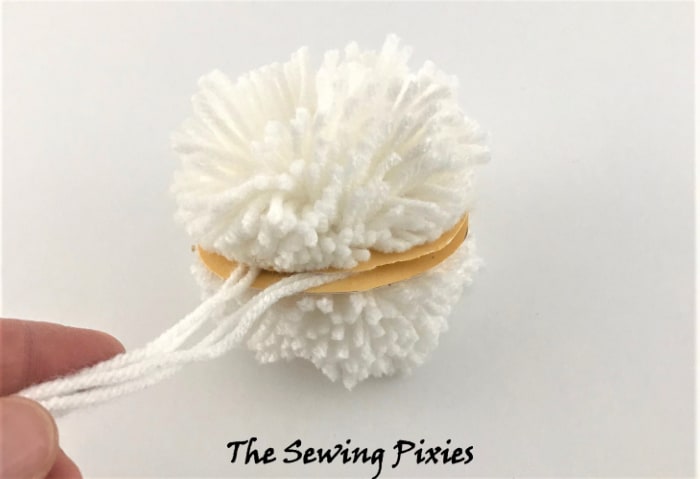
Use fabric scissors to cut through the yarn between the cardboard discs. Cut around the entire circumference.
Now, tie a piece of yarn between the discs to secure the middle of the pompom. Once knotted securely, tear the cardboard to release the pompom. Then, finish by trimming the pompom into a neat ball.
I hope you enjoyed making this beautiful fabric cone Christmas tree. You are welcome to share a picture of your tree on my Facebook page. Also, if you are looking for another Christmas decor idea, you must check out my winter wonderland scene post. And then there is my famous and loved by many mushroom fabric ornament project.