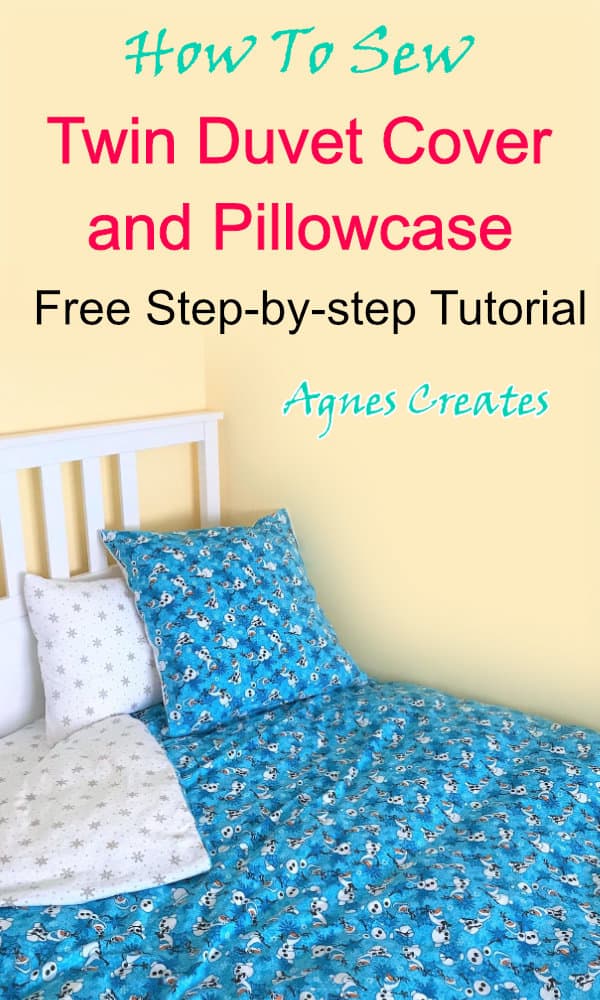
Learn how to sew a twin duvet cover using any fabric you desire! Also, this easy DIY twin duvet cover and pillowcase make a perfect gift for a child!
My inspiration for the easy DIY twin duvet cover was my daughter’s love for cartoon characters. As there are so many fabrics with them, I figured out an easy to sew bedding to keep my daughter excited about going to sleep in her bed. I could finally have my bed all for myself and get a good night sleep without kicks and headbutts.
Most importantly, the majority of the fabrics are good quality cotton, and that makes the bedding cozy and warm. I made the duvet cover using flannel for the colder season and regular cotton fabric for summer. This post contains some affiliate links for your convenience (which means if you make a purchase after clicking a link I will earn a small commission but it won’t cost you a penny more)!
Remember to wash the fabric and the sheet set ahead of time to preshrink it. Also, iron it if needed.
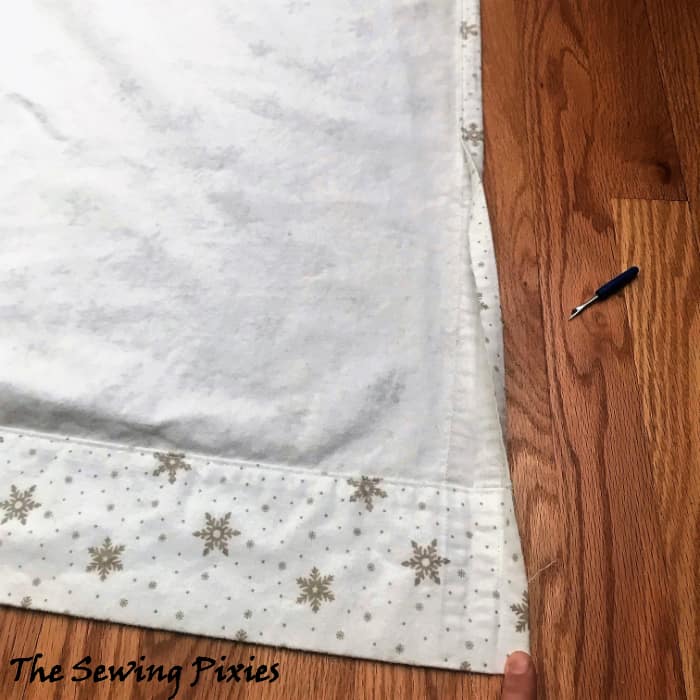
Step 1. First, rip the seam on the sides and the bottom of the flat sheet. Leave the wide hem because that will be used for the closure.
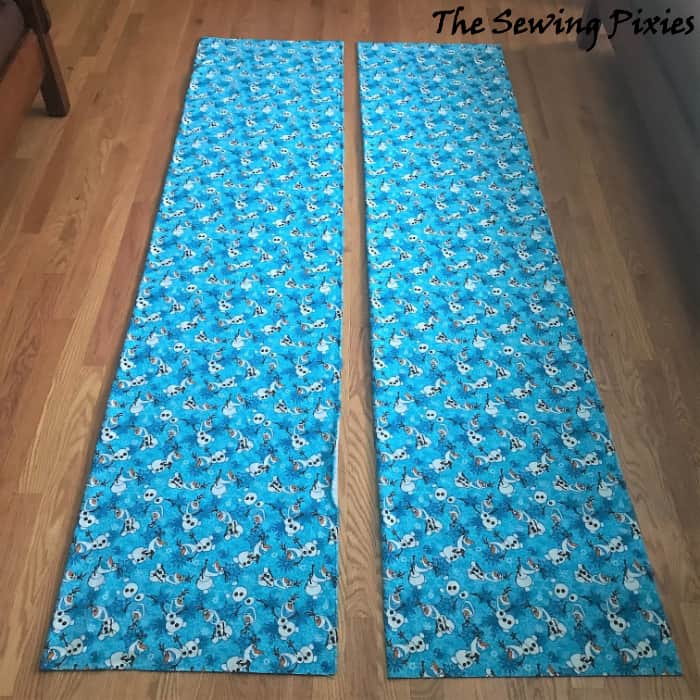
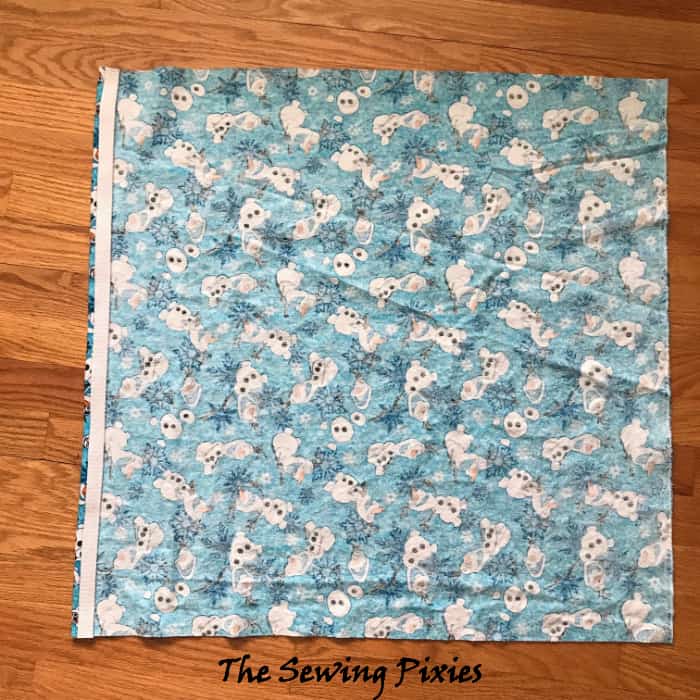
Step 2. Cut out two, 88” long pieces out of the fabric of your choice.
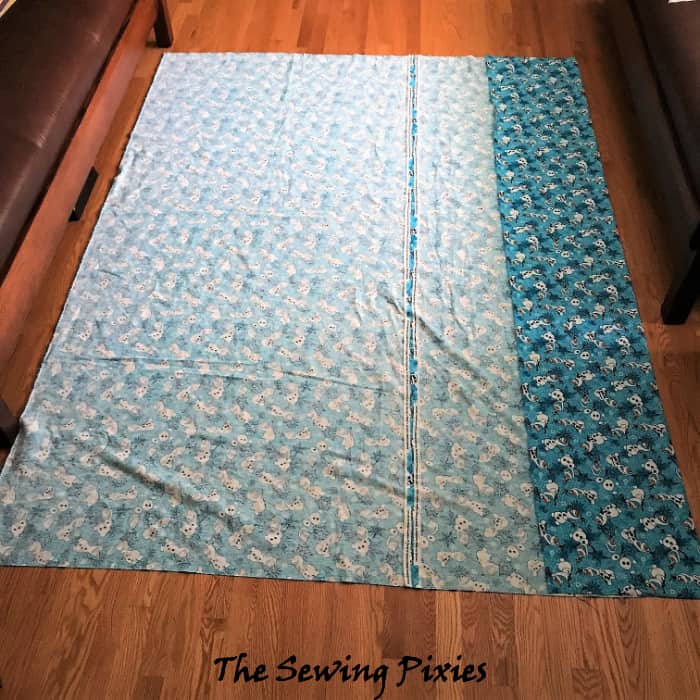
Step 3. Then, pin the pieces right side together and stitch along one long side. Use a zig-zag stitch to finish the seam and that will prevent the fabric from fraying. And then, iron the seam flat to one side. You can stitch the long side by selvages, as I did. In this case, iron the seam flat to both sides.
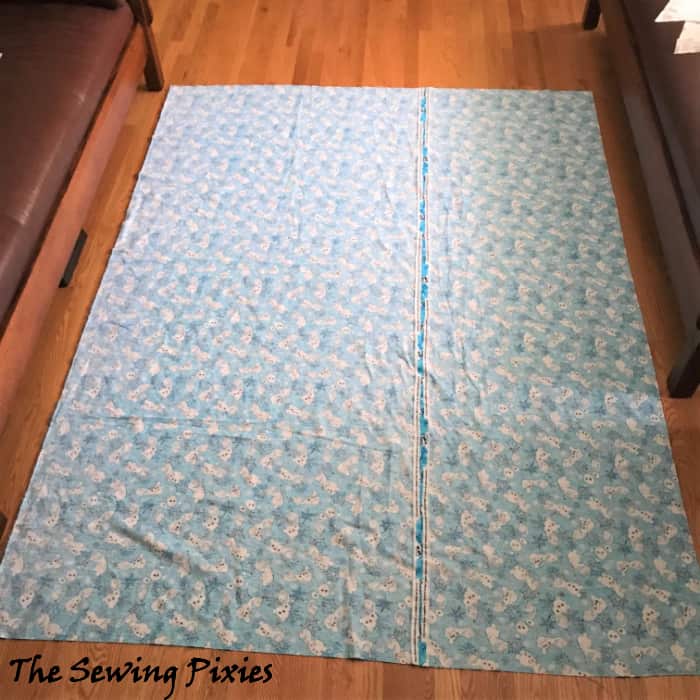
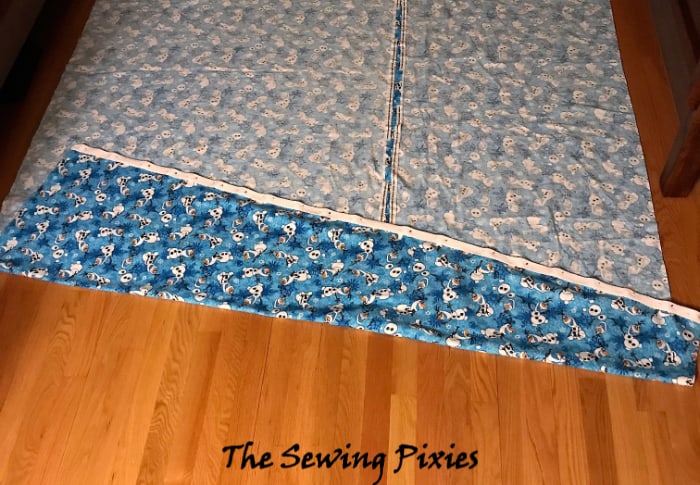
Step 4. Lay the sewn piece flat on the floor and measure 66” from one long side, and then cut along.
Note: the best way to cut a long piece of fabric is to make a small cut on the edge of the fabric and just rip it with your hands. It will rip the fabric perfectly straight following the grain.
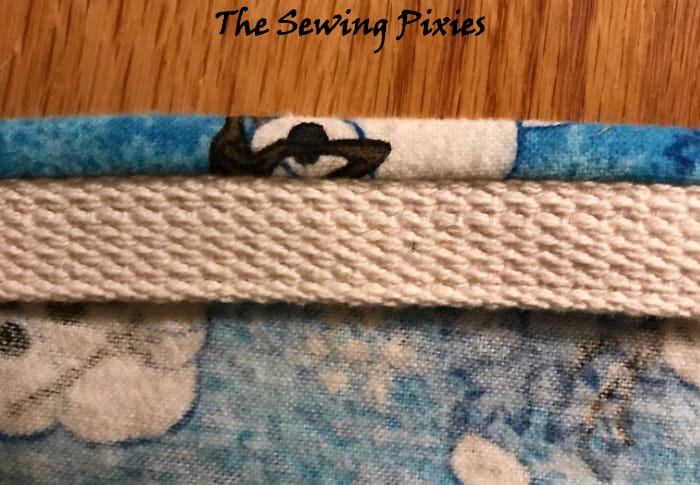
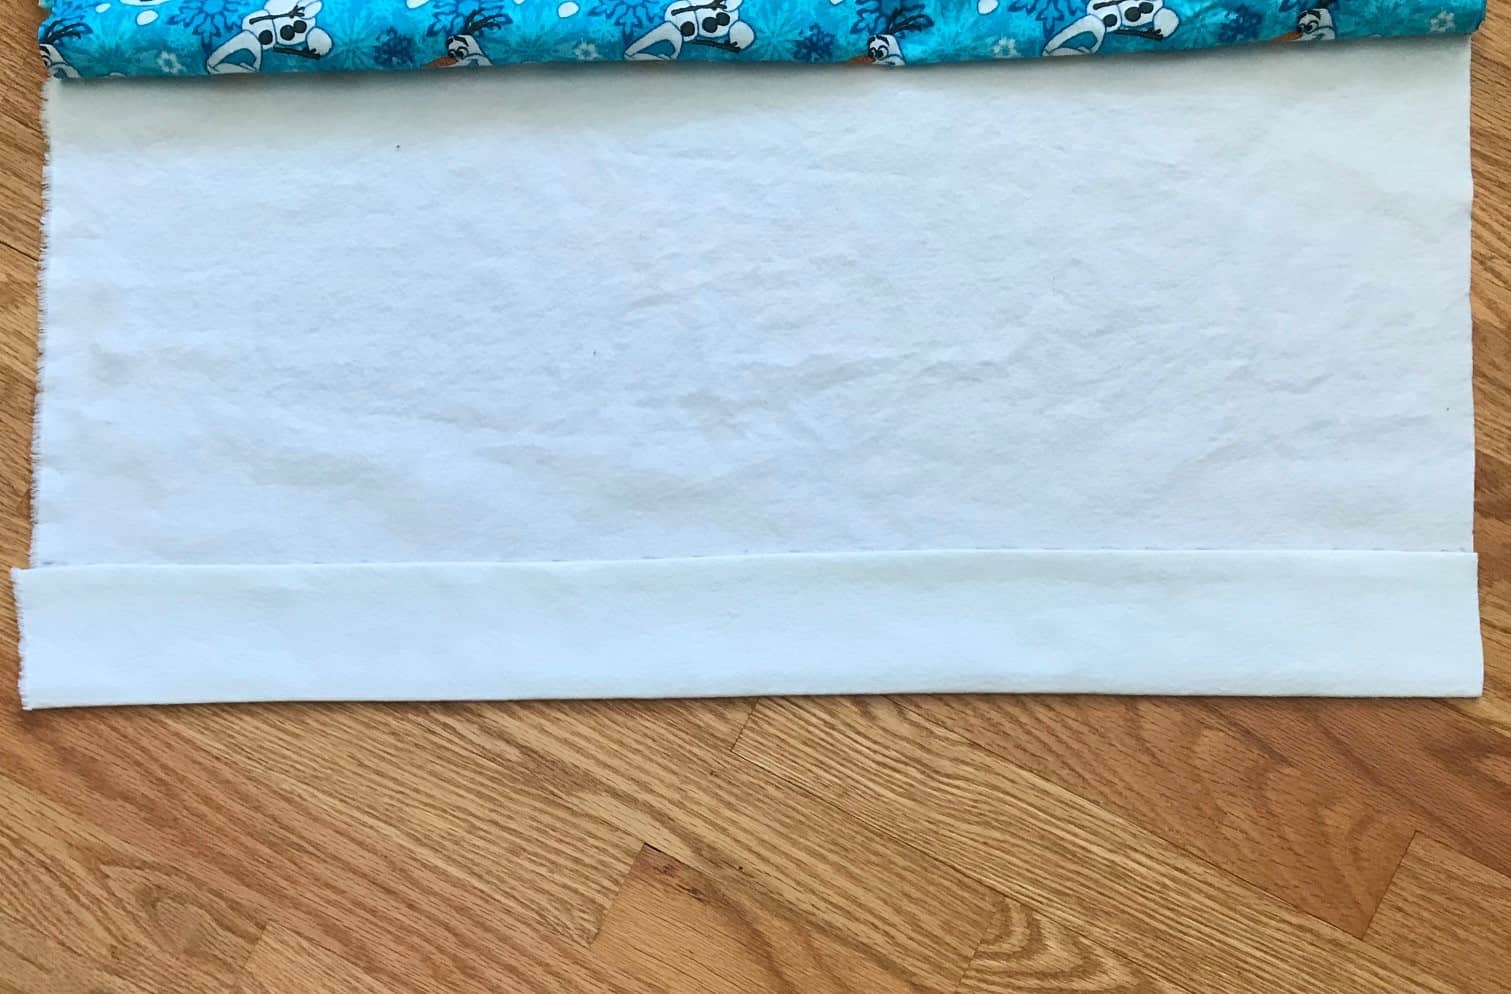
Step 5. Cut about 65” long twill tape and pin it to the right side of one of the short edges.
Step 6. Then stitch along and pin the tape to the left side. Stitch again but close to the other edge of the tape.
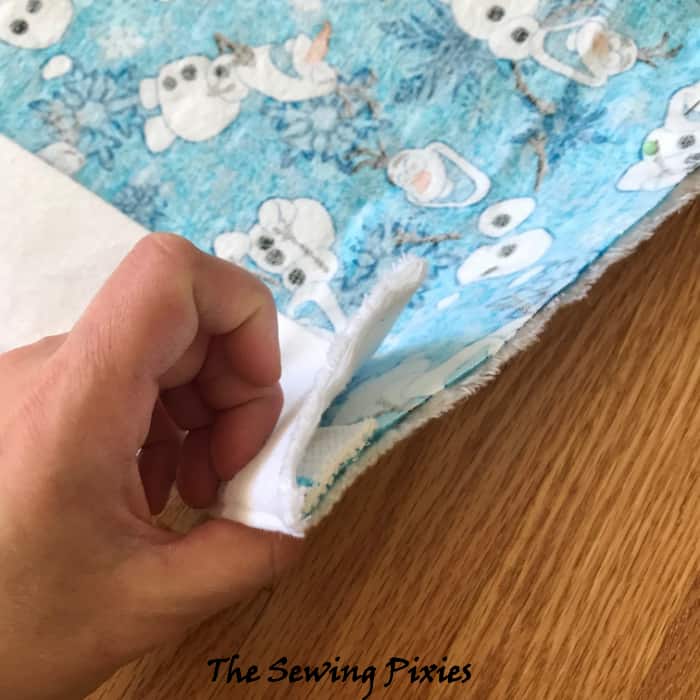
Step 7. Finally, align and pin the flat sheet and the fabric piece right sides together. Start with having the wide hem of the sheet over the fabric edge with the tape. Please refer to the picture. You may have the flat sheet a little longer. In that case, just trim it so the edges of both pieces are even and nicely aligned.
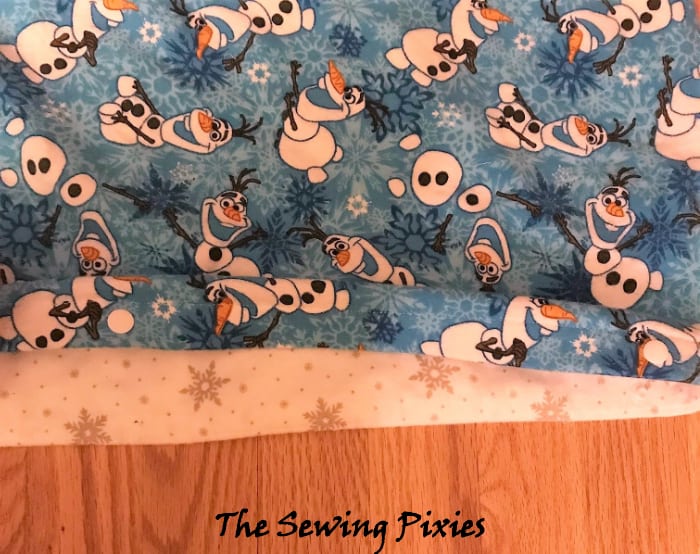
Next, stitch starting on one side of the folded over edge, then the bottom, and finish sewing through the other side of the folded edge.
Using a zig-zag stitch, finish the seam to prevent the fabric from fraying.
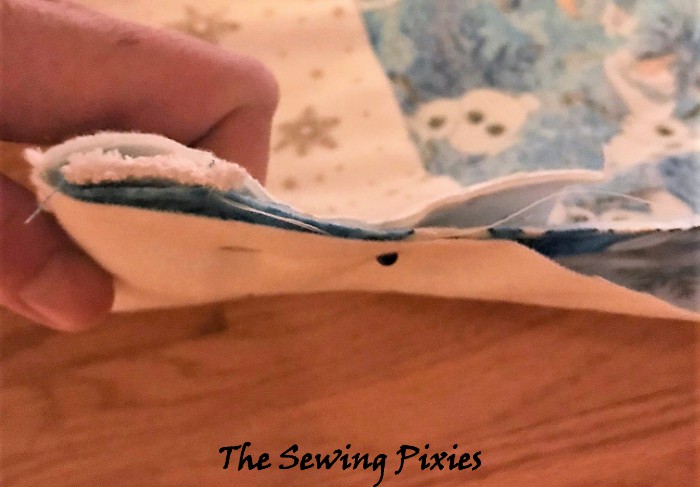
Step 8. Turn the cover right side out and align the folded edge. Make 4-5 marks to install the snaps. Install one part of the snaps on the edge with the tape and the other part on the wide hem of the flat sheet.
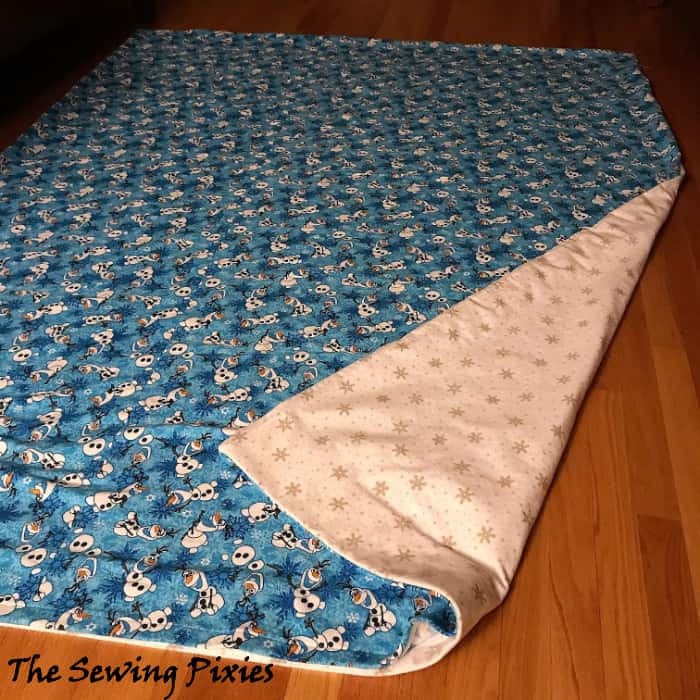
And there! You’ve learned how to sew a twin duvet cover using a flat sheet and your favorite print fabric.
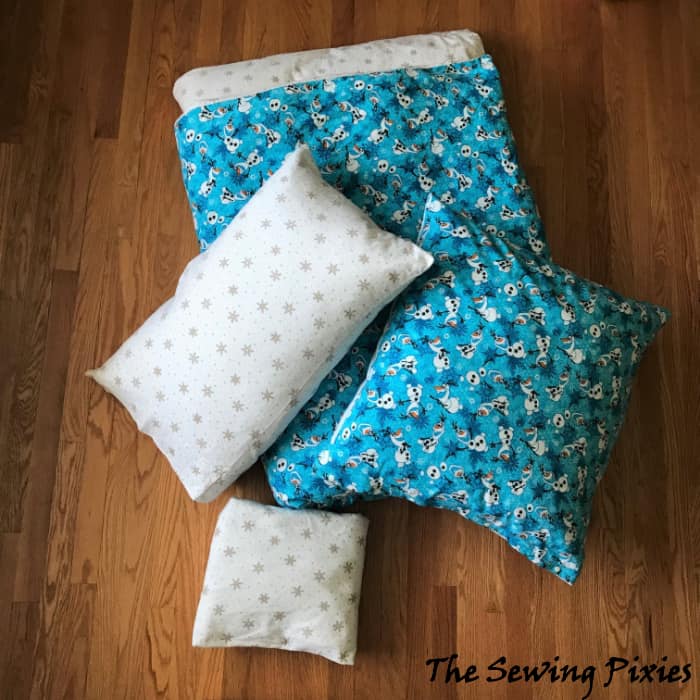
Now, I will show you how to sew a pillowcase for a square 26”x26” pillow to match the DIY duvet cover.
Step 1. Cut a 27”x27” square out of the fabric you have leftover from making the cover. Then, stitch the twill tape to the right side of the fabric along one edge. Pin the sewn tape to the left side of the fabric and stitch along the other edge of the tape.
Step 2. Cut a 27”x 34” piece out of the matching fabric for the pillowcase bottom. Then, fold one of the shorter edges 3.5” to the left side twice and stitch along the inside edge of the fold.
Step 3. Now, pin the two pieces right sides together. Starting with folding over the wide hem edge over the edge with the tape. Then, stitch along the other three edges. Turn the pillowcase right side together and install a few snaps the same as on the cover.
Now, you have a beautiful twin bedding set! It would work perfectly as a handmade gift for your loved ones.
I hope you found the easy DIY twin duvet cover tutorial useful. You can post a picture of your handmade bedding on my Facebook page.