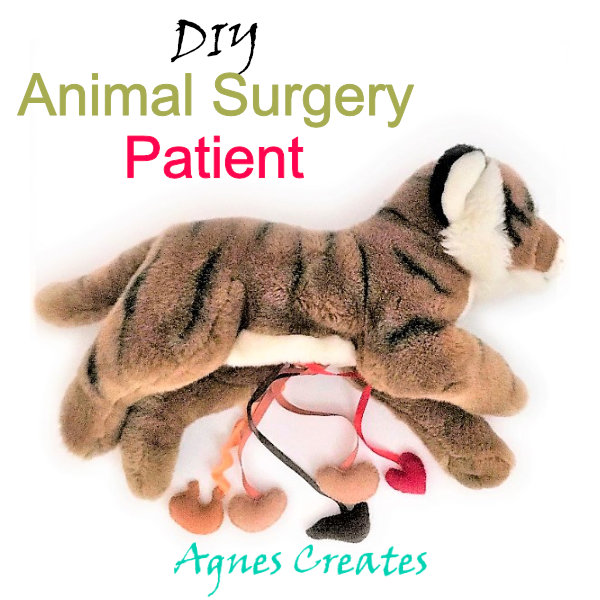
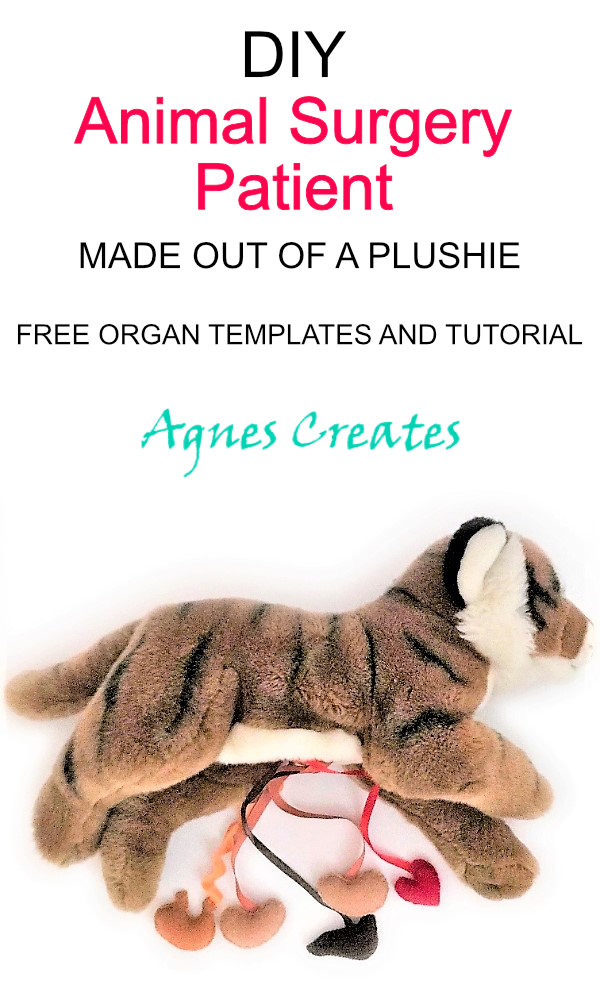
Are you looking for an awesome pretend play toy for your kids? DIY Vet Surgery Patient is the answer!
My daughter loves playing being a doctor, and she also loves animals. She would play for hours in the animal hospital pretend play area at our beautiful Brookfield ZOO. And that’s where I got the idea for a DIY vet surgery patient.
We have tons of plushies at home, and I am sure most households with kids have them too. So, if you want to surprise your little surgeons with an interesting toy, let’s DIY a vet surgery patient for them. This post contains some affiliate links for your convenience (which means if you make a purchase after clicking a link I will earn a small commission but it won’t cost you a penny more)!
What You Need for DIY Vet Surgery Patient Pretend Play
free organs template, which is in my resource library– to get the password to it, fill out the form at the bottom of this post.
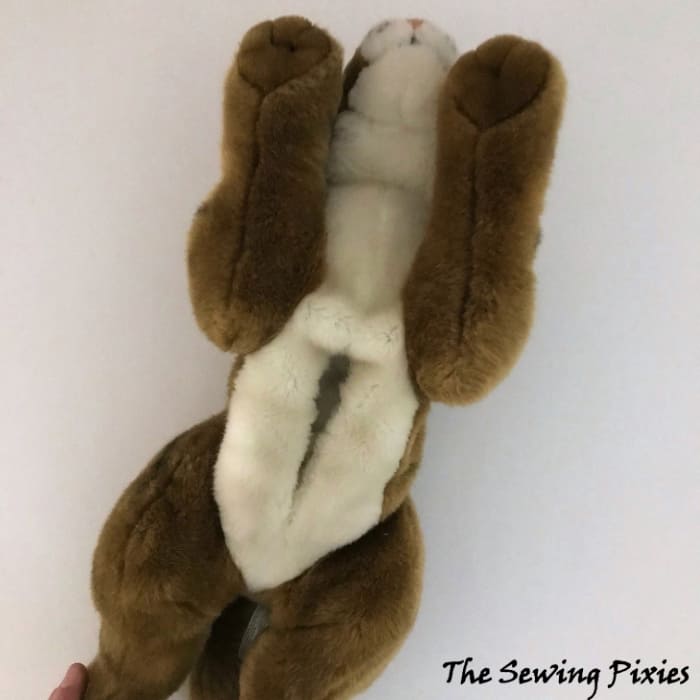
Step 1: Rip 4” long seam in the abdominal area of the plush animal. If there is no seam in the middle of the plushie, ripping the seam on the side of the body works great too. Also, take some stuffing out, that way you make a space for the organs.
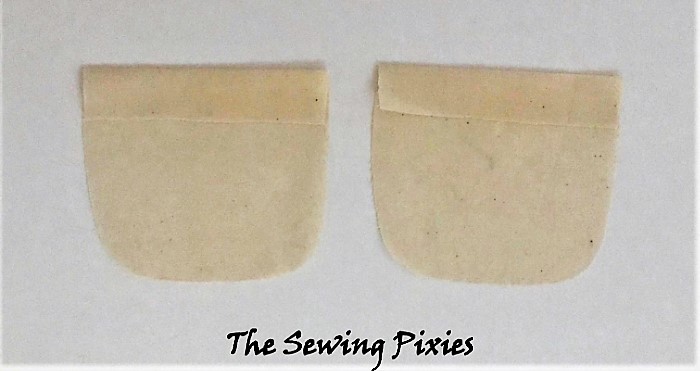
Step 2: Cut the two abdominal pouch pieces out of muslin fabric.
Working with muslin fabric is so easy because you can’t tell the difference between the right and wrong sides. So, fold 1” of the top edges to one side and iron press.
Let’s say that in that case, the sides with the folded raw edges are going to be the wrong sides.
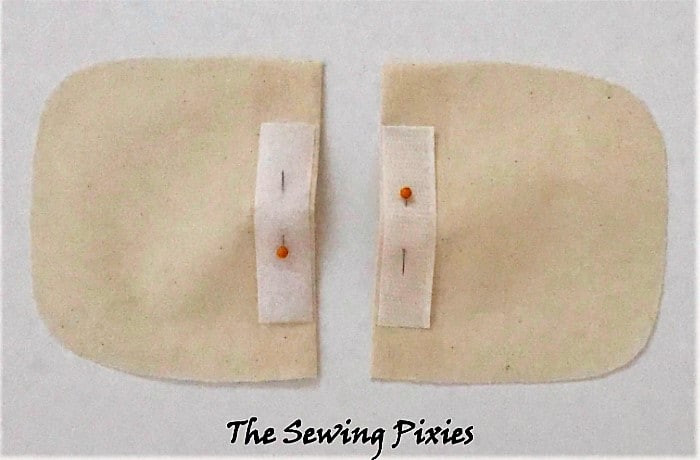
Step 3: Pin the 3” Velcro to the right side of the pouch pieces and stitch around. Try to position them in the middle and close to the edges. Put the pieces aside for now.
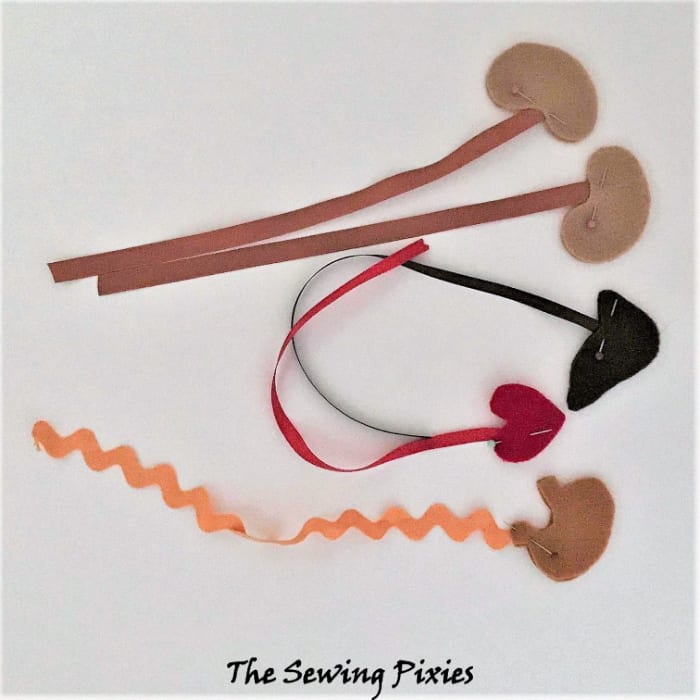
Step 4: Cut all the organ pieces out of the felt using the felt colors of your choice. Also, cut five 10” long ribbons that would match the organs. I like the zigzag ribbon to use as a connection with the stomach, because it resembles the look of the intestines.
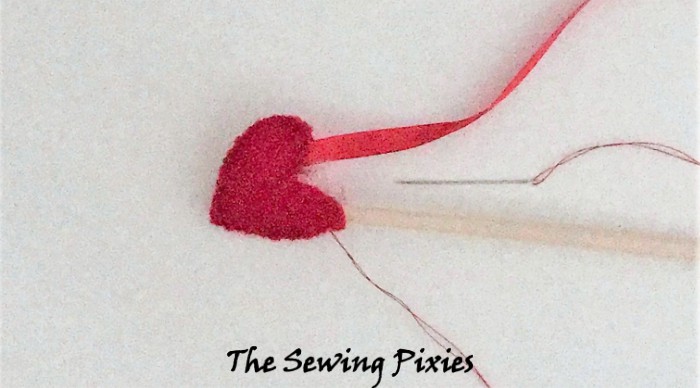
Pin all the pieces together and remember to put the ribbons in between, about 3/4” deep.
Using a matching thread, hand-stitch together the edges around. Stuff some fiberfill inside each organ before finishing off.
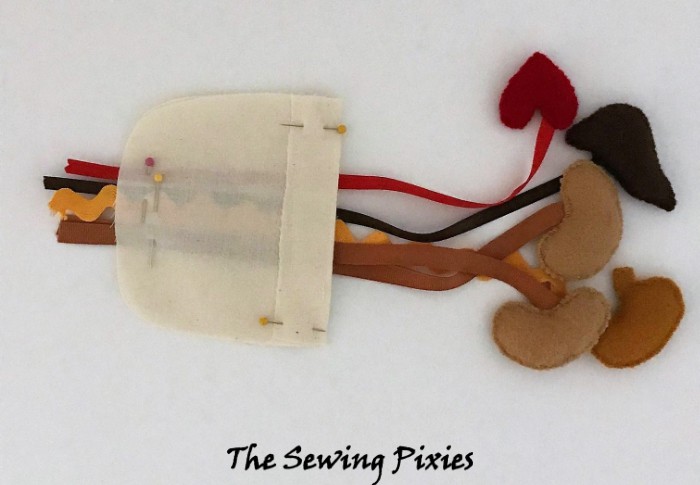
Step 5: Pin the abdominal pouch pieces with Velcro sides together and pin the ribbons to the bottom of the pouch. Make sure the ribbons stick out at least 1” for more durability, stitch the raw edges together twice. You know, these little surgeons can be pretty rough sometimes, lol.
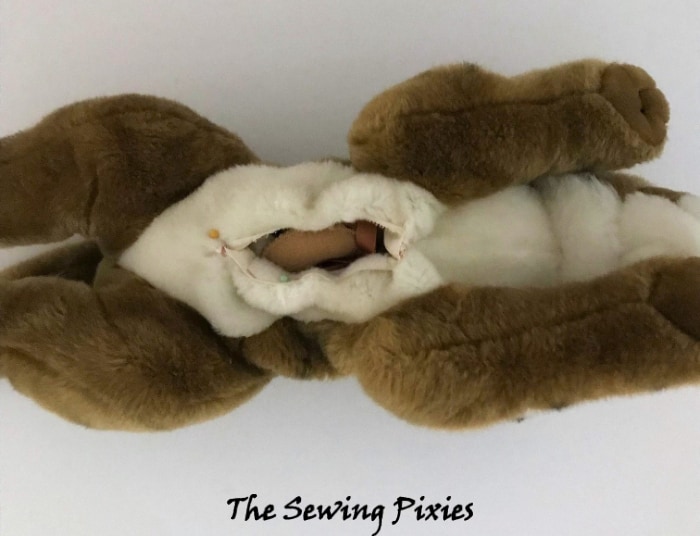
Step 6: Get the organs out of your way by stuffing them inside the pouch. And then, insert the pouch into the plushie. Pin the edges of the ripped seam and the pouch together. Hand stitch twice around for durability.
All done with DIY vet surgery patient plushie, and I’m sure your little surgeons will pretend to play for hours.
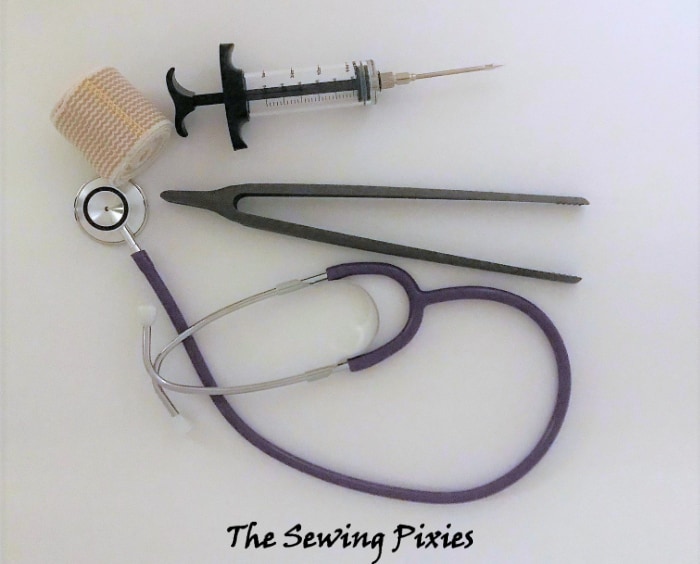
Also, you can get some of the tools needed for operations and make the plushie feel all better.
2 thoughts on “DIY Vet Surgery Patient Pretend Play”
Hi:) What a wonderful gift! I am making this for my daughter who wants to be a vet:)
I am wondering if you could share have your template for the organs?
Thank you so much
Warmly,
Lindsay
Hi:) What a wonderful gift! I am making this for my daughter who wants to be a vet:)
I am wondering if you could share have your template for the organs?
Thank you so much
Warmly,
Lindsay
Lindsey, you can find templates in my library. You need to sign up for my newsletter and you’ll receive a password to my library.