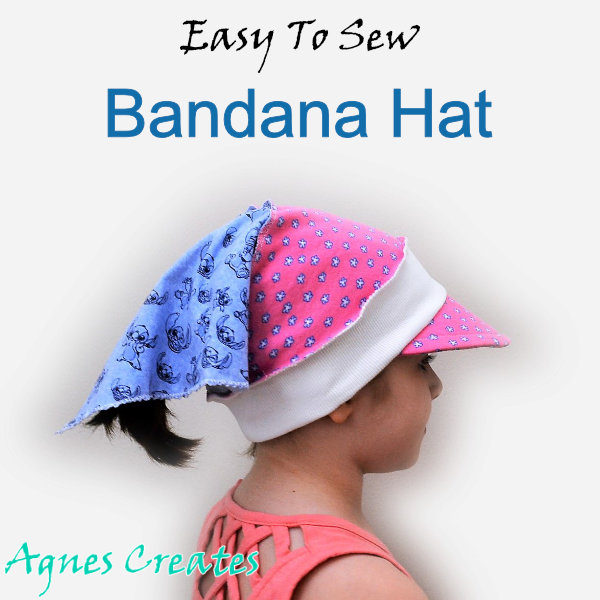
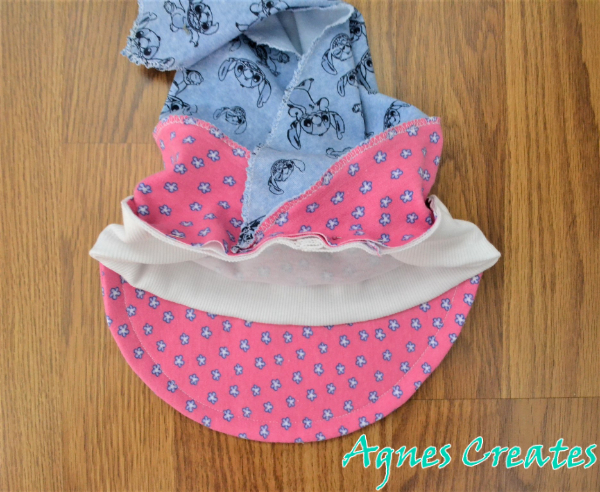
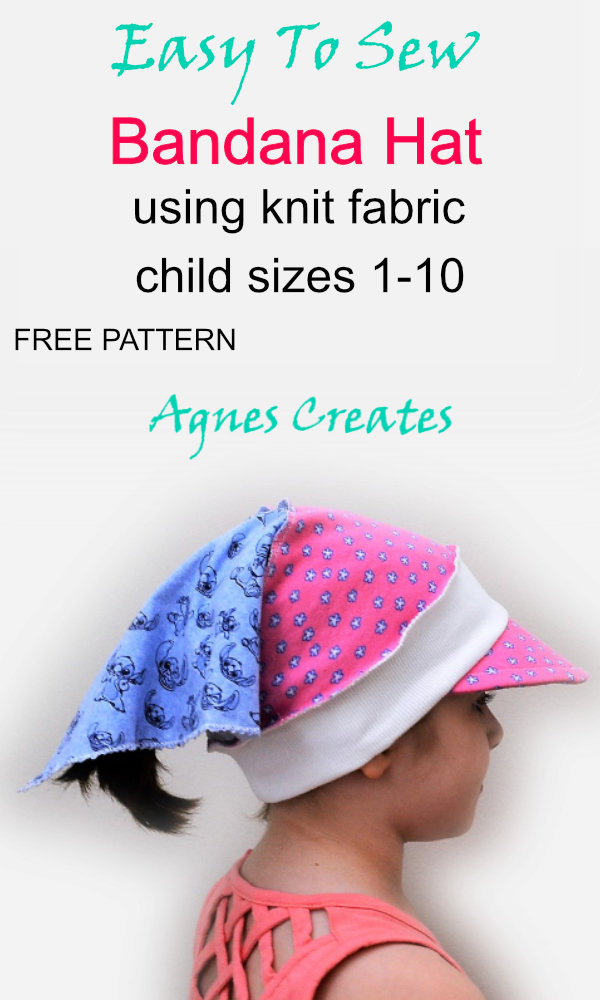
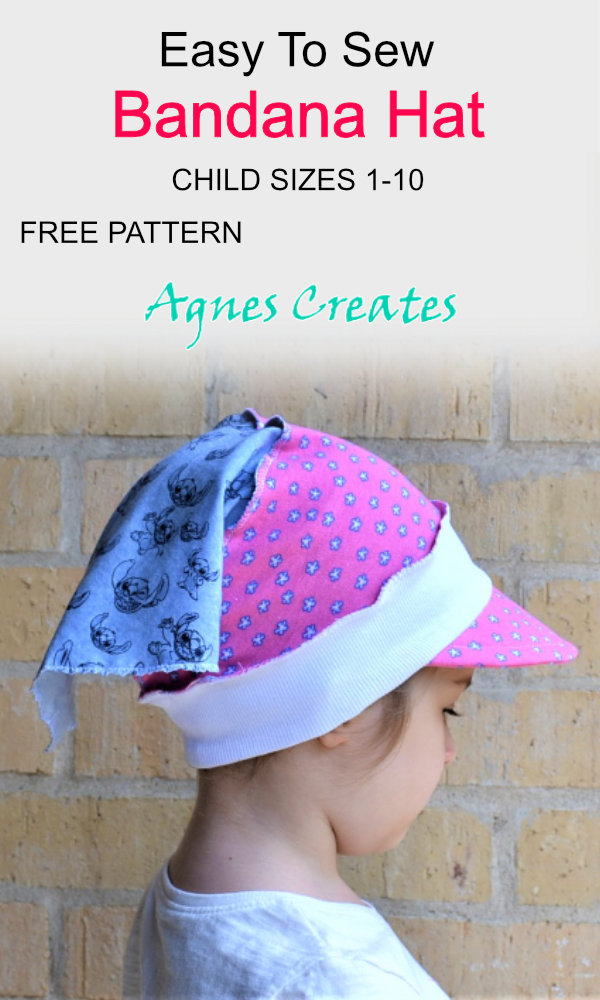
Get an easy to sew bandana hat free pattern and learn how to sew a summer hat for a girl! Also, beautiful hats make great handmade gifts.
Have you seen my easy to sew visor hat that I’ve designed lately? I used a stretchy knit fabric to sew the newsboy type of hat, and I really liked how it turned out. I liked it so much that I designed another summer hat using knit fabric. And that is an easy to sew bandana hat.
A lot of beginners are afraid of sewing with knits because they are stretchy fabrics. Sewing with knit fabrics used to scare me, too, but I’ve learned some tricks. You can find very useful tips while reading my post on sewing with knits for beginners.
Let’s get ready for easy to sew a bandana hat!
So, you’ll need a ribbed fabric that is used to make the band for the hat. Also, you can use one print of fabric for the visor and the bandana. Or, you can mix and match as I did in sewing my hat. This post contains some affiliate links for your convenience (which means if you make a purchase after clicking a link I will earn a small commission but it won’t cost you a penny more)!
I recommend buying interlock knit for sewing the bandana hat. It is because the interlock knit fabric is cotton and has a nice thick quality.
easy to sew bandana hat free printable pattern that is available to download in my resource library– to get the password to it fill out the form at the end of the post
I am happy to share with you how to sew a bandana hat!
Always remember to wash and dry fabric ahead of time to pre-shrink it.
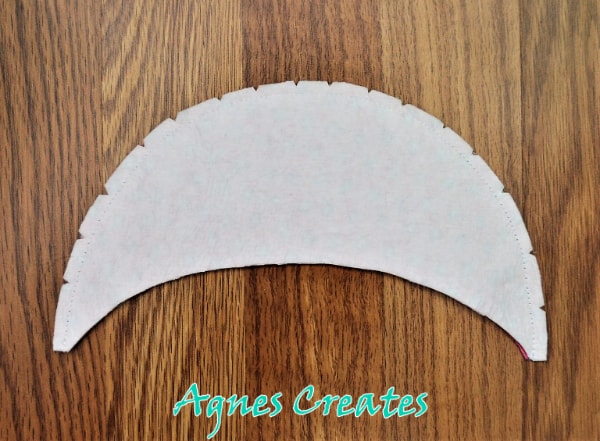
Step 1. First, cut out the visor pieces from the fabric. And then iron the interfacing to the wrong side of the fabric. Cut the excess interfacing off.
Now, pin the visor pieces right side together and then stitch the outer edge. Then, make notches along the outer edge seam allowance. But, make sure not to cut through the seam.
Turn the visor piece right side out and nicely iron press the seam. Use a zig-zag stitch to stitch the inner edges together and straight stitch to topstitch about 0.5” from the outer edge.
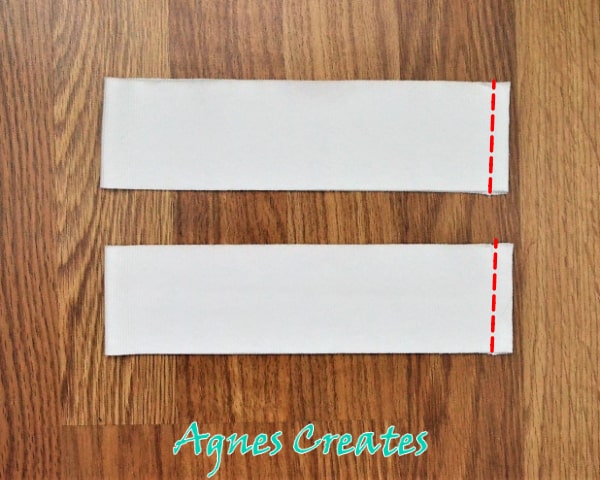
Step 2. Measure the circumference of your child’s head and cut two 2.5” wide strips out of the ribbed fabric. And make the length of the ribbed strips one inch shorter than the head circumference. It is because you are working with stretchy fabric, so it needs to be smaller to nicely fit the head.
Now, fold the strips in half right sides together and stitch the short edges.
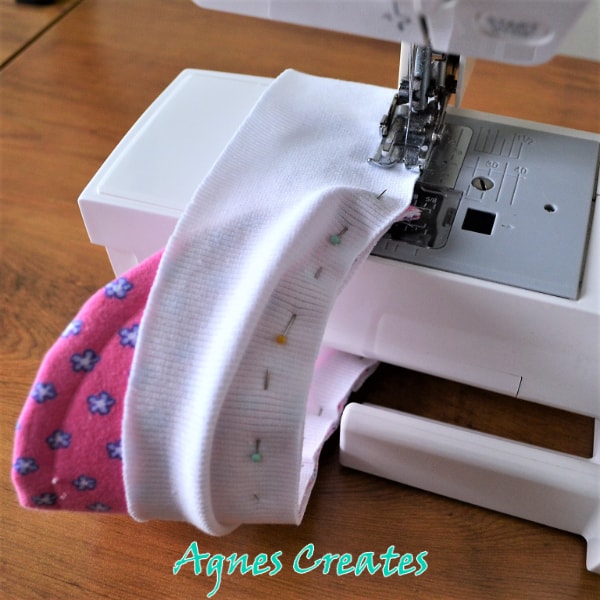
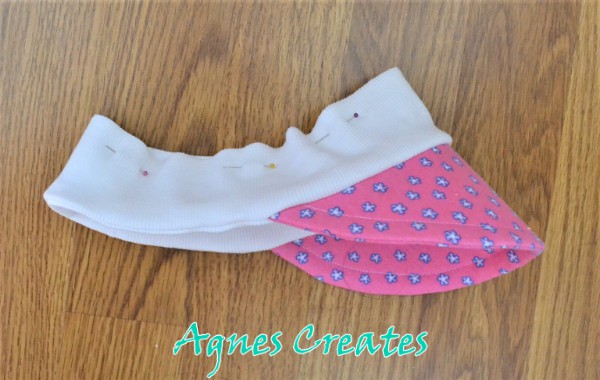
Step 3. Align the strips right sides toward the inner edge of the visor and then pin all the layers together. You can slightly stretch the ribbed strips to the visor piece, it will make the pieces align more easily.
Now, using the knit stitch on your machines, slowly stitch the pieces together.
Step 4. Pin the opposite edges of the band, the wrong side together. You can finish the raw edges using a zig-zag stitch, and that way you’ll have a nice sun visor band.
Since you are sewing a bandana hat today, there is no need to finish the raw edges of the band now.
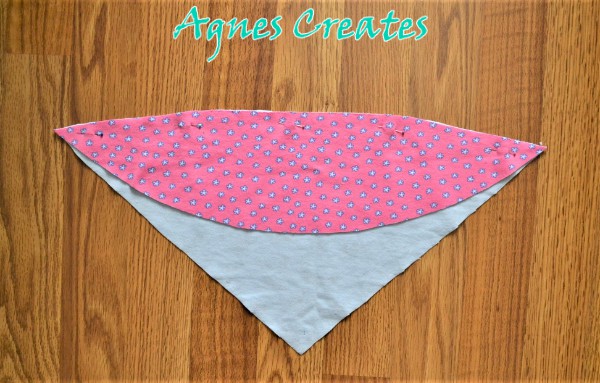
Step 5. Cut out the template for the front bandana piece, and then use it to cut out the fabric for the bandana.
Place the just cut piece on the other fabric that you want to make the bandana with. Measure about 10” from the center of the front piece and make a mark with a pencil. Then, cut the fabric from the sides of the front piece to the marked point.
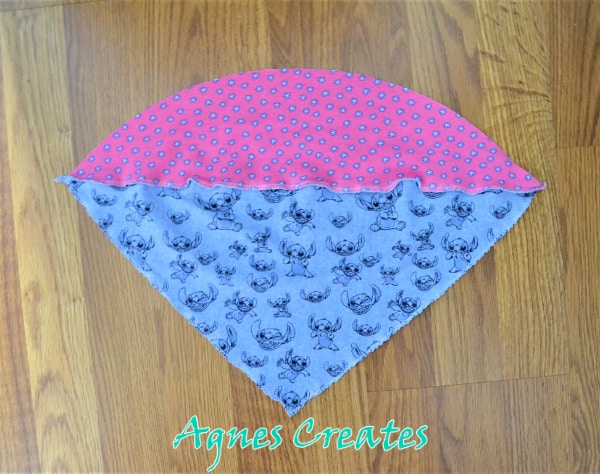
Next, using overlock knit stitch, stitch the two pieces left side together.
If you want the bandana just in one fabric print, then skip cutting out the front piece. In that case, cut the whole bandana out of the one fabric print in the desired length. But use the front piece template as a guide to cut the front edge of the bandana piece.
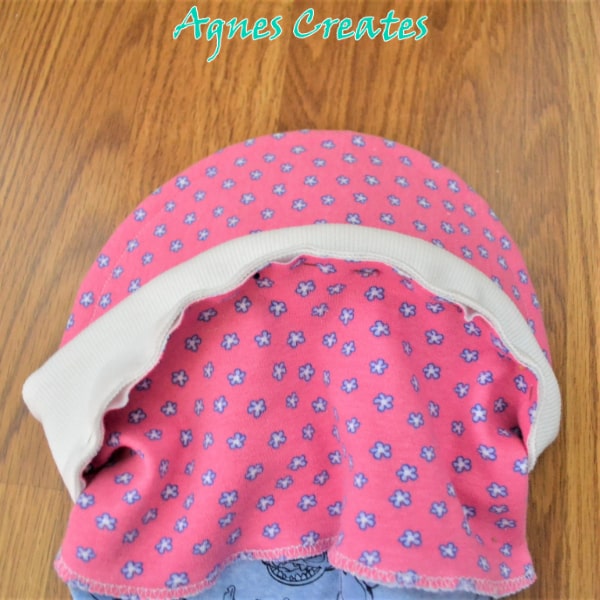
Step 6. Mark the middle of the bandana and the middle of the band by the visor. Now, pin the wrong side of the bandana piece and inner band together, matching the middle marks.
On the back of the hat, have the bandana’s upper corners pinned one on top of the other.
Finally, using an overlock knit stitch, stitch the bandana to the band.
And, nicely done! Sewing with knit fabric wasn’t that bad, wasn’t it?
If you want to sew a similar summer hat but using regular cotton fabric, then check my post on how to sew a bandana visor hat.
I hope you enjoyed my tutorial on sewing this beautiful bandana summer hat. You are welcome to share your sewing work by posting your finished bandana hat on my Facebook page.