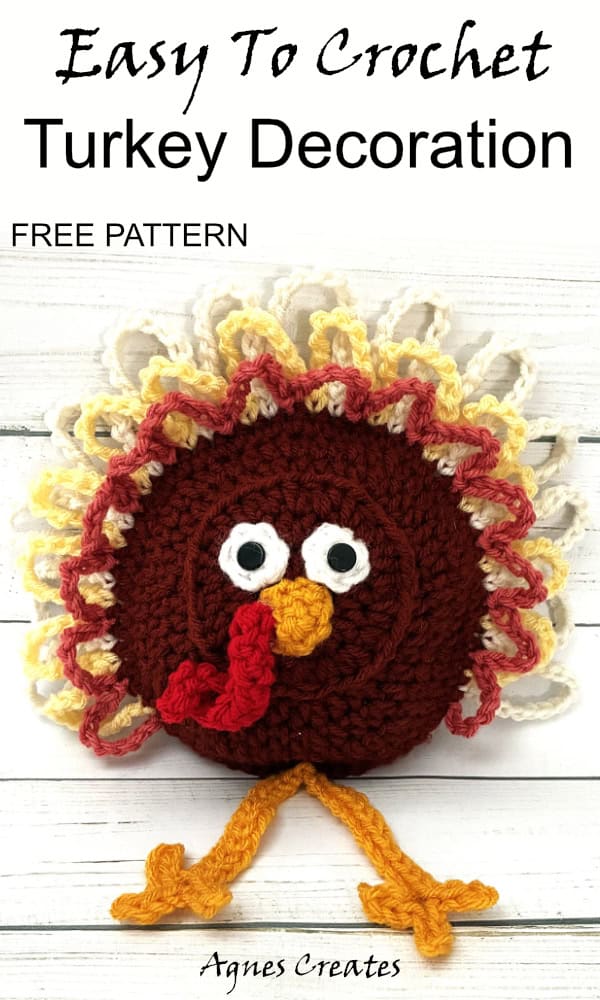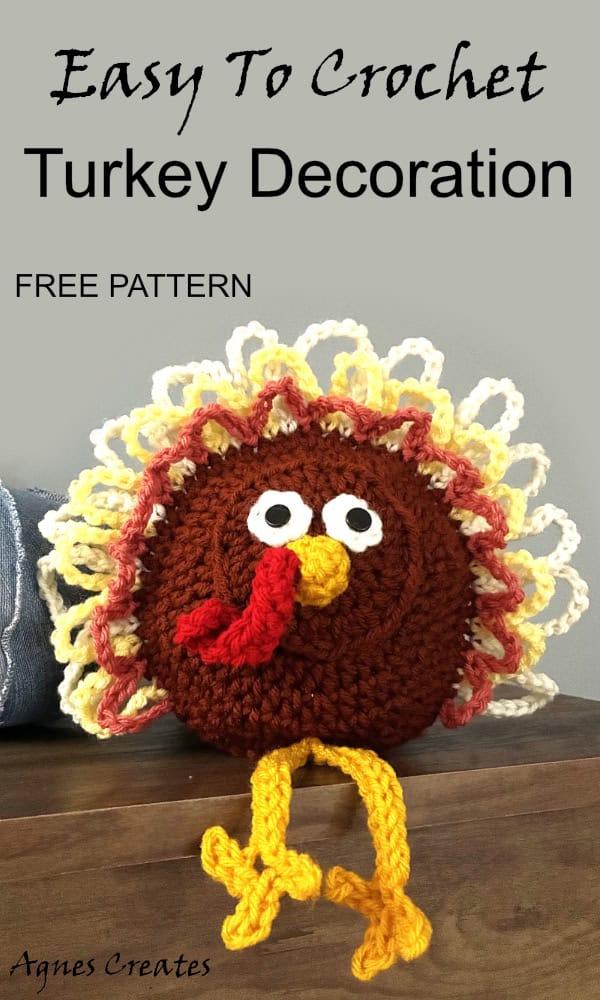

Follow my turkey decoration crochet pattern and learn to crochet a fun and colorful Thanksgiving decor!
My turkey decoration crochet pattern calls for Red Heart Super Saver yarn in fun fall colors. I love working with this yarn because it comes in a variety of colors that I can use for many crochet projects. Some of my favorite crochet project ideas using Red Heart Super Saver yarn are:
-
fall wreath crochet pattern, where you’ll learn how to crochet sunflowers and mums
-
pumpkin wreath crochet pattern, where it shows how to crochet pumpkin leaves and how to crochet a cover for a styrofoam wreath
-
cone tree crochet pattern in different sizes using alpine crochet stitch
You can buy the Red Heart Super Saver yarn in your local Walmart, Micheal store, or on Amazon. This post contains some affiliate links for your convenience (which means if you make a purchase after clicking a link, I will earn a small commission, but it won’t cost you a penny more)!
What you need for a turkey decoration crochet pattern
-
big twist yarn – cinnamon or red heart yarn – coffee
-
red heart yarn – brick red, aran, lemon
-
red heart yarn – white, golden, and red yarn
You can buy the Red Heart Super Saver yarn on Amazon for your convenience
-
crochet hook size I (5.5mm), I love the Clover crochet hooks
-
3/8 inch/ 9mm black shank buttons
-
yarn hand needle
-
scissors
-
fiber fill stuffing
Abbreviations:
ch- chain
hdc- half double crochet
sl st- slip stitch
st(s)- stitch(es)
Let’s follow the turkey decor crochet pattern step by step
Head:
Using cinnamon or coffee color yarn, make a magic circle,
1. ch1, work 10 hdc into the circle, sl st to first hdc (10)
2. ch1, 2hdc in each st around, sl st to first hdc (20)
3. ch1, 2hdc in each st around, sl st to first hdc (40)
Cut the yarn, leaving a long tail, and pull the yarn through the stitch.
Body (make 2):
Using the cinnamon color yarn, make a magic circle,
1. ch1, 10 hdc into the ring, sl st to first hdc (10)
2. ch1, 2hdc in every st around, sl st to first hdc (20)
3. ch1, *2hdc in next st, hdc in next st* – x10, sl st to first hdc (30)
4. ch1, *2hdc in next st, hdc in next 2sts* – x10, sl st to first hdc (40)
5. ch1, *2hdc in next st, hdc in next 3sts* – x10, sl st to first hdc (50)
6. ch1, *2hdc in next st, hdc in next 4sts* – x10, sl st to first hdc (60)
Cut the yarn, leaving a long tail, and pull the yarn through the stitch.
Eyes (make 2):
With white yarn, make a magic circle, ch1, work 6sc into the circle, sl st to first sc. Cut the yarn, leaving a longer tail, and pull the yarn through the stitch.
Thread the yarn needle with the yarn tail.
Secure the thread on the back of the eye by stitching through the top loop of stitches right next to the middle opening.
Push the needle with yarn through the opening and thread the button on the needle.
Slide the button on the yarn and push the needle back to the wrong side of the eye. Also, push the button shank into the opening.
Stitch through the top loop of a stitch and tie a knot with the beginning yarn tail to secure the yarn. You can use the yarn tails to sew on the eyes to the turkey’s head or snip them and glue the eyes on with hot glue.
Beak:
With golden color yarn, make a magic circle,
1. ch1, work 4sc into the circle, sl st to first sc
2. ch1, 2sc in each sc around, sl st to first sc with red yarn
3. ch14, dc in fourth st from the hook, dc in next 3sts, hdc in next 3sts, sc in last 3sts, sl st to the beak st.
Assembly:
As I mentioned earlier, you can sew on or hot glue the eyes to the turkey’s head. You can do the same with the beak.
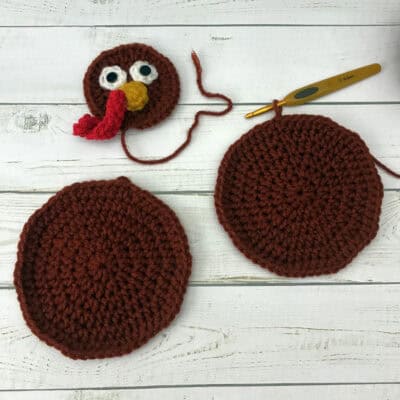
Now, use a yarn needle to sew the head piece to one body piece. Use a straight stitch right by the edges.
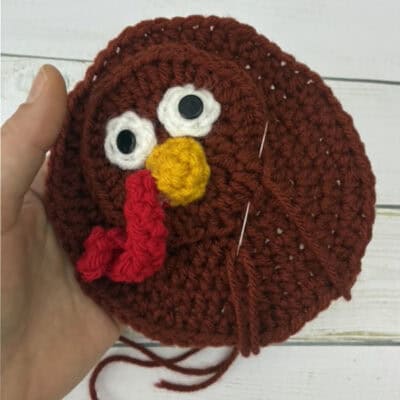
Align the body piece with the head and the other body piece. Use the yarn tail from one of the body pieces and single crochet the body pieces together. Stuff some fiber fill inside before crocheting it closed. Cut the yarn and pull the yarn through the stitch. Finish off by weaving the yarn tail inside the turkey body.
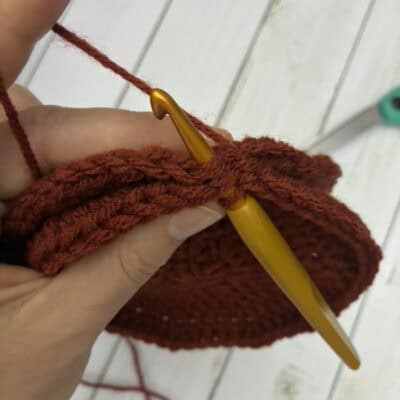
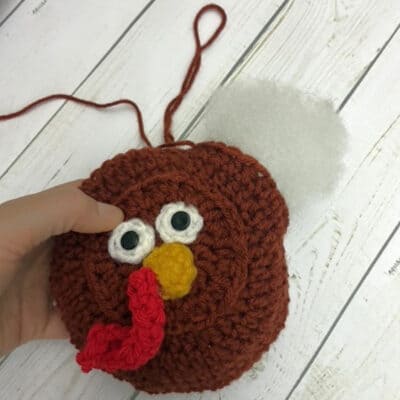
You have a little turkey pillow. Crochet chains into the single crochet edge that connects the turkey body pieces.
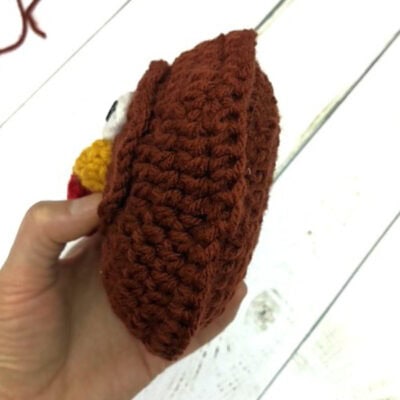

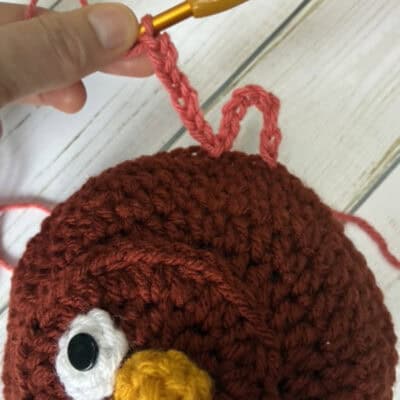
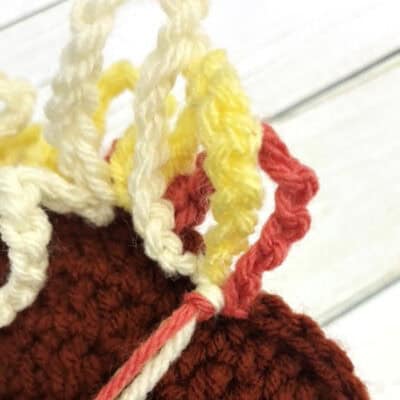
Count 21 stitches from the top of the body piece to the one and side of the turkey body. Slip stitch red brick color yarn into the 21st stitch and ch 8, skip 2 sts, slst to the next st – repeat 13 times
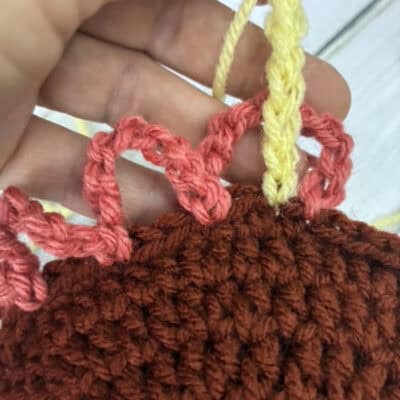
Sl st lemon color yarn to the st next to the red brick color in the ch8 space, ch 12, skip 2 sts, and sl st to the next st – repeat 12 times
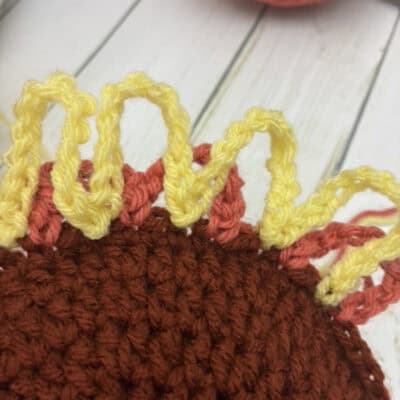
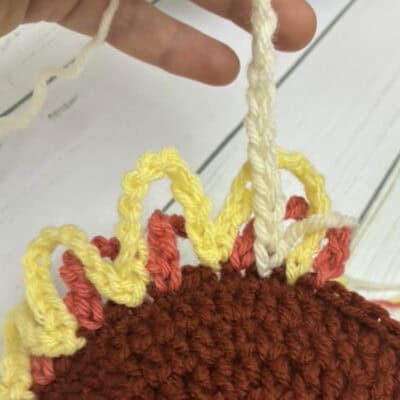
Sl st the aran color yarn to the remaining stitch in the ch8 and ch12 space, ch 16, skip 2 sts, and sl st to the next st – repeat 12 times
Tie off the yarn tails on both sides of the turkey tail and cut the excess yarn.
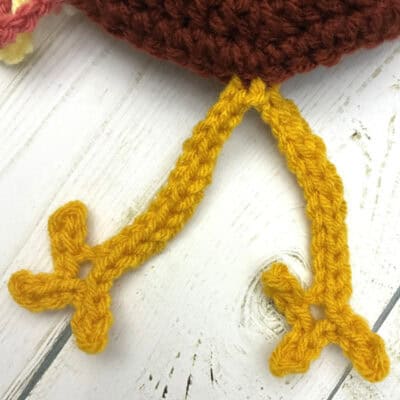
Now, crochet the turkey legs. Using the golden yarn,
sl st to the middle bottom of the turkey body,
ch16, sl st to the 2nd ch from the hook, and sl st into the next 2 sts,
ch3, sl st to 2nd ch from the hook, sl st into the next 2 sts – repeat one more time,
sl st to the next 12 sts, sl st to the next st on the bottom of the turkey body.
Crochet the second turkey leg following the pattern as for the first leg, and sl st to the previous sl st. Cut the yarn and pull the yarn through the stitch. Finish off.
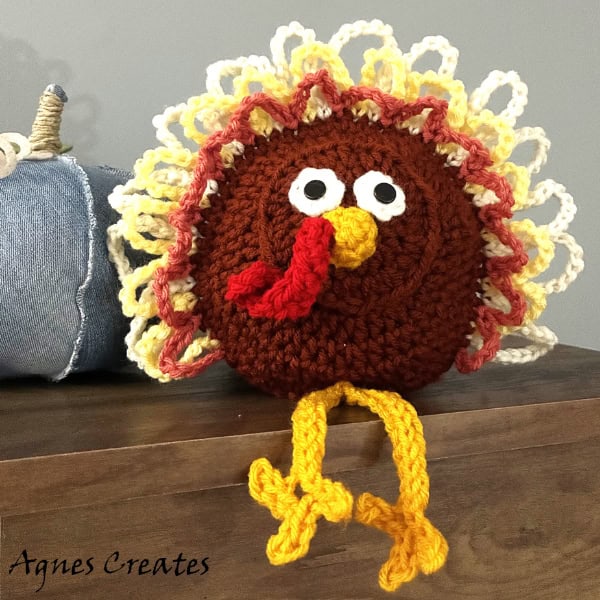
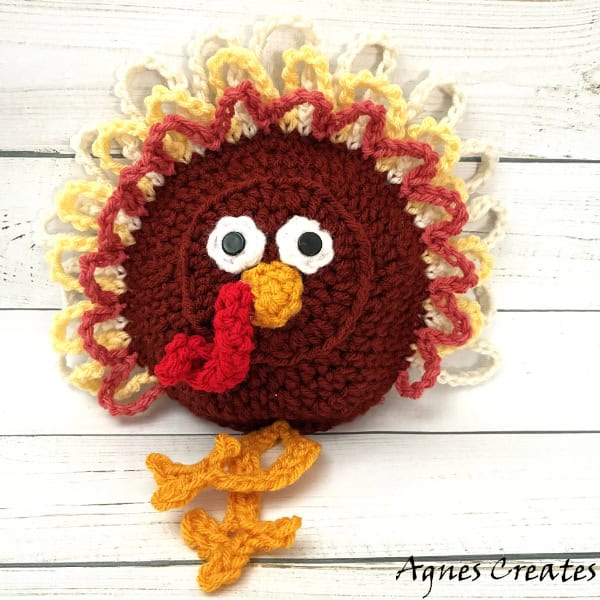
You are done making this fun and colorful Thanksgiving decor. I hope you found my free turkey crochet pattern easy to follow. Post a picture of your crochet turkey decor on my Facebook page.
You may also like other fall crochet pattern ideas:
-
turkey wreath crochet pattern; it uses fun multicolor yarn
-
pumpkin lantern crochet pattern that fits LED tealight candles
-
fall table centerpiece crochet pattern, where you’ll learn to crochet hedgehogs, acorns in three different sizes, and a mushroom.
If you’d like to learn how to start crocheting, I recommend a paperback book by Rose Ellington, ” The Stress-Free Crochet for Absolute Beginners.” You can also find tons of crochet audiobooks on Audible.
Happy crocheting and Happy Thanksgiving!
Love,
Agnes
Want To Remember This? Save This Easy Turkey Decor Crochet Pattern To Your Favorite Pinterest Board!