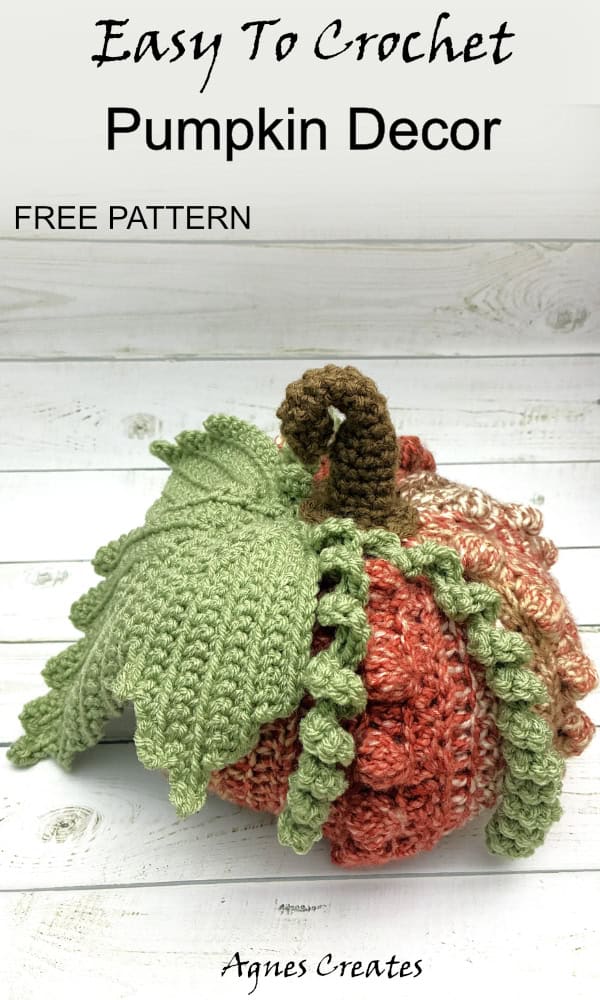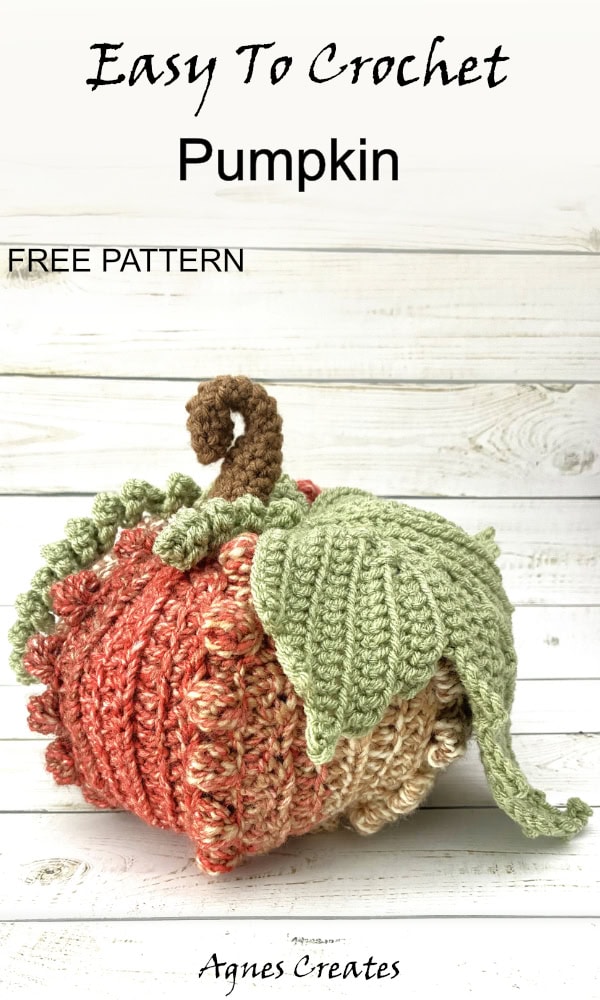
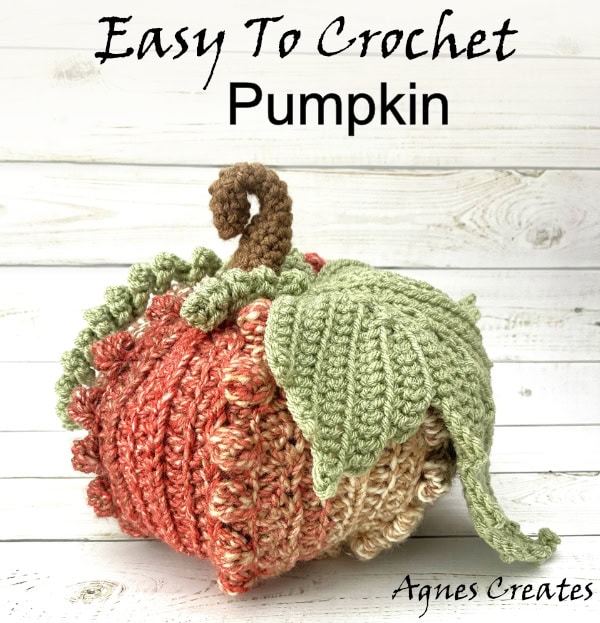
Follow my pumpkin crochet pattern to crochet rustic fall decor for your home. It makes a perfect fall crochet idea.
I came across this beautiful Premier Puzzle bulky yarn in Kickball color, and I thought it would be perfect for my pumpkin crochet pattern. From my experience making pumpkin decor, the golden rule for a nicely shaped pumpkin is a 2:1 ratio of the flat, rectangular crochet piece. That means the length of the crochet piece must be double its width. This post contains some affiliate links for your convenience (which means if you make a purchase after clicking a link, I will earn a small commission, but it won’t cost you a penny more)! I always recommend products I have tried, use, and love.
What you need for a pumpkin crochet pattern
-
bulky #5 yarn – I used Premiere Puzzle yarn in Kickball color
-
green yarn for the leaf – I used Super Saver Yarn in Frosty Green color
-
brow yarn for the stem – I used Super Saver Yarn in Cafe Latte color
-
crochet hooks: US J-10 (6 mm) and US I-9 (5.5 mm). I use and love Clover brand crochet hooks.
-
stitch marker
-
scissors
-
fiberfill stuffing
Abbreviations:
ch- chain
hdc- half double crochet
FLO- front loop only
BLO- back loop only
sl st- slip stitch
st(s)- stitch(es)
dc2tog – double crochet two together
You need to learn the bobble stitch for this pumpkin crochet pattern.
To work a 5-dc bobble, work 5 incomplete dc into the same stitch: yarn over, insert your hook into the next stitch/space, yarn over, and pull up a loop (3 loops on hook). Yarn over and pull through the first 2 loops (2 loops remain on hook). Repeat 4 more times; you will have 6 loops on your hook. Yarn over and pull through all 6 loops at once.
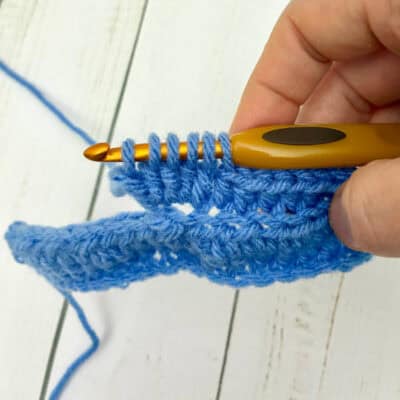
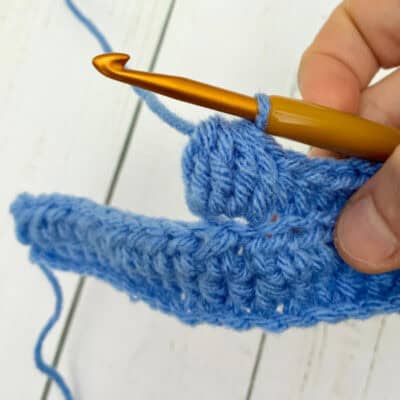
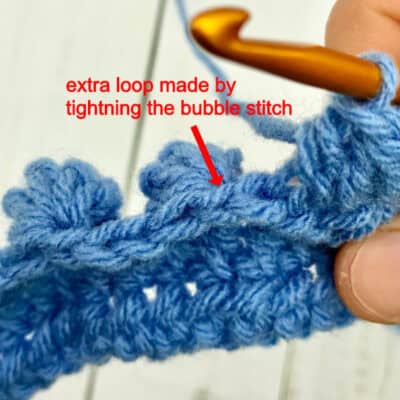
To secure and tighten the bobble, ch1 to close the bobble on top. Doing so, you’ll have an extra stitch in the row. You’ll have to decrease it in the next row.
If you don’t want to decrease in the next row, do not ch1 to tighten the bobble; make the next stitch in the next stitch after you make the bobble.
Follow the pumpkin crochet pattern with a step-by-step tutorial
Let’s start crocheting the pumpkin panel, the flat rectangular piece.
If the beginning of a row indicates BLO or FLO, that means every stitch in that row is made in BLO or FLO.
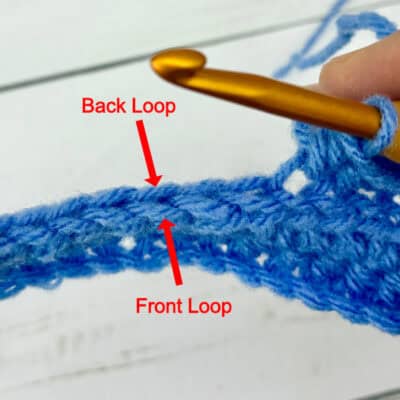
1. using the orange yarn, ch30, in the 2nd ch from the hook, slst in next 2 loops, hdc in next 25 loops, slst in last 2 loops, turn (29)
2. ch1, (BLO), slst in next 2sts, hdc in next 3sts (bobble in next st, hdc in next 2 sts) x7,
hdc in next st, slst in last 2sts, turn (36)
3. ch1, (FLO), slst in next 2sts, hdc in next 3sts (dc2tog, hdc in next 2sts) x7
hdc in next st, sls in last 2sts, turn (29)
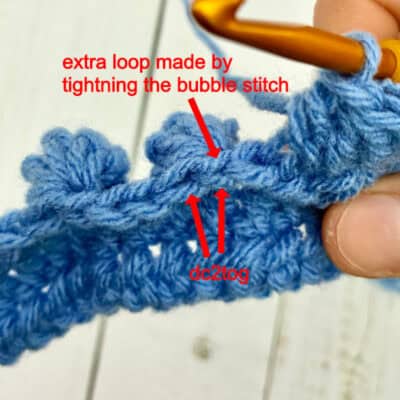
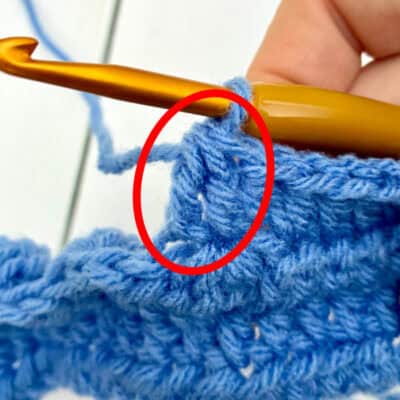
4. ch1, (BLO), slst in next 2sts, hdc in next 25sts, slst in last 2sts, turn (29)
5. ch1, (FLO) slsin next 2sts, hdc in next 25sts, slst in last 2sts, turn (29)
6. and 7. repeat 4 and 5
8 – 42. repeat (2 – 7) x7 (skip last row that could have been 43, doing repeating 7 (FLO))
Cut the yarn, leaving a long tail, and pull the yarn through the stitch.
Now, thread the yarn needle with the yarn tail. Fold the pumpkin panel and align the short edges.
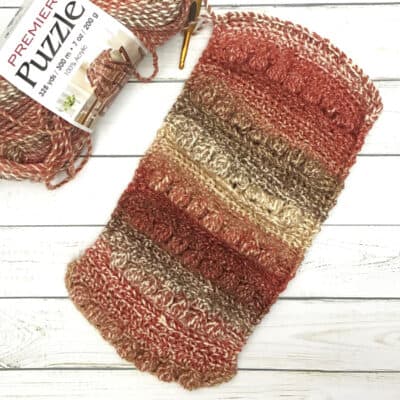
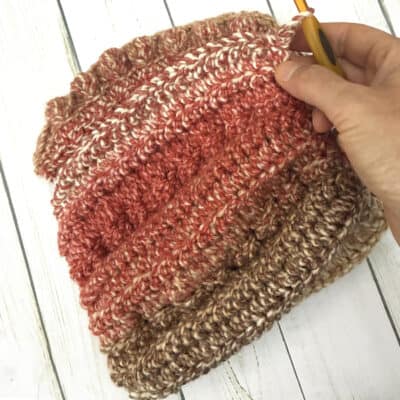
Sl st the pumpkin panel short edges together using FLO of the last row and aligned loops from the first row of chain.
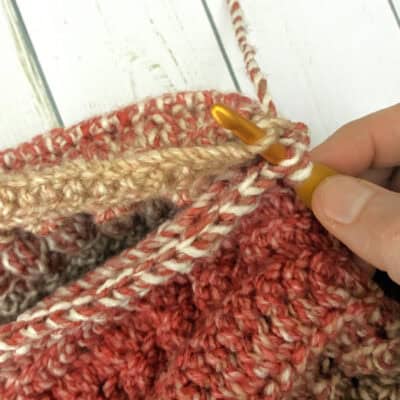
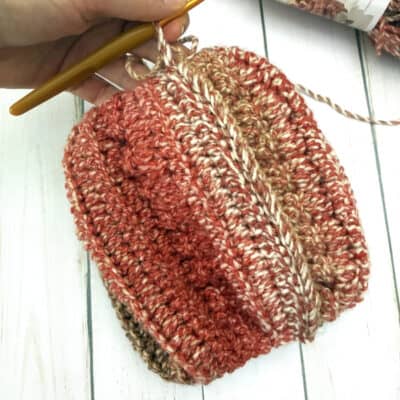
With the pumpkin still wrong side out, use the same yarn tail and weave the needle through the one slst edge and cinch closed. Secure the cinch with a few stitches.
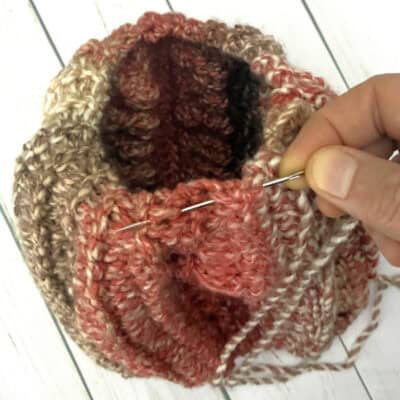
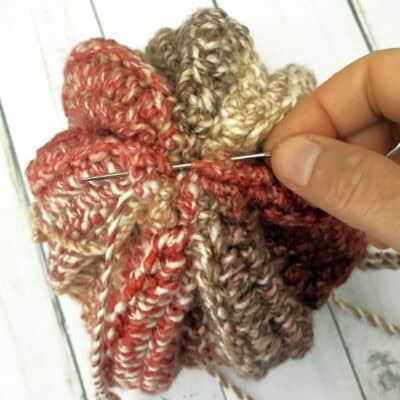
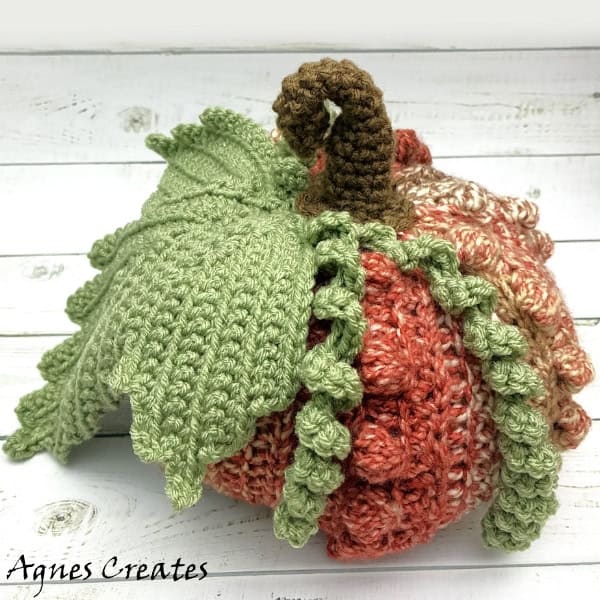
Turn the panel piece inside out, so the right side of the panel with bobbles is on the outside. Fill up the pumpkin with fiberfill and cinch the other edge closed. Make a few stitches to secure.
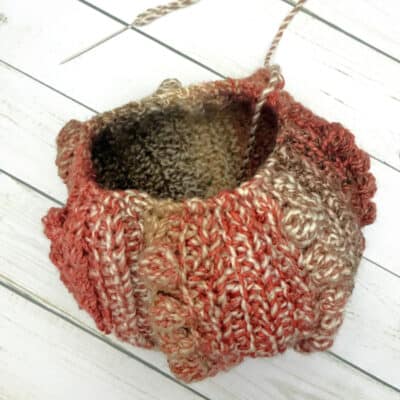
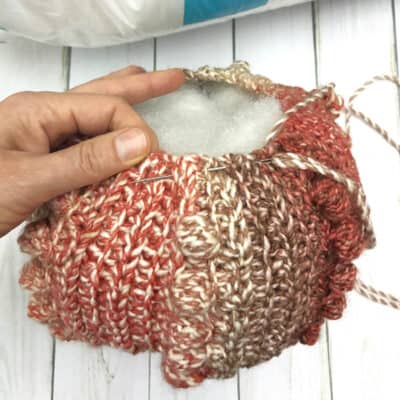
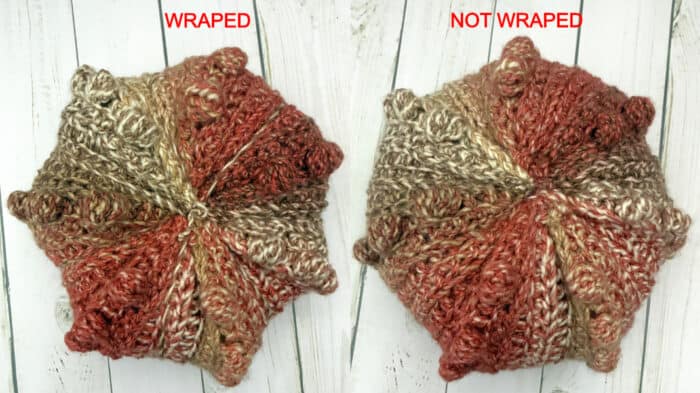
Now, you can wrap the pumpkin with the yarn on the needle seven times to make the pumpkin sections more defined.
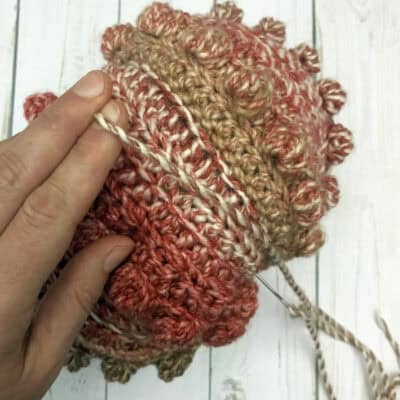
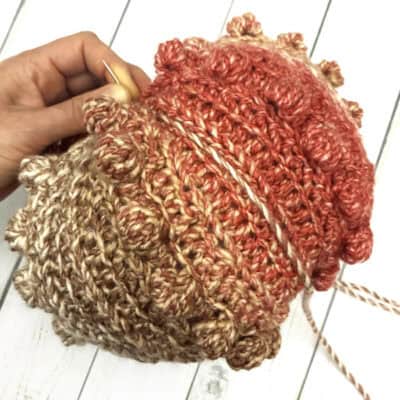
Here are pictures of the pumpkin wrapped and not wrapped. I left my pumpkin not wrapped.
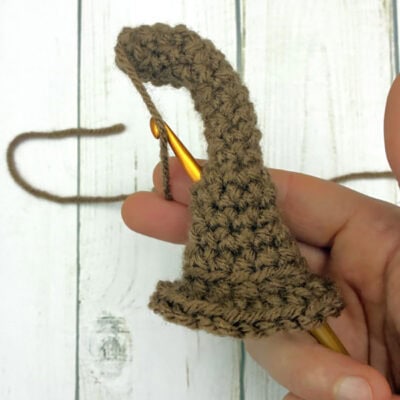
Let’s crochet a stem for the pumpkin. Crochet in continuous rounds – no slip stitching, and use a stitch marker to keep track of where you are in the pattern.
1. using the brown yarn, make a magic circle, ch1, 6 sc into the circle, sl st to the first sc. Leave a long yarn tail that pulls the circle closed. Keep the yarn tail on the outside of your work. We will need to use it later.
2-11. sc 6 in every st around (6)
12. (sc in next st, 2sc in next st) x3 (9)
13-14. sc in every st around (9)
15. (sc in next 2 sts, 2sc in next st) x3 (12)
16-17. sc in every st around (12)
18. 2sc in every st around (24). Cut the yarn, leaving a long tail, and pull the yarn through the stitch.
Pull the beginning yarn tail through the middle of the stem to bend it. Fasten off to secure it on the inside of the stem.
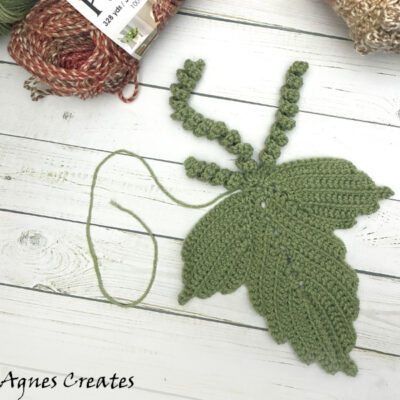
Now, the leaf crochet pattern I used for this pumpkin is posted in my post on an easy-to-crochet pumpkin leaf. Stitch the leaf to the top of the pumpkin, slightly off-center. Next, stitch the stem to the top of the pumpkin, overlapping the leaf.
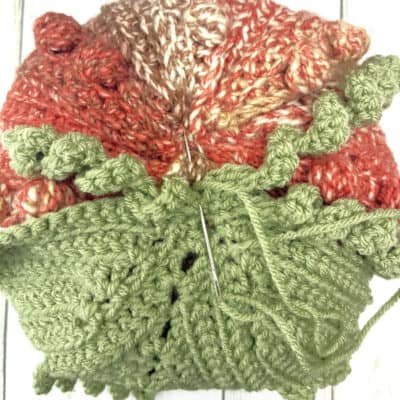
There! The crochet pumpkin is all done. The pumpkin measures 8″ wide and 8″ tall, including the stem.
I hope that you found my pumpkin crochet pattern useful and easy to follow. Please come back soon to my blog to check out other crochet projects that I post often. You are welcome to share a picture of your crochet pumpkin on my Facebook page.
You may also like other fall crochet patterns:
-
turkey crochet pattern makes fun fall decor
-
fall table centerpiece crochet pattern where you’ll learn to crochet mushrooms and hedgehogs
-
sunflower trivet cover crochet pattern
Happy Crocheting!
Love,
Agnes
Want To Remember This? Save The Pumpkin Crochet Pattern To Your Favorite Pinterest Board?