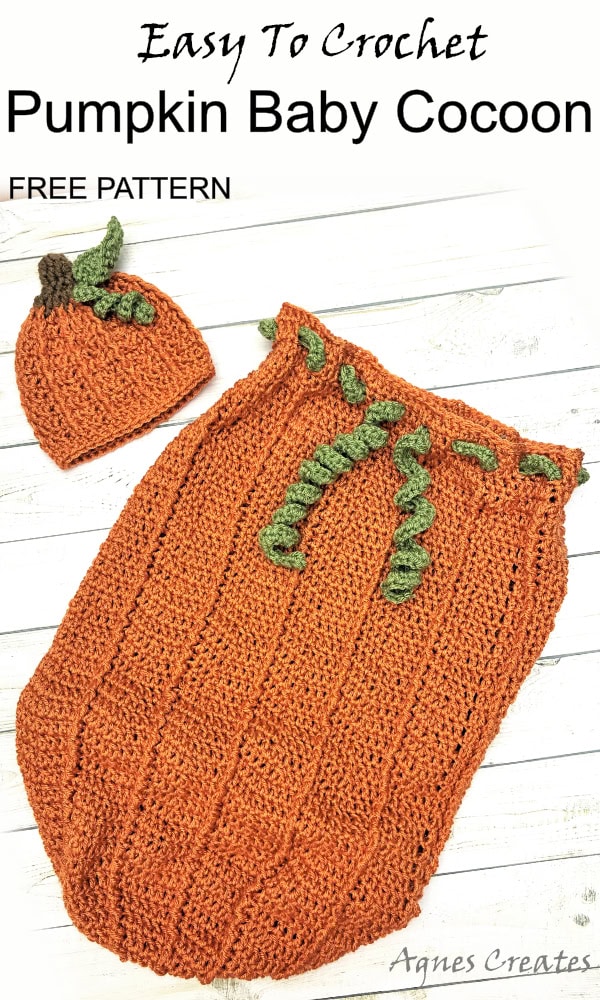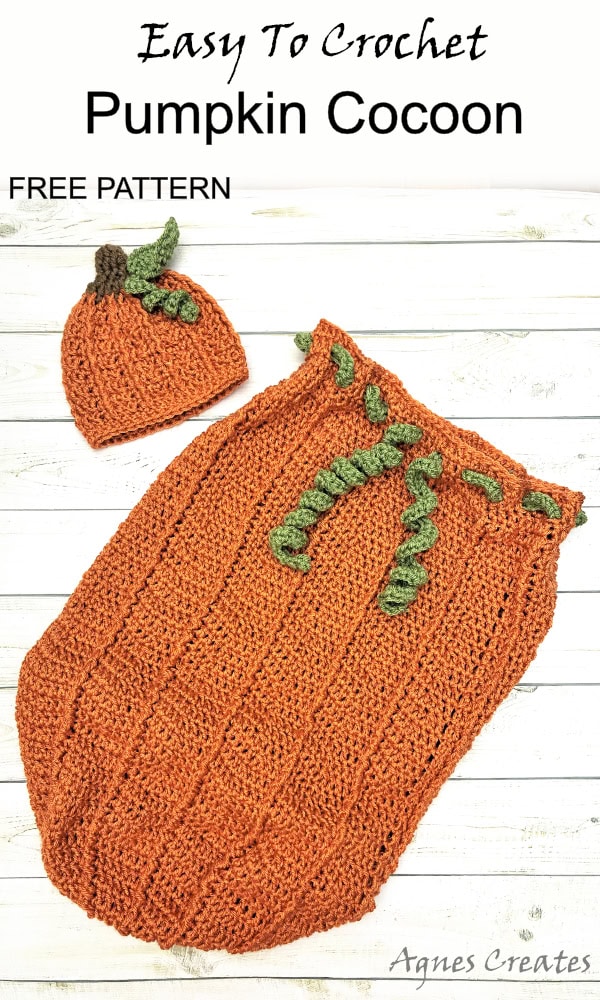
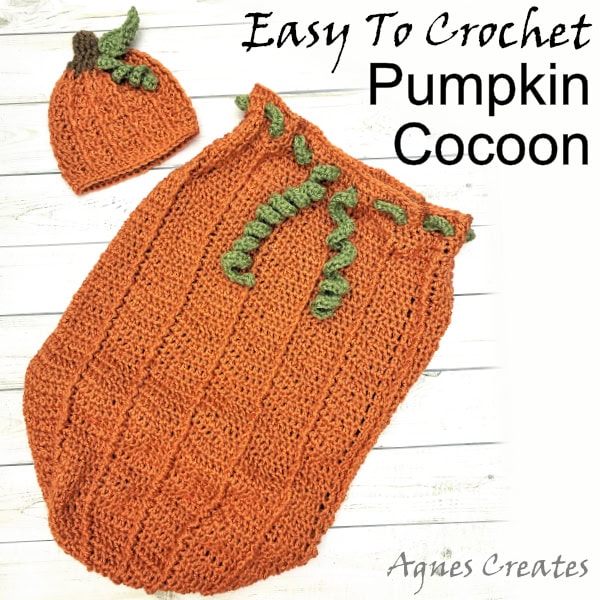
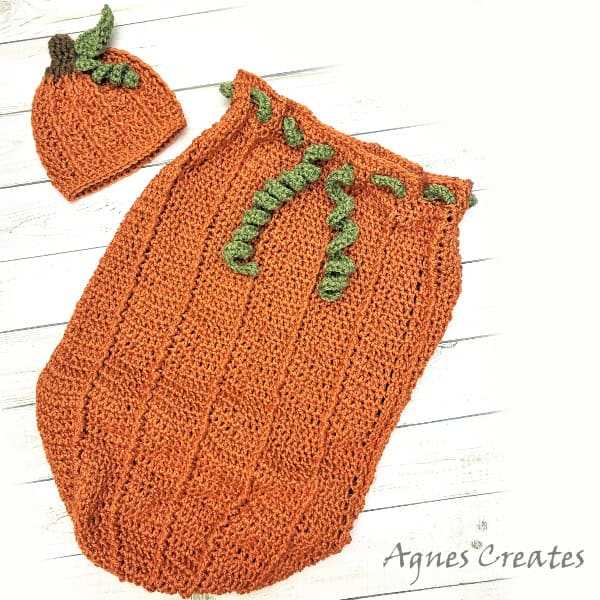
Follow my pumpkin baby cocoon crochet pattern to make a handmade gift for a new baby!
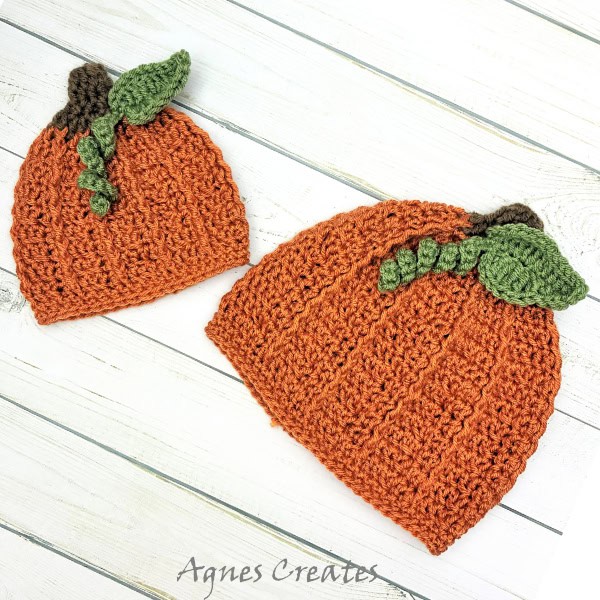
I designed this pumpkin baby cocoon crochet pattern to make a handmade gift. My friend just welcomed a new baby, and I wanted to gift her something unique. Since it’s fall season, I thought a pumpkin theme would be fun. She can have a photo shoot with the baby in the crochet pumpkin cocoon. To crochet the hats, I used a pumpkin hat crochet pattern from the American Crochet Association, designed by Selena Baca. For the baby, I followed the size 13.25” around x 5.5” tall. For the baby’s older brother, the size 20” around x 7.25” tall. Both came out great and fit perfectly. This post contains some affiliate links for your convenience (which means if you make a purchase after clicking a link, I will earn a small commission, but it won’t cost you a penny more)!
What you need for the pumpkin baby cocoon crochet pattern
-
worsted #4 yarn – I used I Love This Yarn in Desert Glaze and Light Sage
-
crochet hook US I-9 5.5mm – Clover brand is my favorite
-
stitch marker
-
scissors
Let’s follow the pumpkin baby cocoon crochet pattern.
Abbreviations:
ch – chain
sc – single crochet
slst – slip stitch
dc – double crochet
fptr – front post treble crochet (treble in the dc (or any other stitch) right below)
dc2tog – (Dc 2 Sts Together) = (yarn over, insert hook into next St, yarn over, pull through St, yarn over, pull through 2 loops on hook) 2 times, yarn over, pull through 3 loops on hook.
1. using orange yarn, start with a magic ring, ch3 (counts as first dc throughout the pattern) and work 11dc into the ring. Slst in the top of ch3. (12dc)
2. ch3, dc in the same stitch, 2dc in each next dc around, slst in the third stitch of ch3. (24 dc)
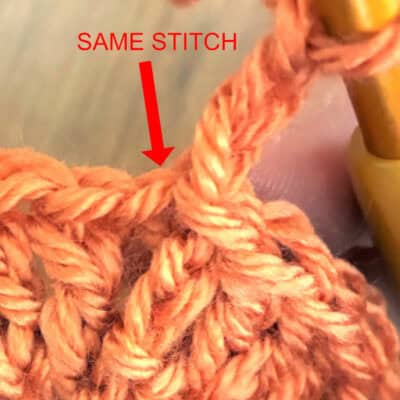
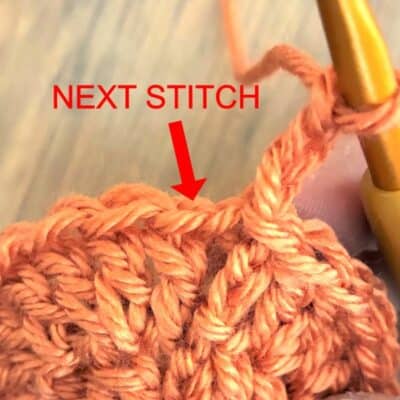
3. ch3, fptr (into the ch3 of previous round), dc in next st,
(dc in next st, fptr, dc in next st) x11, slst to the top of ch3 (36)
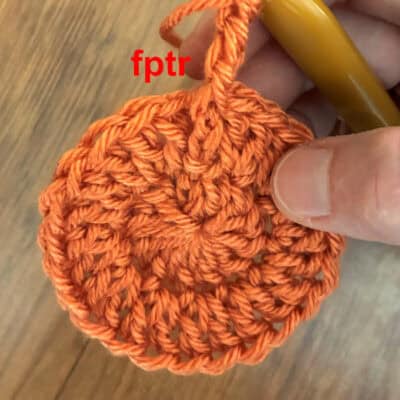
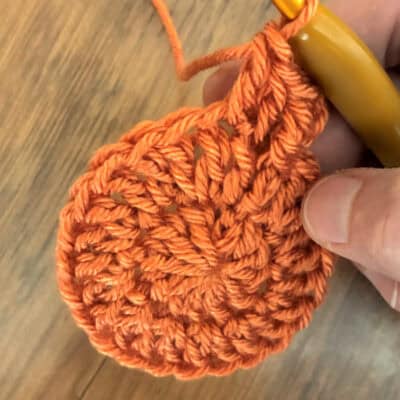
4. ch3, dc in next st, fptr (in the fptr below in every tr throughout the pattern), dc in next st,
(dc in next 2sts, fptr, dc in next st) x11, slst to the top of ch3 (48)
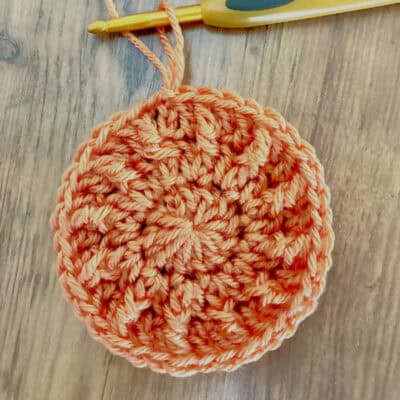
5. ch3, dc in next 2sts, fptr, dc in next st
(dc in next 3sts, fptr, dc in next st) x11, slst to the top of ch3 (60)
6. ch3, dc in next 3sts, fptr, dc in next st
(dc in next 4sts, fptr, dc in next st) x11, slst to the top of ch3 (72)
7. ch3, dc in next 4sts, fptr, dc in next st
(dc in next 5sts, fptr, dc in next st) x11, slst to the top of ch3 (84)
8. ch3, dc in next 5sts, fptr, dc in next st
(dc in next 6sts, fptr, dc in next st) x11, slst to the top of ch3 (96)
As you see, crocheting fptr increases the circle. To start making the sac, you need to decrease, and that’s why there’s dc2tog in the pattern.
9 – 41. ch3, dc in next 2sts, dc2tog, dc in next 2sts, fptr, dc in next st,
(dc in next 2sts, dc2tog, dc in the next 3sts, fptr, dc in next st) x11, slst to the top of ch3 (96)
42. ch3, dc in next sts around, slst to the top of ch3 (96)
43. ch3, dc in next 2sts, ch1,
(skip1, dc in next 2sts, ch1) x23, slst to the top of ch3 (96)
44. ch3, dc in next 2sts, dc in ch1 space,
(dc in next 3sts, dc in ch1 space) x23, slst to the top of ch3 (96).
Cut the yarn, and pull the yarn through the stitch. Weave in the yarn tail in the inside of the cocoon and fasten off.
Now, crochet the vine for the pumpkin cocoon.
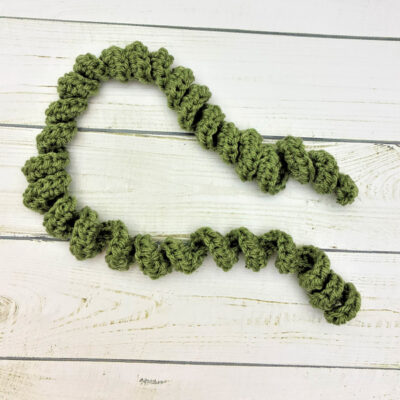
To make the pumpkin swirly vine, ch 160, 2hdc in the 2nd ch from the hook in the next sts to the end. Cut the yarn and pull the yarn through the stitch. Fasten off.
Weave the vine into the top of the cocoon through the ch1 spaces.
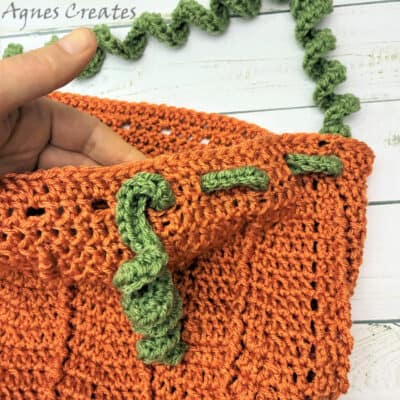
There, you just learned how to crochet a pumpkin baby cocoon.
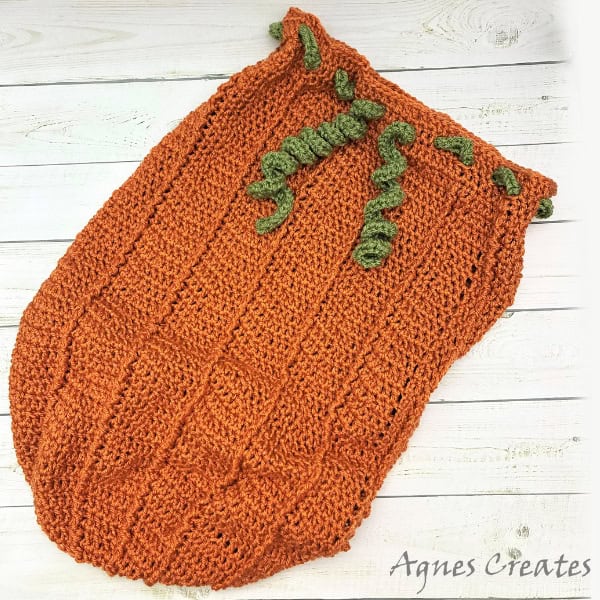
I hope the pumpkin baby cocoon crochet pattern was easy to follow, and you’ll use it to make a handmade crochet gift. Post a picture of your crochet baby cocoon on my Facebook page.
You may also like other fall crochet pattern ideas:
-
turkey decoration crochet pattern
-
tunic crochet pattern in several sizes for kids and adults
-
pixie hat crochet pattern in a child size
Happy fall and lots of crocheting!
Agnes
Want To Remember This? Save This Pumpkin Baby Cocoon Crochet Pattern Free Pin To Your Favorite Pinterest Board!