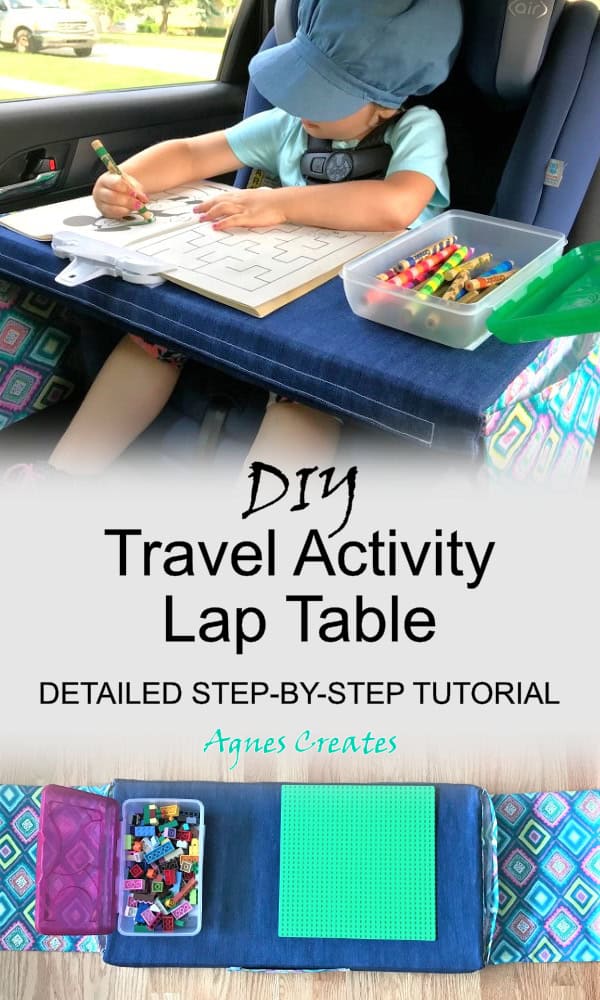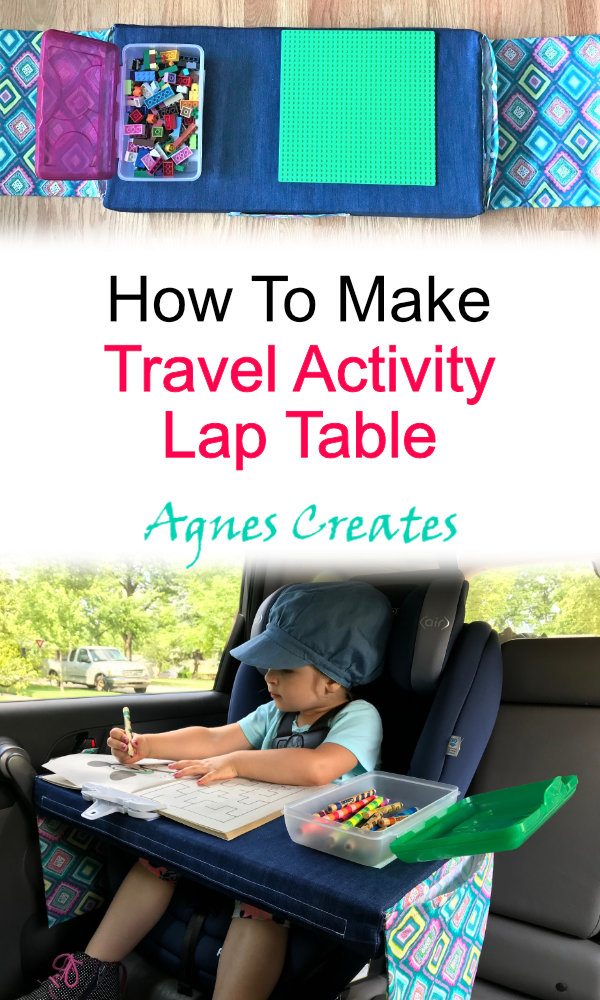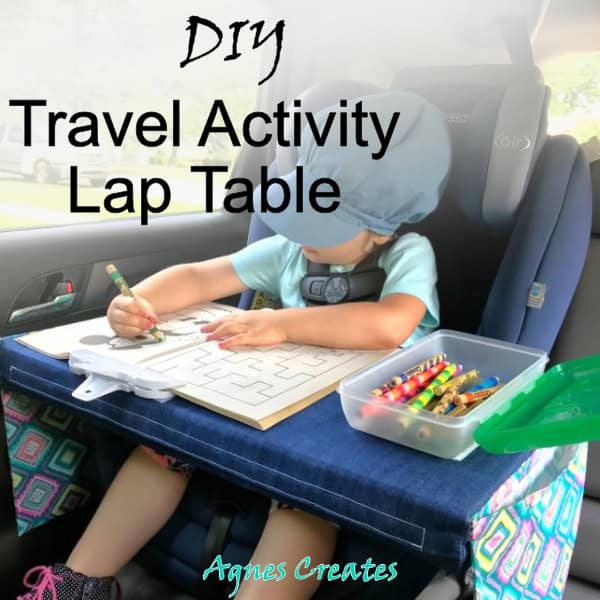
Learn how to DIY a travel activity table to keep your kiddos occupied during long road trips! This DIY travel activity table works not only as a great lap desk but also as storage for some supplies.
After spending some time on material research and brainstorming I came up with an idea on how to sew a travel activity table that would incorporate different activities, yet is simple and neat at the same time. This post contains some affiliate links for your convenience (which means if you make a purchase after clicking a link I will earn a small commission but it won’t cost you a penny more)!
What you need for DIY Travel Activity Table
-
½ yard denim fabric. Make sure the fabric is 58” wide. You will be cutting a 53”x 16” rectangle for the travel activity table.
-
½ yard quilting fabric (Joann has a wide array of quilting fabrics to choose from),
-
2 yards of ¾” wide sew-on velcro,
-
½ yard 911FF Fusible Featherweight interfacing,
-
12”x 24”x 2” foam (I found one on Amazon for a reasonable price, but you have to cut it yourself)
Tip: If you have a bigger piece of foam at home, you can cut it nicely using an electric turkey carving knife. I learned that trick at a Joann store.
-
12”x 24”x0.25” plywood,
-
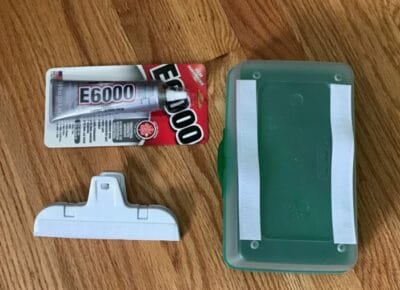
E6000 glue
-
Snap pliers,
-
4 pair of size 20 snaps,
-
scissors
-
6” chip bag clip. I bought mine at Dollar Tree. You can also find them on Amazon,
-
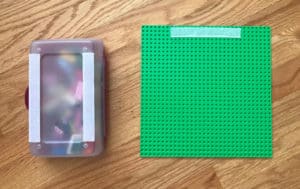
10”x 10” Lego baseplate,
-
pencil boxes, they are available on Amazon.
-
basic sewing tools
The downloadable and printable pattern for the DIY travel activity table is available at my shop.
It includes a detailed step-by-step tutorial with lots of pictures to follow, and the shopping list is also included.
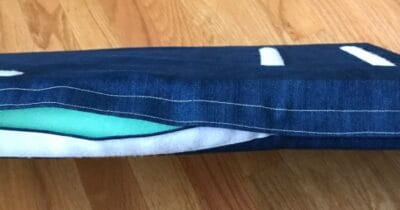
I used plywood and a 2” thick foam rectangle that you put inside of the travel activity table cover. Also, there is an opening to take out the inside materials in order to wash the cover. I used Velcro for easy fastening so that the foam and the plywood can be taken out and put back in with ease.
Velcro has been one of my lifelong friends. I’ve used it in a lot of projects because it is easy to sew on and practical to use.
I thought that sewing bags onto the sides of the travel activity table would be great for storing coloring pages, Lego baseplates, books, and other accessories. Also, I installed snaps to close the bags and to keep the contents in. This just made me think that I could have sewn-on Velcro instead of installing snaps. Oh, snap!
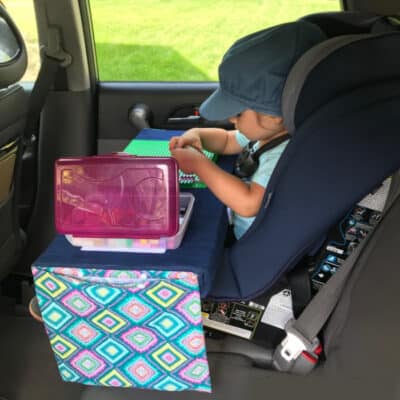
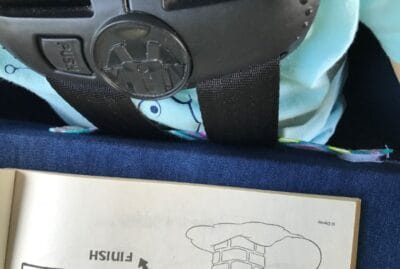
The strap with Velcro is sewn onto the long side of the travel activity table and can be fastened to the seat belts to keep the table in place.
Activity attachments for the DIY travel activity table.
A Lego baseplate with the loop side of Velcro glued onto the bottom. It fastens to the hook side of Velcro that is sewn onto the top of the travel activity table.
Another option is a clip with a glued-on loop side of Velcro to hold coloring pages in place. It makes a nice coloring and drawing station.
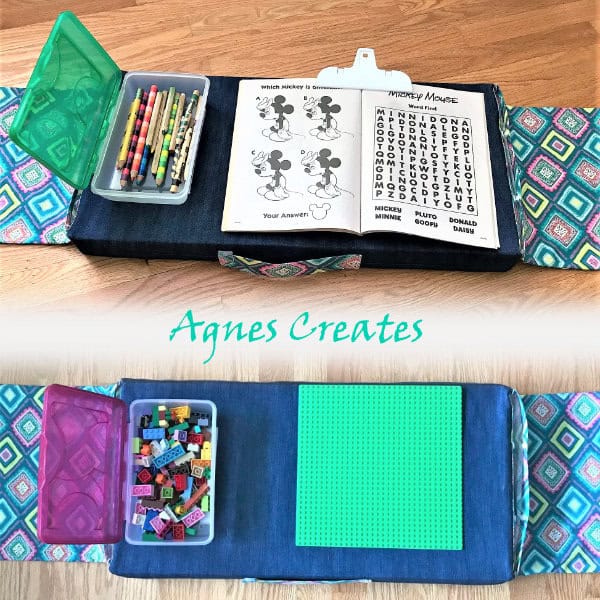
Both activities require containers to keep the Legos and crayons in. For that purpose, I glued the loop side of Velcro to the bottom of the pencil boxes.
Are you curious about where I got the hat that my little model is wearing in pictures? Check out my How To Sew A Reversible Newsboy Summer Hat post. Also, if you are looking for a DIY car organizing idea, check out my post on how to sew a car seat organizer. It’s perfect to arrange all the kid’s activity supplies in your car.
I would like to know how your DIY travel activity table turns out. You can post a picture of your table on my Facebook page.
Happy sewing!
Want To Remember This? Save The Travel Activity Table DIY Project To Your Favorite Pinterest Board!