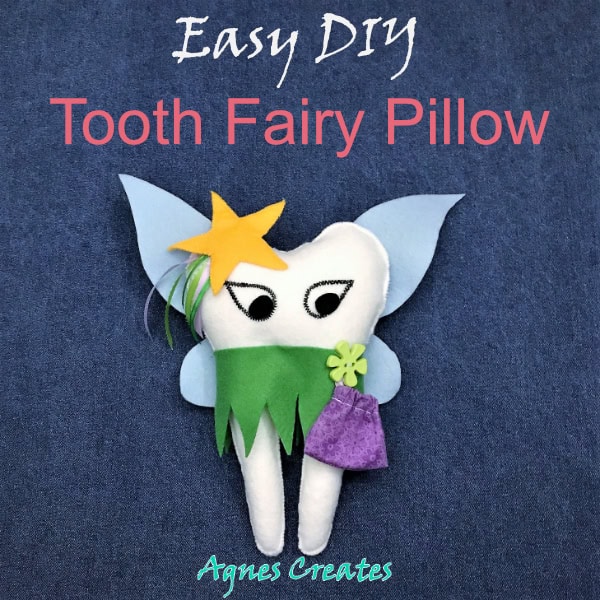
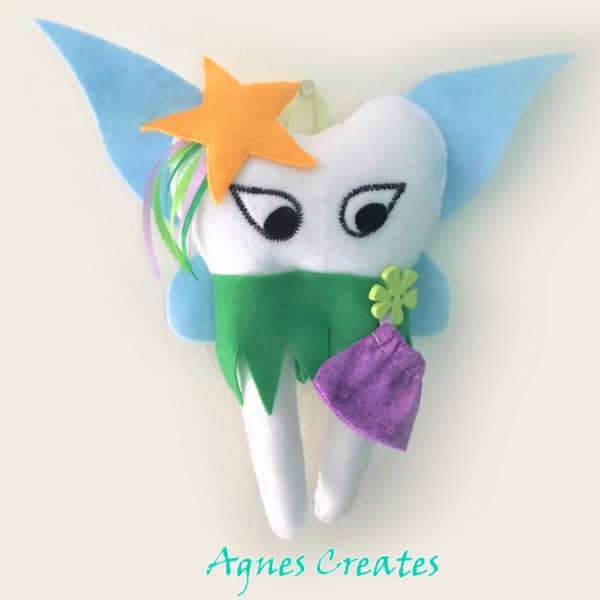
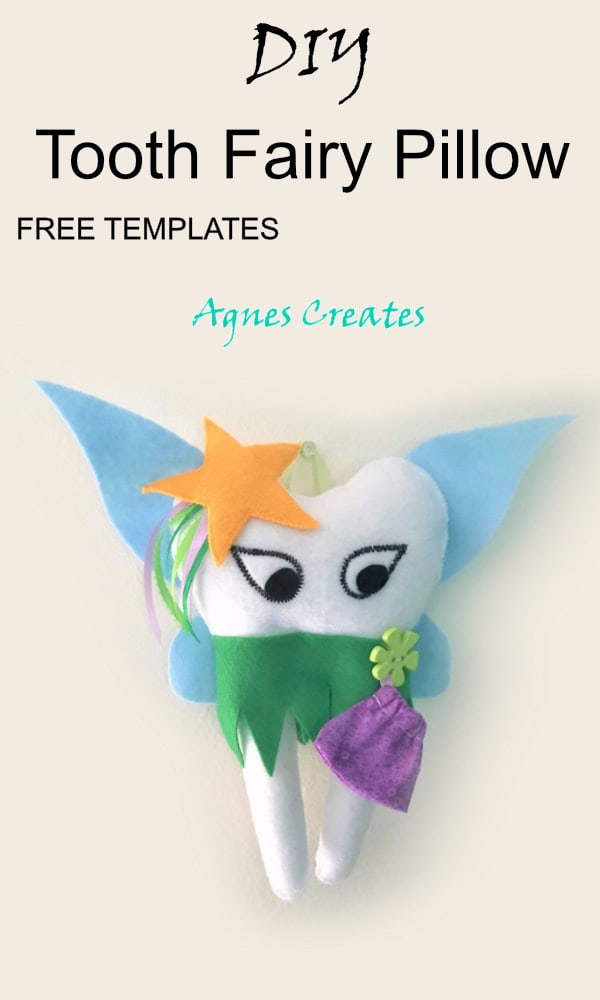
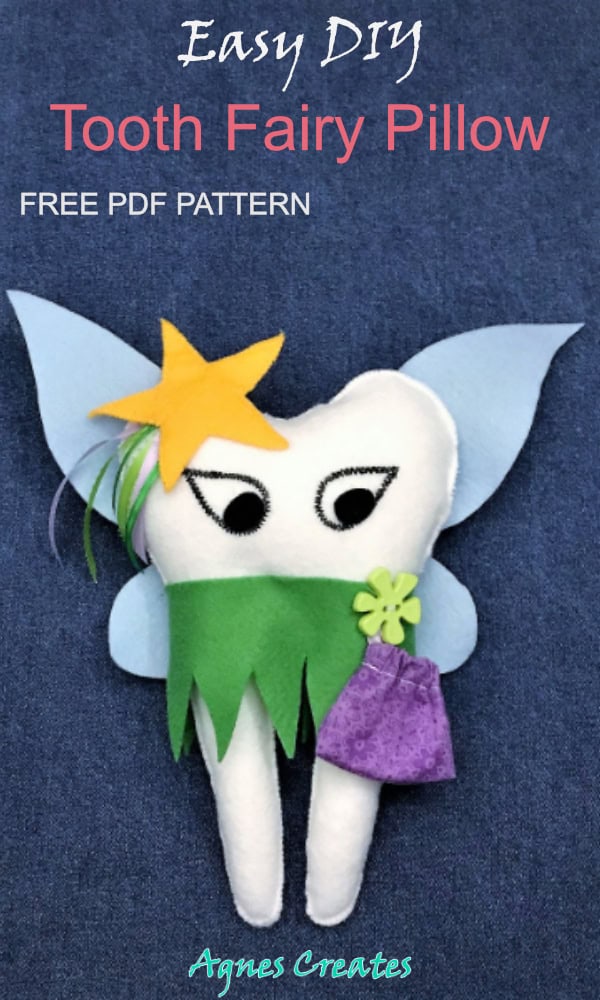
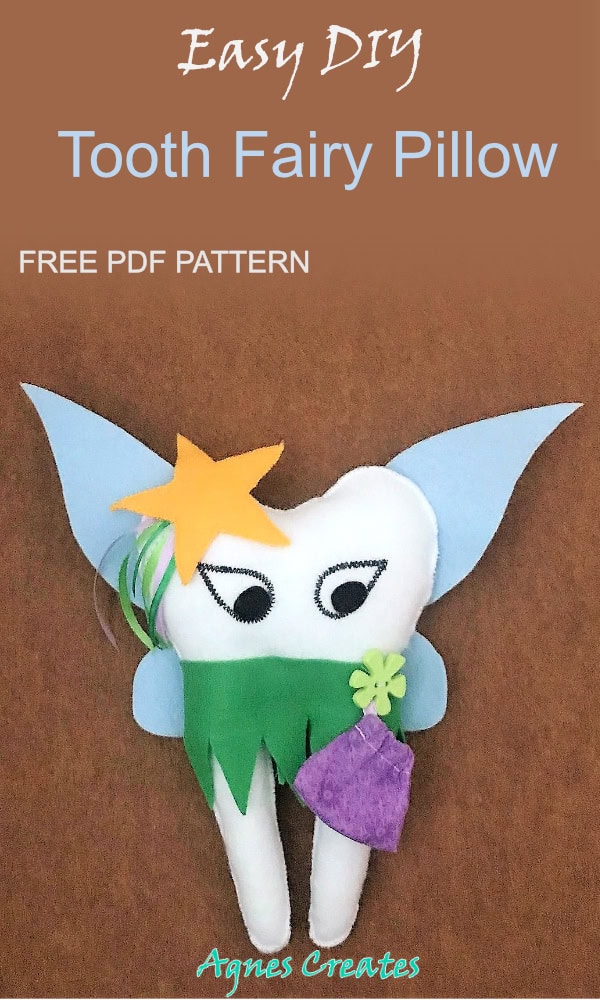
Are you looking for a fun tooth fairy idea? Look no further, because my DIY tooth fairy pillow is perfect for those wobbly little teeth! Follow my detailed step-by-step tutorial and download the printable tooth fairy pillow free pattern below!
Since my daughter started having her first loose tooth, she has been very excited about the tooth fairy coming and leaving her a surprise. I thought it would be a great idea to DIY a tooth fairy pillow for her to put the tooth into once it falls out. Also, our love for Tinkerbell inspired me to give the DIY tooth fairy pillow her looks.
Not so long ago I made a Tinkerbell costume for my daughter and she looked super cute in it.
You are welcome and encouraged to be creative with the tooth fairy pillow theme. Luckily, felt comes in so many different and fun colors to choose from, and it’s super easy and fast to do crafts using felt. One of the few reasons I love sewing with felt, it’s because it doesn’t fray! This post contains some affiliate links for your convenience (which means if you make a purchase after clicking a link I will earn a small commission but it won’t cost you a penny more)!
free printable templates are available to download at my resource library,– to get the password, fill out the form at the bottom of this post.
I’m happy to share how to make a felt tooth fairy pillow!
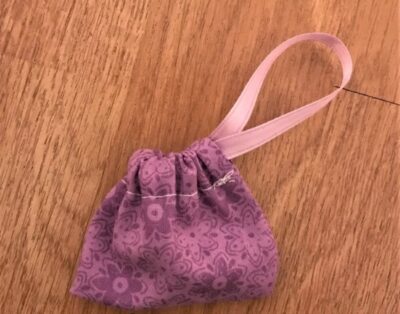
Step 1. Let’s start with sewing the little bag.
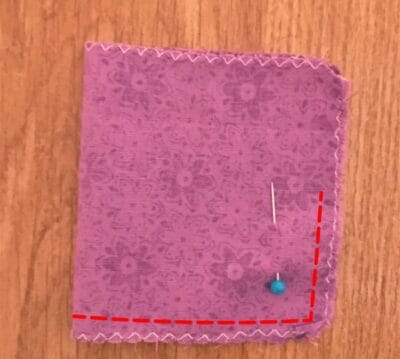
Cut the fabric to a 6” x 3” piece and use a zigzag stitch to finish the edges. Doing so, will prevent the fabric from fraying.
Fold the piece in half and stitch, starting 1.5” from the top and sewing down the side through the bottom.
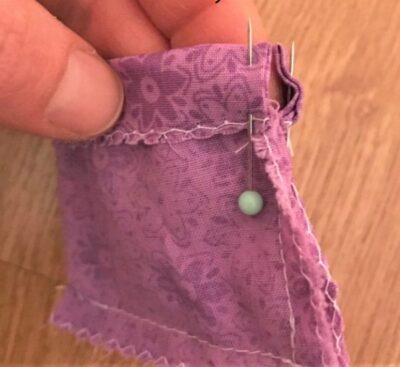
Open and flatten the seam on the side edge. Flatten the not sewn fabric edges, seam width to the wrong side. Now, fold the top edge 3/4” to the wrong side and pin around.
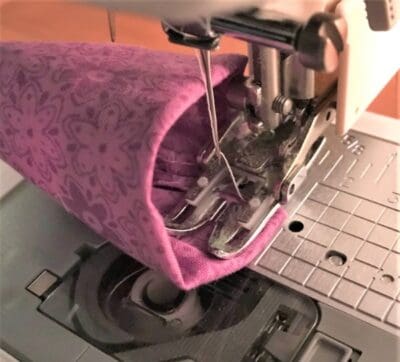
Since the bag is tiny, you need to turn it right side out to be able to slide it under the sewing foot. Slowly stitch the top around, 0.5 from the edge, that way you made a casing for a ribbon.
Cut about 8” thin ribbon, use a safety pin to push through the casing twice. Make a knot and cut the excess ribbon. To make the knot invisible, you need to shift the ribbon. The best way to do that is to pull out a piece of the hidden ribbon and pull one way. Doing so, the knot will be pulled inside the casing the other way.
And there! You just made a cute bag for the DIY tooth fairy pillow.
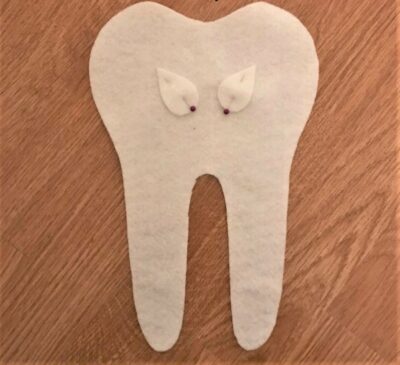
Step 2. Cut all the pieces out of the desired colors of felt.
Pin the white eye pieces to one tooth piece. Use a narrow and short zig-zag stitch, stitch them around. You can applique the eyes by hand if you wish, using a blanket stitch. Also, you can applique the black eye pieces by hand or just hot glue it later, as I did.
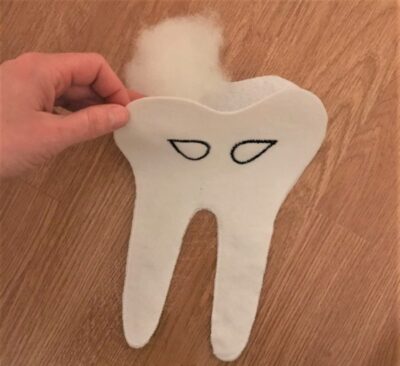
Now, pin the two tooth pieces together. Starting with the roots (tooth fairy’s legs) and zig-zag stitch, stitch them together.
Before finishing stitching the pieces, put some fiberfill inside the legs and the rest of the tooth.
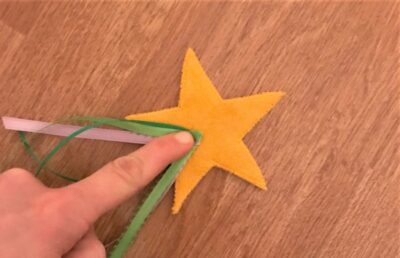
Pin and stitch the star pieces together. Cut a few ribbons, about 6” long, fold them in half and hot glue the fold to the center of the star. It makes a nice beret for the DIY tooth fairy pillow.
Hot glue the skirt to the tooth, beginning and ending on the back.
Cut a 6” long ribbon, fold it in half and hot glue it to the back of the tooth. And that will make a nice loop to hang the tooth fairy pillow.
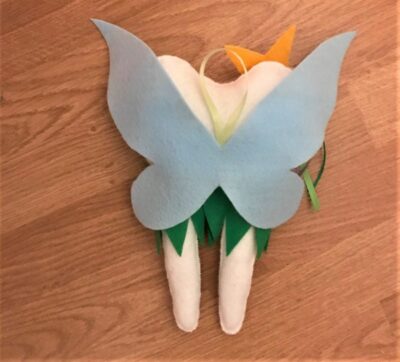
Hot glue the wings, and glue the wings in a few other spots. Use just a dab of the glue. It will make the wings stay in an upward position.
Lastly, sew on a button on the front of the tooth to hang the bag on.
I hope your little toothless kiddo will be excited as much as my daughter was to see some coins in the tooth fairy pillow’s bag. Her tooth fairy pillow is hanging by her bed and she can’t wait for another tooth to fall out :).
And for a boy, you can still use my tooth template, but giving it a look of a dog, a Superman, a pirate, you name it!
I hope you enjoyed crafting this fun felt project. You can share a picture of your DIY tooth fairy pillow on my Facebook page.