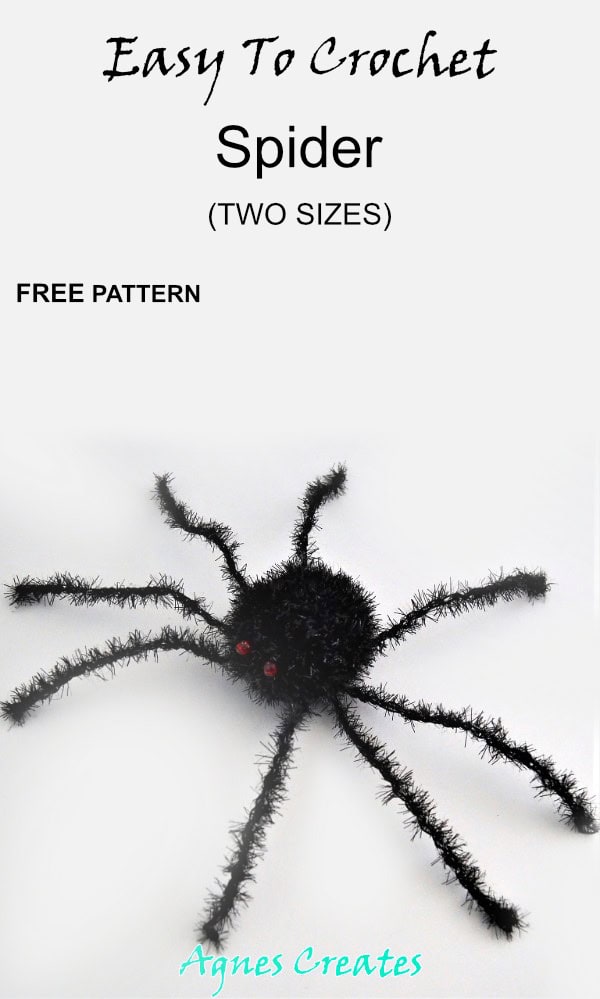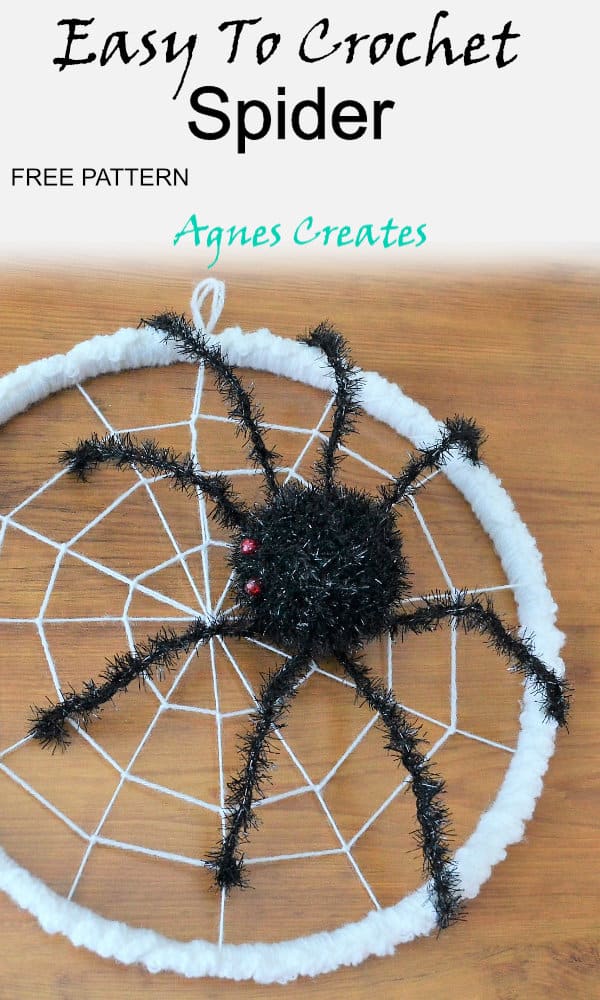
Follow my easy spider crochet pattern, which is perfect to incorporate into a fall crochet decoration. Also, you will learn how to crochet a spider in two sizes.
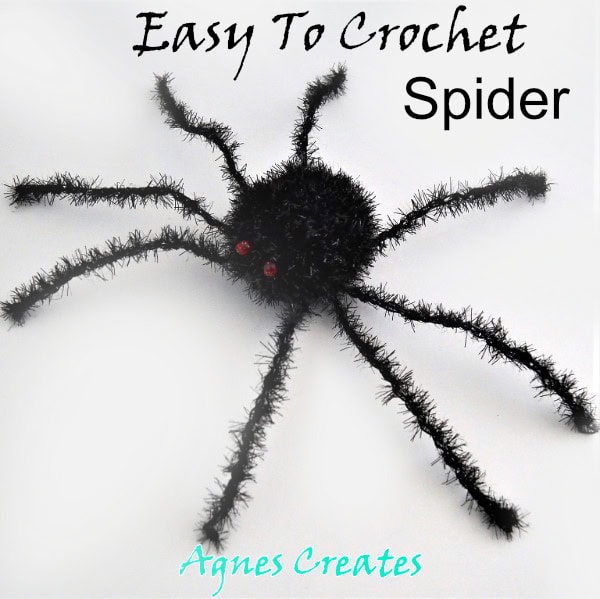
I created the easy spider crochet pattern to make more spooky fall decorations at my house. My spider crochet pattern shows, how to crochet a spider in two different sizes. One is 4.5″ and the other 3.5″ big. And that’s just how big their bodies are, without the legs. To crochet the spiders I used a Red Heart scrubby sparkle yarn. It makes the spiders fuzzy-looking. I used thin craft wire, to make the spider’s legs long, skinny, and shaky.
You may also like my other fall crochet projects, the easy fall wreath crochet pattern, and fall table centerpiece. This post contains affiliate links for your convenience (which eans if you make a purchase clicking a link I will earn a small commission but it won’t cost you a penny more)!
What you need for the easy spider crochet pattern
-
one skein of Red Heart scrubby sparkle yarn – black
-
crochet hook size H 5.0mm – my favorite is Clover crochet hooks
-
red sparkly beads size 6mm
-
craft wire 28 gauge or thicker
-
hot glue gun
-
fiberfill – I use Fairfield brand
-
yarn needle
Abbreviations:
ch – chain
ss – slip stitch
dc – double crochet
sc – single crochet
First, I’ll teach you how to crochet a spider, that is around 4.5″ big.
1. Using the black yarn make a magic circle, ch 3 (counts as one dc), and
work 11 more dc in the circle. Ss to the top of ch 3. (12 s)
2. Ch 3 (first dc), 2dc in each dc around, ss to the top of ch 3. (24 s)
3. Ch3, (first dc), *2dc in next dc, dc in next dc, repeat from * around. Ch 3 works as last dc, ss to ch 3. (36 s)
4. Ch 3, dc in each dc around, ss to ch3 – repeat 3 times (36 s)
5. Ch 3, *dc2tog, dc in next dc, repeat from * around, ss to ch 3 (24 s)
6. Ch 3, dc2tog around, ss to ch 3 (12 s).
7. Cut the yarn leaving a long yarn tail and thread the needle.
8. Fill in the inside of the ball with a fiberfill, and stitch the opening closed.
Now, let’s crochet a spider, that is around 3.5″ big.
1. Make a magic circle, ch3 (first dc), and work 11 more dc in the circle.
Ss to the top of ch 3 (12 s)
2. Ch 3 (counts as one dc), 2dc in each dc around, ss to the top of ch 3 (24 s)
3. Ch 3, dc in each dc around, ss to ch3 – repeat 2 times
4. Same as 6-8 for bigger spider
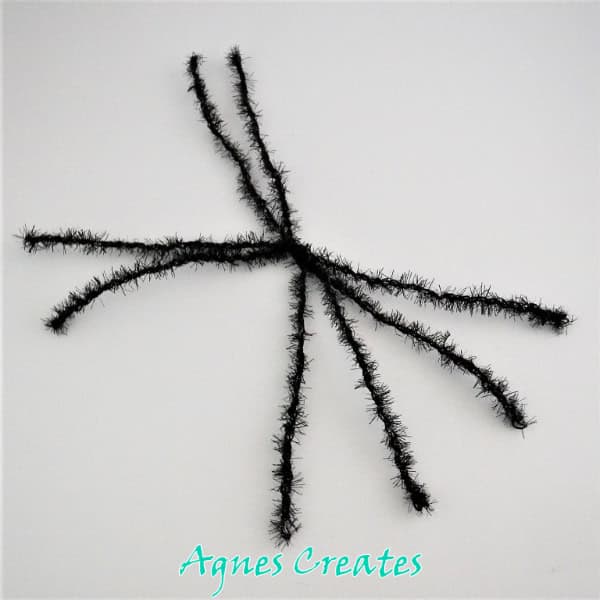
Next, learn how to crochet spider’s legs.
1. Cut the craft wire into 16” and 18” long pieces. Have four wire pieces for each spider.
2. Make a knot with the yarn on one end of a wire and fold ¼” of the wire to stabilize the yarn.
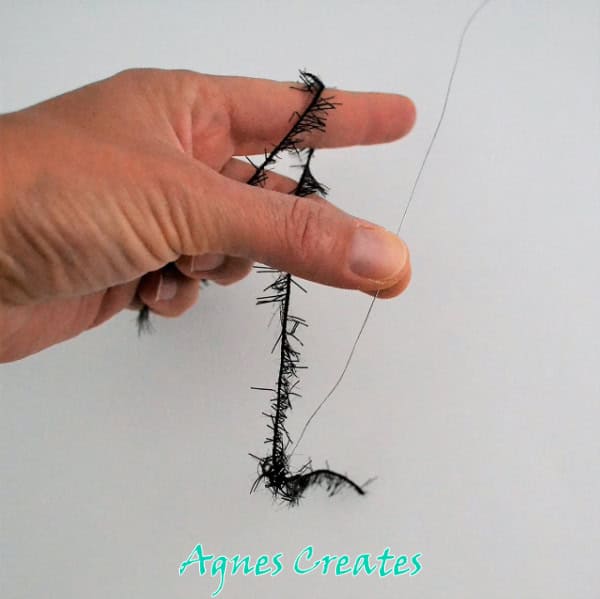
3. Slip stitch over the wire and the short piece of yarn alternating sides, front and back.

4. Make a knot with the yarn on the other end of the wire and fold ¼” of the wire to stabilize the knot.
5. Twist four of the wires together in the middle and hot glue to the crocheted ball. Also, hot glue two red beads for the eyes.
There, you just learned how to crochet a spider! I hope this easy spider crochet pattern was useful and easy to follow. You are welcome, to share a photo of your crochet fall decoration on my Facebook page.
Happy Crocheting!
Love,
Agnes
Want To Remember This? Save This Easy Spider Crochet Pattern To Your Favorite Pinterest Board!