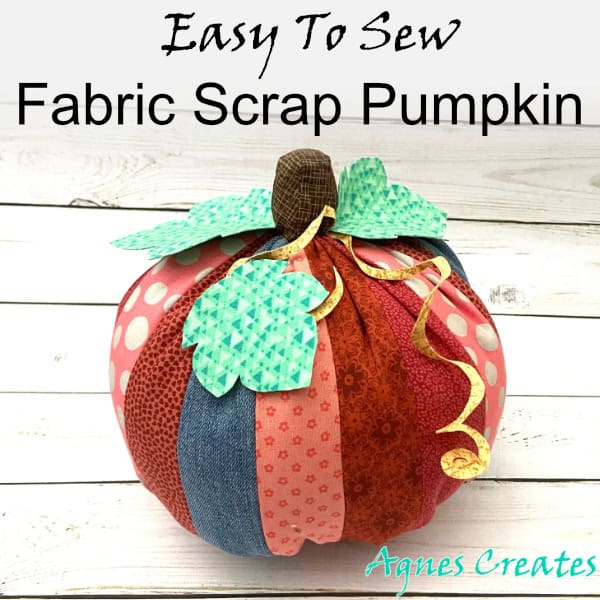
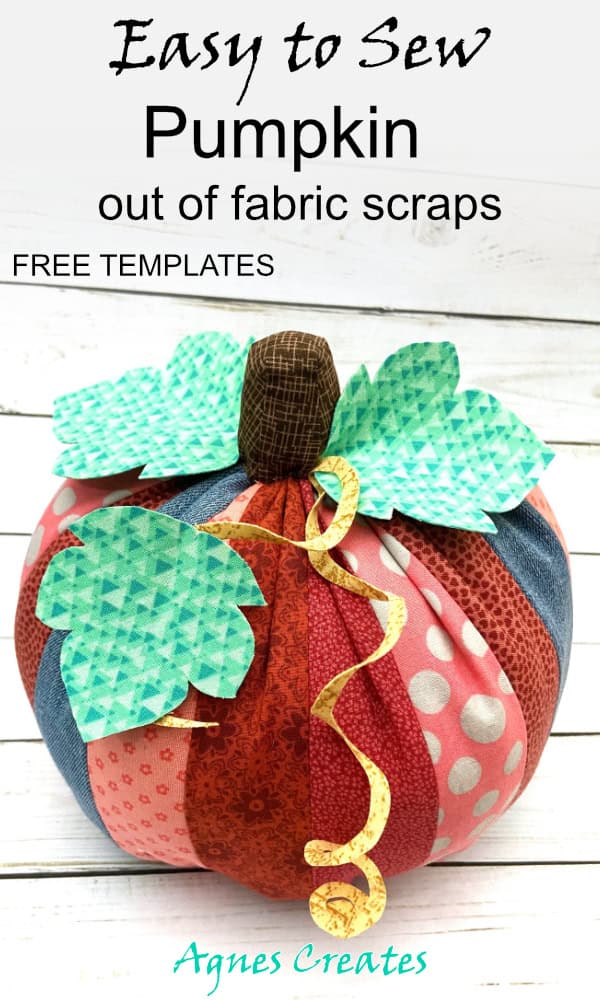
Gather all your fabric scraps and learn how to sew a fabric scrap pumpkin! Get free pumpkin templates from my library and follow the tutorial!
I am sure you have plenty of leftover fabric from previous projects but don’t want to throw it out. You can make a fabric scrap pumpkin out of the fabric scraps. Never enough pumpkins to decorate your home for fall, right?
While strolling through Joann store I found a very neat product. It’s a Pellon Wonder Web that bonds two fabrics together. I will use that fusible web to make the fabric scrap pumpkin. This post contains some affiliate links for your convenience (which means if you make a purchase after clicking a link I will earn a small commission but it won’t cost you a penny more)! I always recommend products I tried, use, and love.
What you need to sew a fabric scrap pumpkin
-
sewing machine – I use and love Jenome
-
scraps of fabric
-
Pellon 807 Wonder-Web – a fusible web that bonds fabric to fabric
-
thread – I used white
-
scissors to cut fabric
-
detail scissors
-
rotary cutter
-
cutting mat
-
fiberfill – I use the Fairfield brand
-
hand needle
-
free fabric scrap pumpkin templates (PDF and SVG) are ready to download at my resource library– to get the password, fill out the form at the bottom of this post
Let’s learn how to sew a fabric scrap pumpkin to decorate your home this fall!
Always remember to wash and dry fabric before sewing with it. Even when making decor projects. It’s easier to work with washed fabric because it’s not stiff.
Step 1. Have all materials ready. Get two pieces of fabric for the leaves and the vine. Also, cut the stem piece out of the preferred fabric. For the pumpkin, cut 2-inch by 12-inch rectangles. I used six fabric patterns and I had 18 rectangles for the pumpkin.
Usually, to get a nicely shaped pumpkin, the fabric piece has to be a 1:2 ratio. That means the longer side of the pumpkin piece needs to be twice as long as the short one. In my project, the longer side was more than twice as long. My pumpkin came out looking good. You can use less than six fabric prints for your pumpkin. I think five would be perfect.

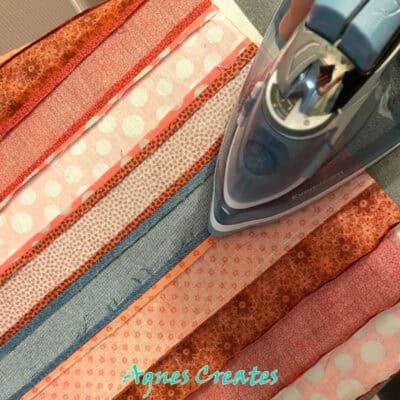
Step 2. Pin and sew the long edges of the rectangles right side together. Sew them one at a time. Before sewing the first piece with the last, iron the seams flat.
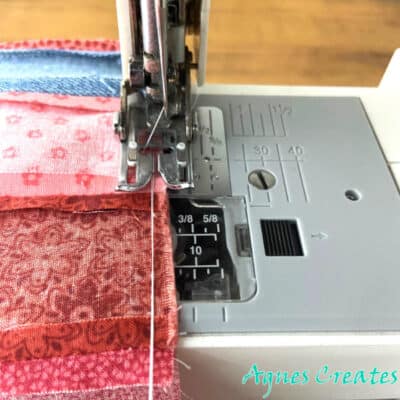
Step 3. Gather one of the openings of the pumpkin piece.
TIP: How I gather is: pull thread from the bobbin and the spool (a little longer than the length of the edges you want to gather). Then zig-zag along the edge, making sure both threads are in the middle of the zig-zag. Now, gather pulling the threads. It is very important to gather as evenly as possible.
Gather until the opening is closed and hand stitch to secure.
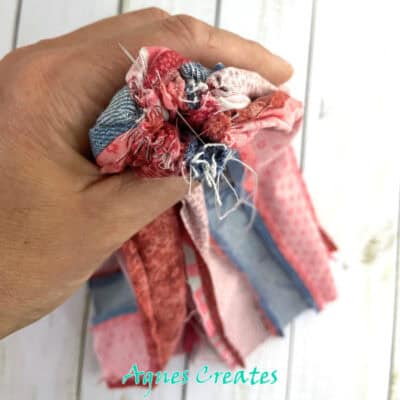
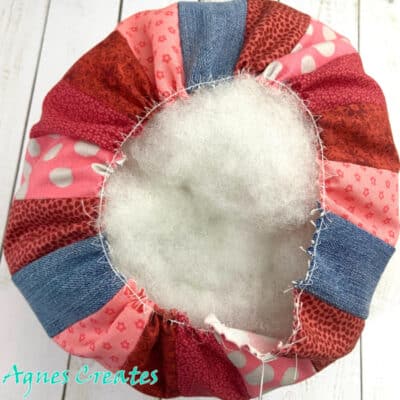
Step 4. Turn the pumpkin body right side out and repeat the gathering on the opposite opening. Stuff in the fiberfill while and stitch the opening close.

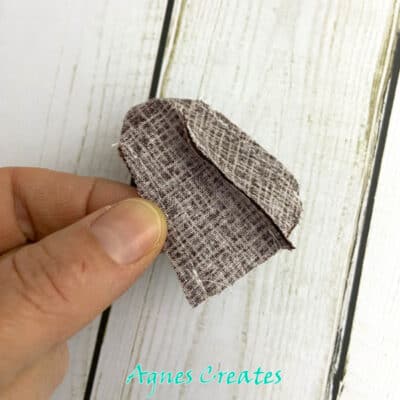
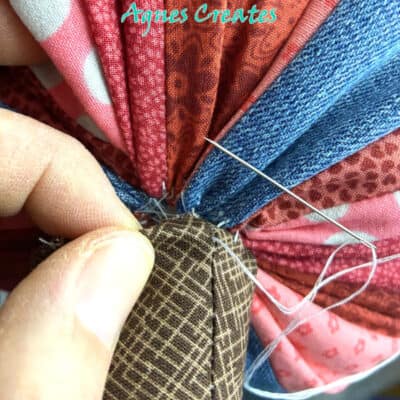
Step 5. Sew the long edges of the stem piece right side together. Turn the stem right side out and fill with a fiberfill. Turn the stem edge in, hand stitch the stem over the top opening.
Step 6. Cut the wonder web the same size as the fabrics for the leaves. Put the web interfacing between the two fabrics and press with a hot iron. Make sure the fabric pieces are wrong side together. Then, cut the leaves out.
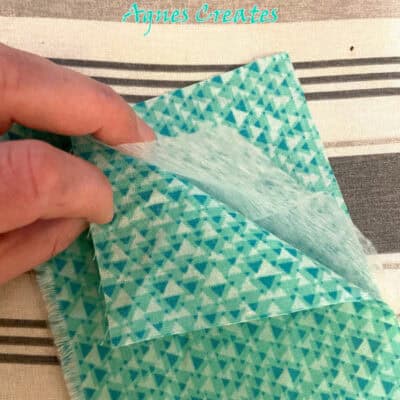
Step 7. Repeat step 6 but with fabric for the vine.
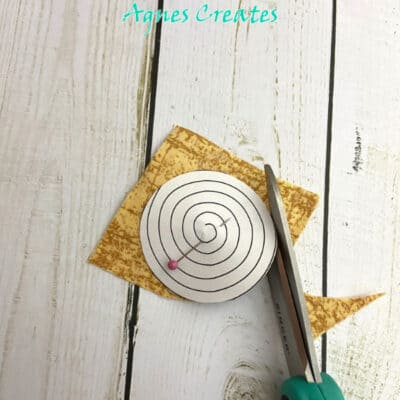
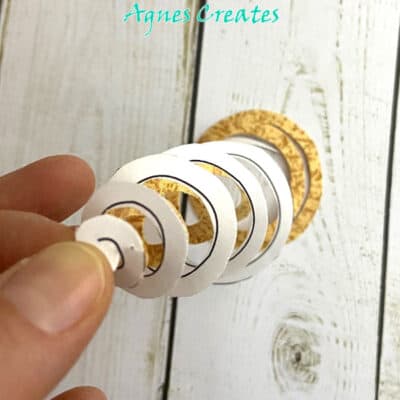
Finally, hand-stitch the leaves and the vine to the pumpkin.
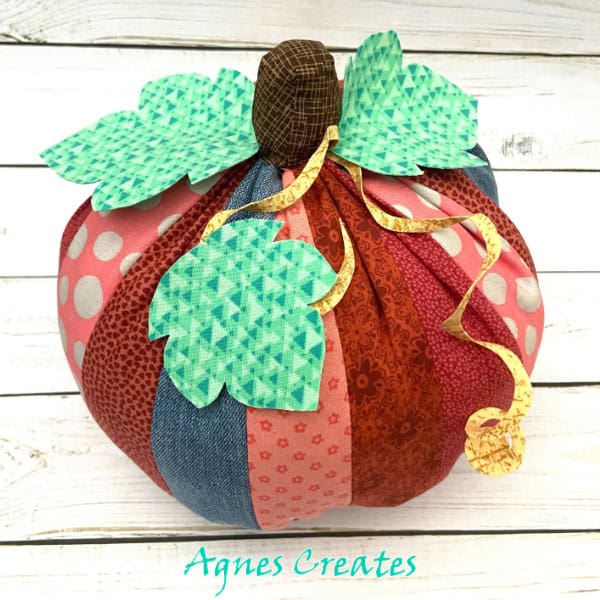
I hope you enjoyed learning how to sew a fabric scrap pumpkin. You may also like sewing denim pumpkins for your fall decor.
Happy Sewing!
Love,
Agnes
Want To Remember This? Save The Easy To Sew Fabric Scrap Pumpkin Free Pattern To Your Favorite Pinterest Board!

