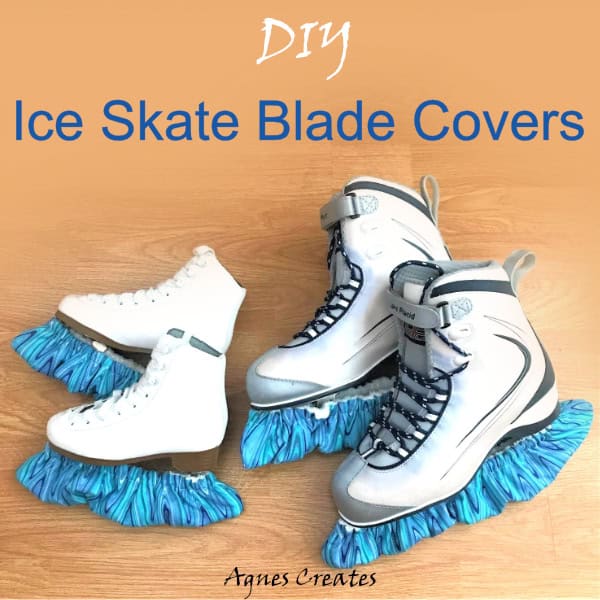
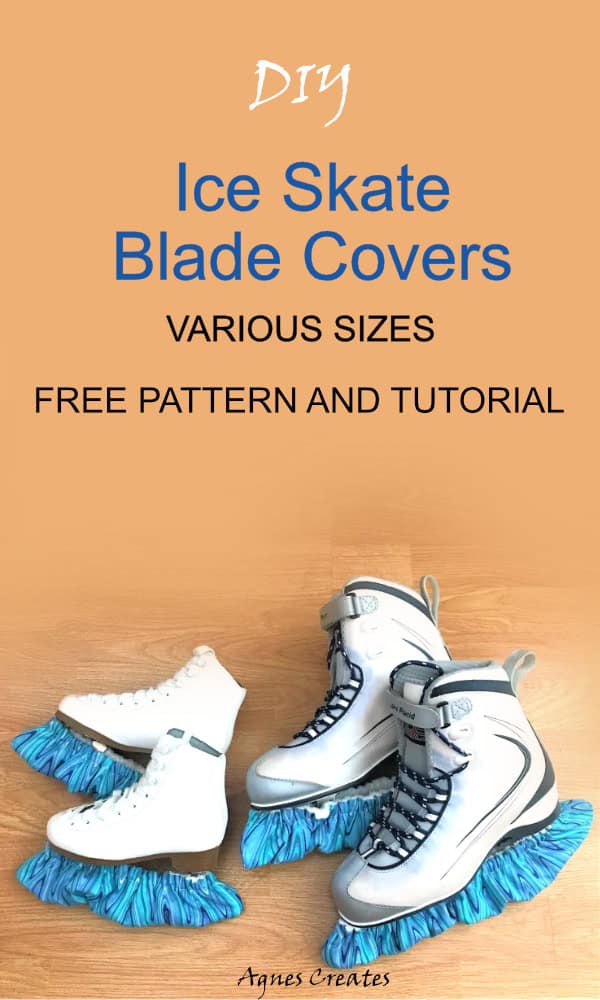
Learn how to DIY Ice Skate Blade Covers to protect your skates using your favorite fabric print! This quick and easy tutorial will teach you how to DIY Ice Skate Blade Covers in no time!
My kids and I enjoy ice skating for fun, and my daughter and I have our skates. She asked me to make, as she calls it, “skirts” to make our skates look nice. And, of course, she picked the fabric print that she liked for DIY ice skate blade covers.
You need a specific fabric called terry cloth, and working with it may get very messy. It frays and sheds a lot because terry cloth fabric is made of loops of thread. And, when you cut through the fabric with scissors, the edges unravel and the loop piles split. ‘ Top 5 Terry Cloth Problems, Concerns & Solutions’ is a great article to read, especially before working with terry cloth fabric.
So, for DIY Ice Skate Blade Covers, you need terry cloth for the inside and also other decorative fabric for the outside of the covers. I think the best is to use quilting cotton fabric, and fat fabric quarters work perfectly. This post contains some affiliate links for your convenience (which means if you make a purchase after clicking a link, I will earn a small commission, but it won’t cost you a penny more)!
You can find a wide array of fat quarter fabrics on Amazon, in lots of colors and prints.
Remember, always wash and dry fabric ahead of time to pre-shrink it.
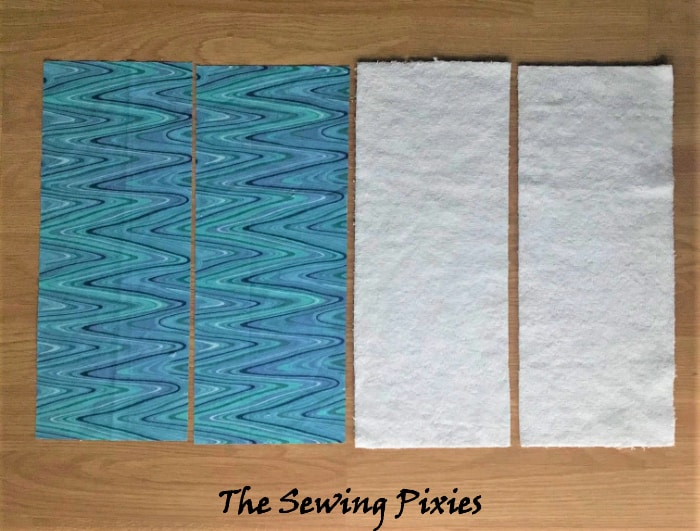
Step 1. Cut two rectangles out of terry cloth and quilting fabric.
Here are the exact measurements of the fabric rectangles and how long the elastic should be cut for each size:
S – 12” x 6” and 6” elastic
M – 15” x 6” and 7.5” elastic
L – 18” x 6” and 9” elastic
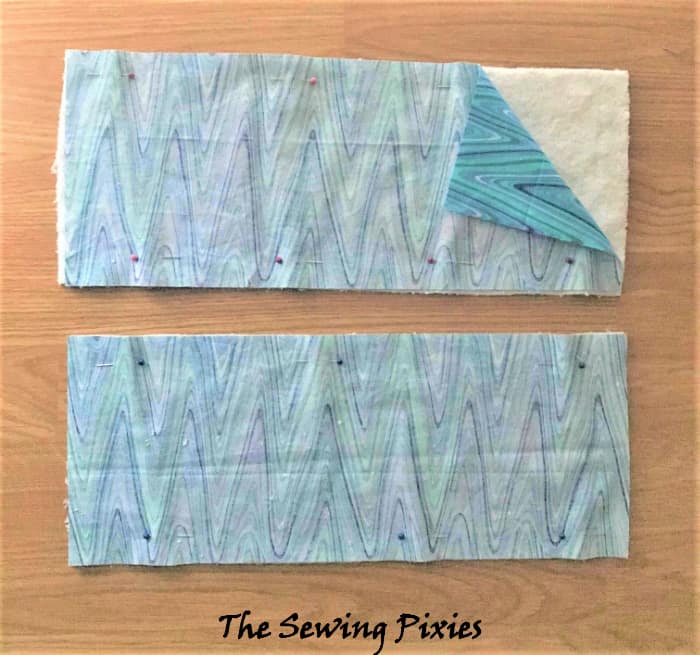
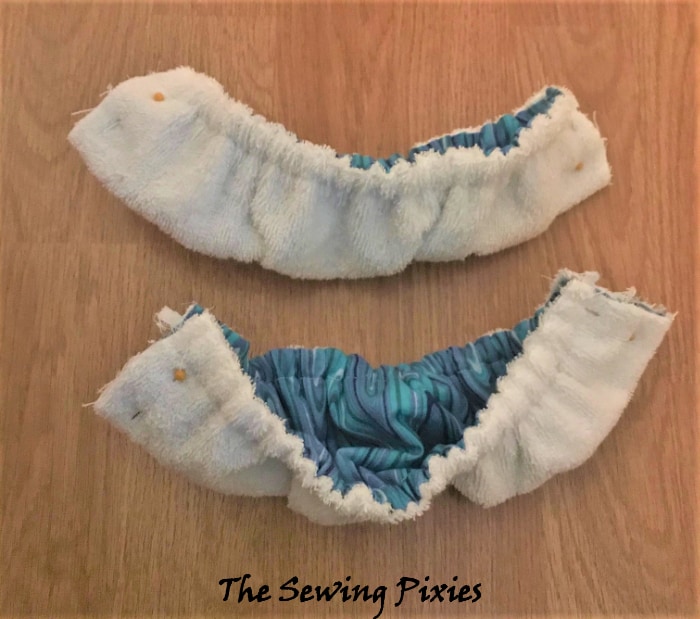
Step 2. Place one terry cloth piece and one quilting fabric piece right sides together and stitch along both long sides.
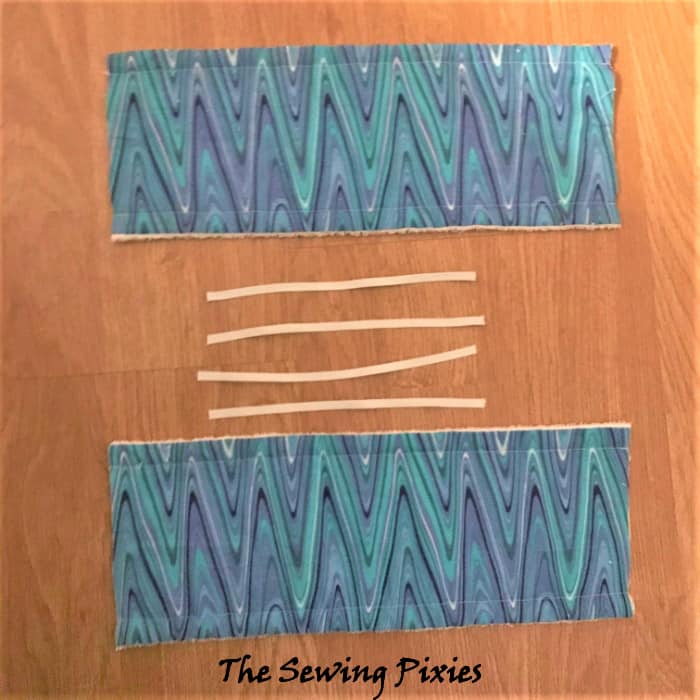
Step 3. Turn the sewn cover pieces right side out and flat iron them. Also, cut four pieces of elastic. Then, get your machine ready to stitch 1/2” from the edge and stitch along both long sides. That way, you made two casings for the elastic.
Step 4. Pin the safety pin to one end of the elastic and start pushing through the casing, leaving ¼” of elastic out. Secure, by stitching a few times by the edge, and do the same on the other side of the casing.
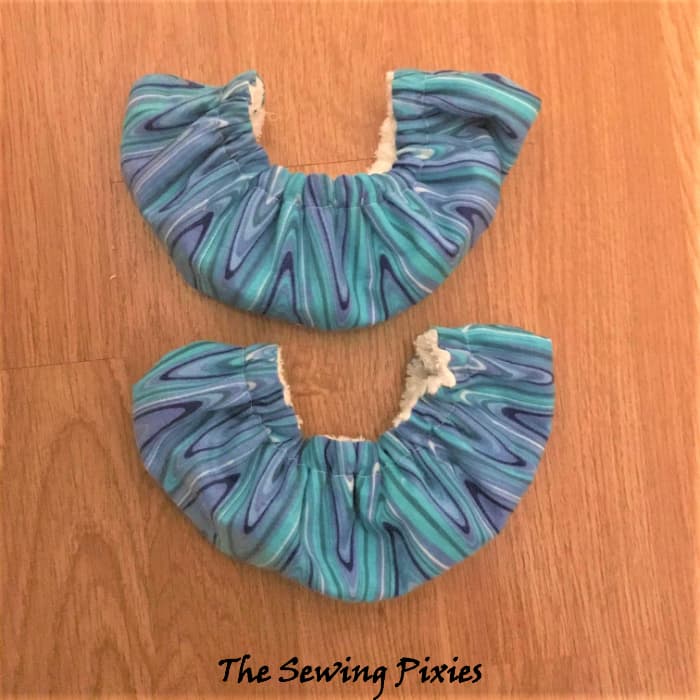
Step 5. Repeat Step 4 three more times to get two scrunchy-looking cover pieces.
Step 6. Fold the short edges with the print fabric together and stitch. Also, use a zig-zag stitch to prevent fraying and turn the cover out.
You are done, and now you can start cleaning out the fuzzies from fraying and shedding terry cloth, lol.
I hope you found my tutorial useful and have fun DIY ice skate blade covers. Please share a picture of your blade covers on my Facebook page. I am curious about what fabric prints you used for your skate “skirts”.
You may also be interested in other sewing patterns for winter sports:
fleece ice skating accessories sewing pattern for a child in sizes 1-10, which includes: leg warmers sewing pattern, fleece hat with ear flaps sewing pattern, and mittens sewing pattern.