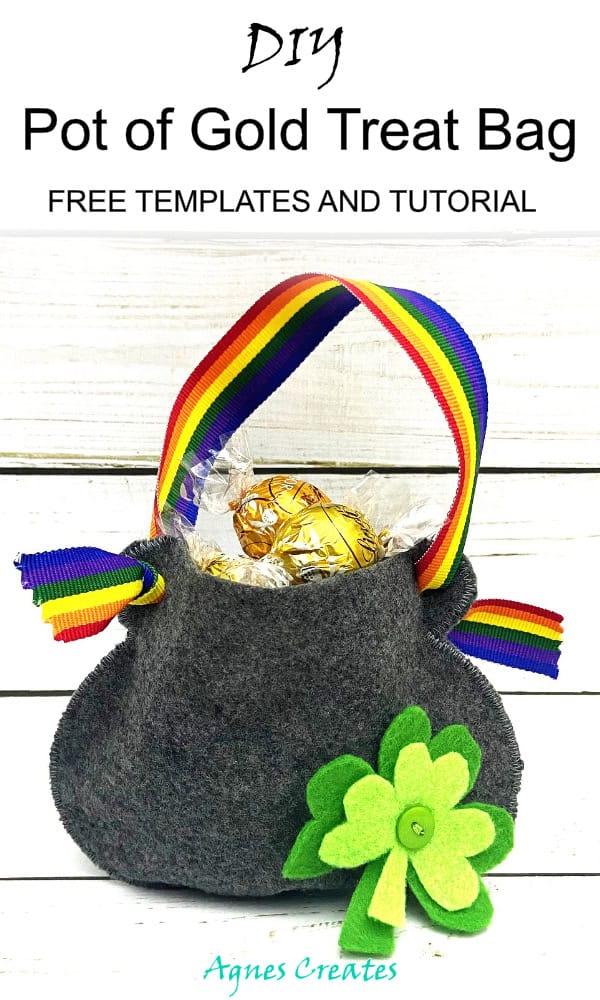
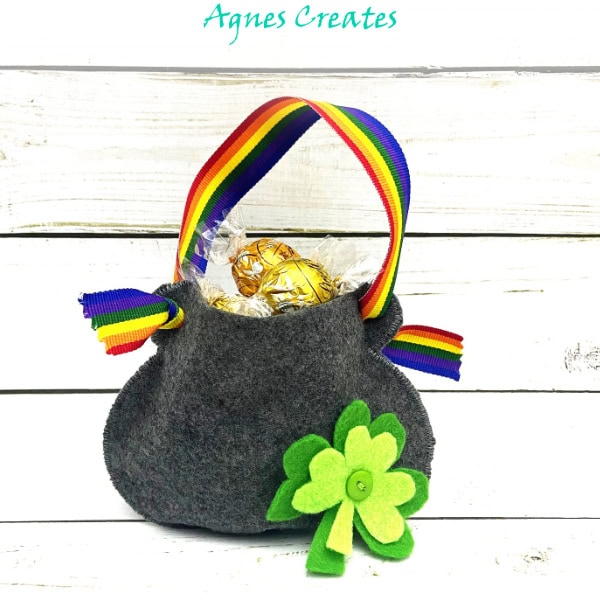
Surprise your family with DIY pot of gold treat bags this St.Patrick’s Day. It is a quick and easy felt DIY project idea.
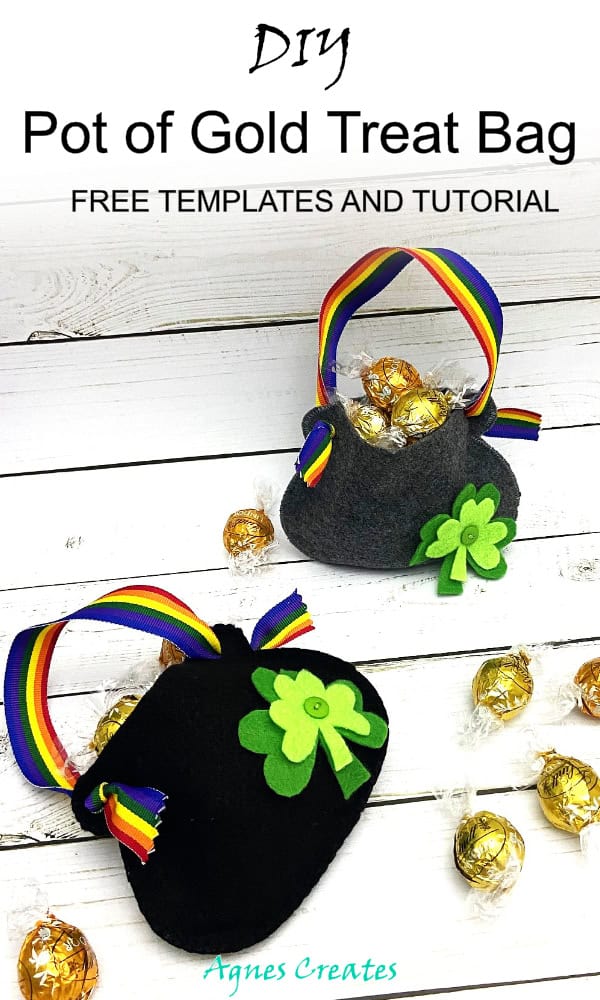
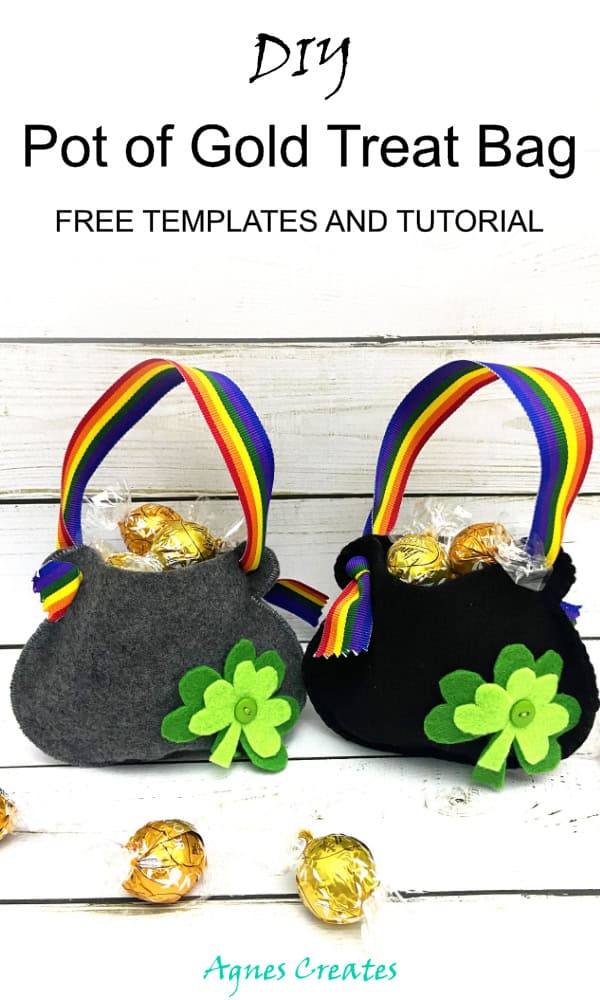
Enjoy my DIY pot of gold treat bag felt project idea. It takes a little time to make one pot of gold treat bag. You can use embroidery thread to stitch the pieces together. Alternatively, you can stitch the pot pieces together using a sewing machine and matching thread. I used a sewing machine to make the dark grey pot of gold treat bag and black embroidery thread with blanket stitch to make the black one.
You can make the DIY pot of gold treat bags using black or dark gray color felt. One 9×12″ felt sheet is enough to make one pot of gold treat bag. I like using Kunin brand felt for my project because you can get a classic or premium quality. Premium felt is a little thicker to make sturdier projects. You can use classic felt sheets to make the pot of gold treat bags. This post contains some affiliate links for your convenience (which means if you make a purchase after clicking a link I will earn a small commission but it won’t cost you a penny more)! I always recommend products I tried, use, and love.
What you need for DIY pot of gold treat bag felt project
-
black or smoke color felt sheets 9×12″ – I love Kunin brand felt
-
small pieces of green felt – I used apple green and neon green
-
embroidery thread in matching felt colors
-
small 0.5″ green buttons
-
7/8″ rainbow ribbon
-
sharp detailed scissors
-
hot glue gun – optional
-
free templates for the rainbow decor are ready to download at my resource library– to get the password, fill out the form at the bottom of this post.
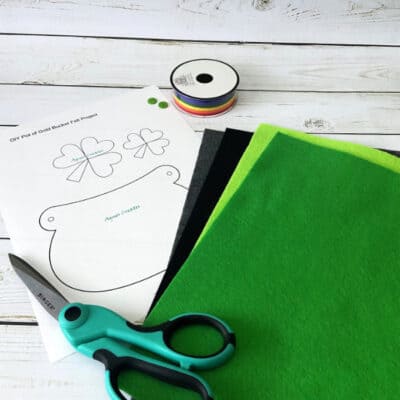
Follow my DIY pot of gold treat bag step-by-step instructions
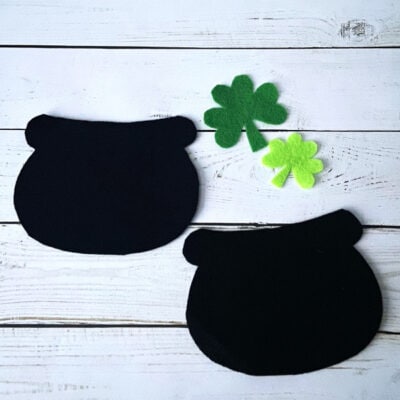
Step 1. Gather all the materials needed for this DIY pot of gold felt project. Also, please print out the pot of gold free templates from my resource library. Cut all the treat bag pieces out of felt using sharp, detailed scissors. U need two felt pot pieces to make one treat bag.
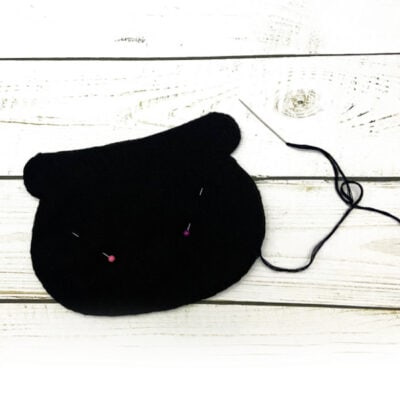
Step 2. Using embroidery thread and blanket stitch, stitch the two pot pieces together. Start from the top of one edge to the other top of the pot.
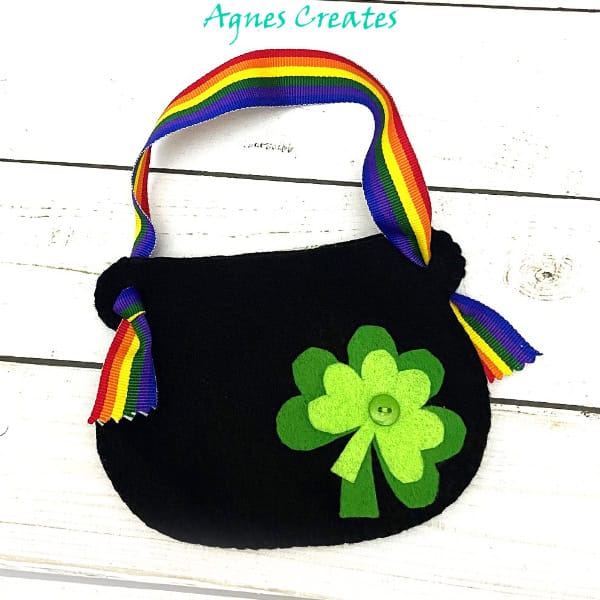
Step 3. Place the smaller shamrock piece on top of the bigger one. Sew the button on, to those two felt shamrock pieces. Make sure the button is in the middle of the leaves. You can use green embroidery thread or regular sewing thread to do so. Do not cut the thread but stitch the shamrock piece to the front of the pot piece. Make sure you won’t stitch through both layers of the pot, but only the top front one.
Alternatively, you can hot glue the three shamrock pieces together and then hot glue it to the front of the pot.


Step 4. Use sharp, detailed scissors to cut out small holes on the top sides of the pot.
Step 5. Cut around 18″ long rainbow ribbon. You can use the pinking shears to trim the raw edges of the ribbon. It will prevent the ribbon from fraying.
Fold one end of the ribbon longwise and slide through the hole on one side of the pot. Do it, from the back to the front. Make a knot with the ribbon around 1.5″ from the edge.
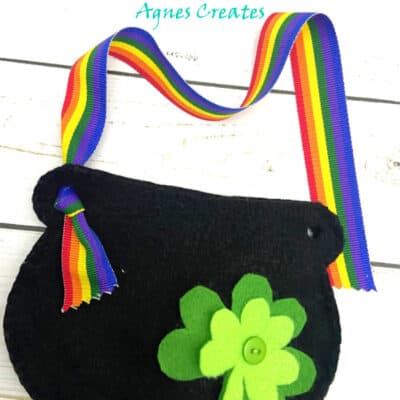
Repeat with the other side of the ribbon, but slide the ribbon from front to the back of the pot piece.
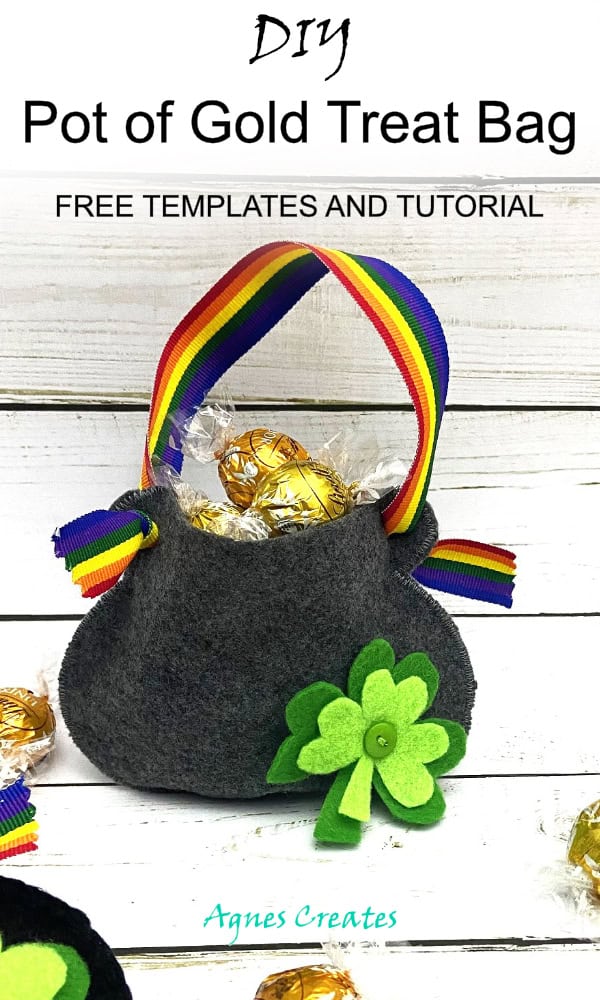
And, a DIY pot of gold treat bag is ready to be filled with goodies!
You can fill the treat bags with gold wrapped candies. Gold color toys, like gold coins and gold bead necklaces, are a great option too.
I hope you enjoyed making my DIY pot of gold treat bags for your family. Please, post a picture of your treat bags for St. Patrick’s Day, on my Facebook page.
You may also like other felt DIY projects:
-
DIY St. Patrick’s Day rainbow door decor,
-
playing card holder DIY sewing pattern – perfect to hold a bunch of cards during family game nights
-
DIY felt apple placemats,
-
DIY puzzle game pattern – fun educational game for kids
Happy Crafting!
Love,
Agnes
Want To Remember This? Save The DIY St. Patrick’s Day Rainbow Decor Felt Project To Your Favorite Pinterest Board!