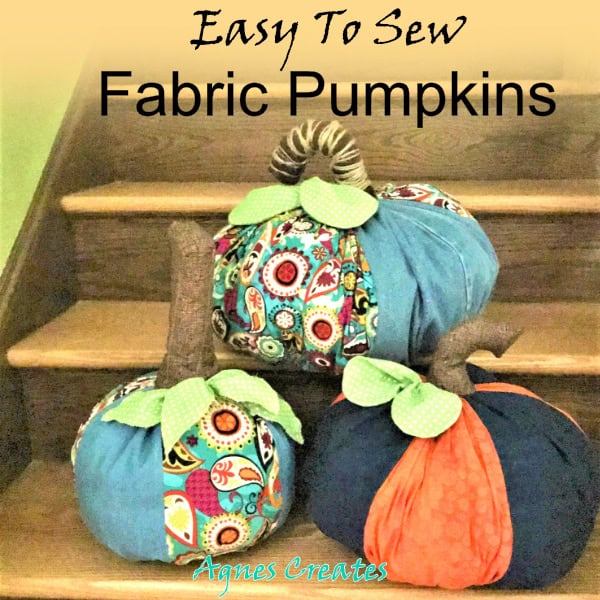
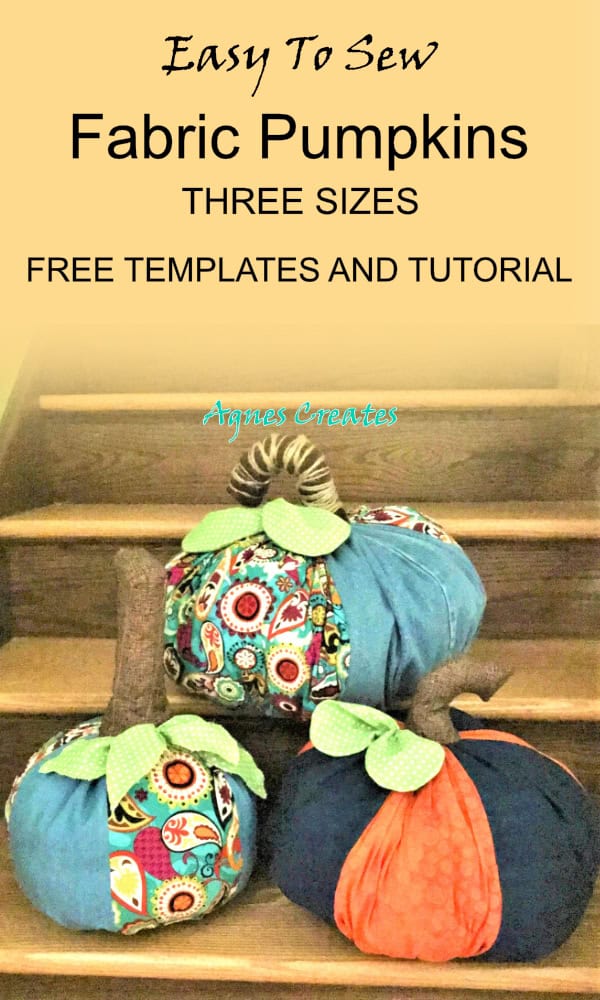
Decorate your home with these easy-to-sew fabric pumpkins!
It’s the beautiful autumn season, and we see pumpkins everywhere. While going through my fabric stash, I found some pretty fall-colored fabrics and decided to sew pumpkins for my home. I also had some old jeans I wanted to repurpose, and this easy-to-sew fabric pumpkins project was perfect to do so. This post contains some affiliate links for your convenience (which means if you make a purchase after clicking a link I will earn a small commission, but it won’t cost you a penny more)!
Free pumpkin stems template ready to print out at my resource library – to get the password, fill out the form at the bottom of this post.
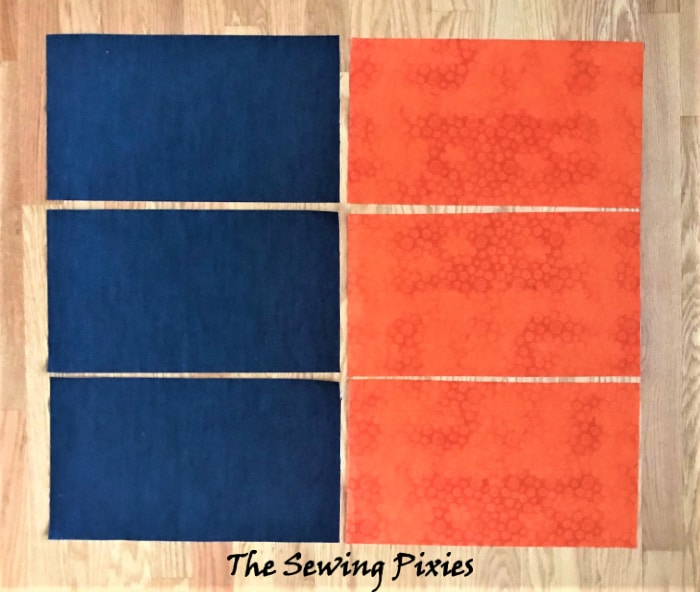
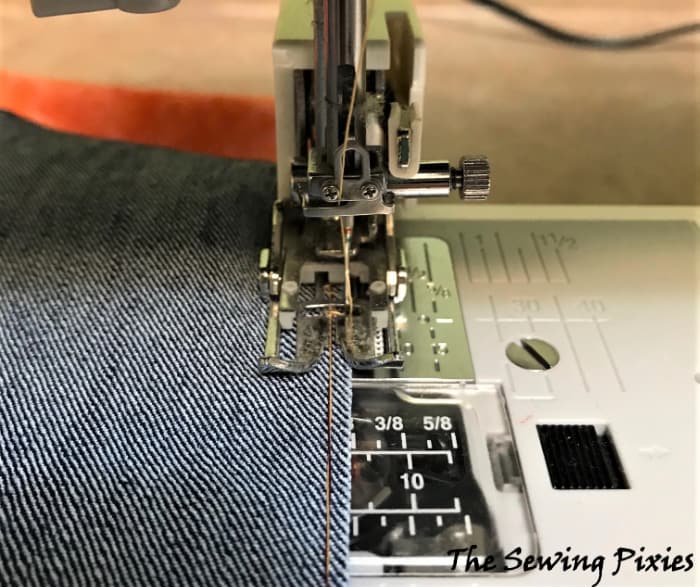
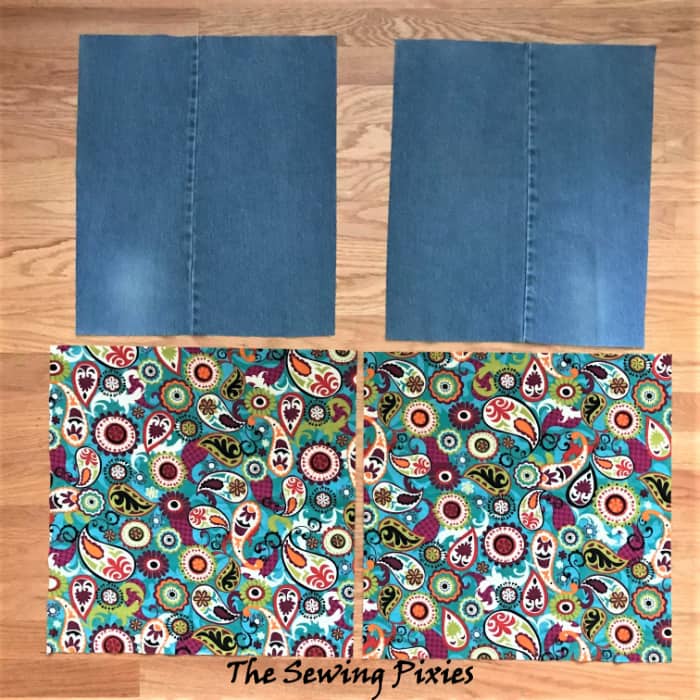
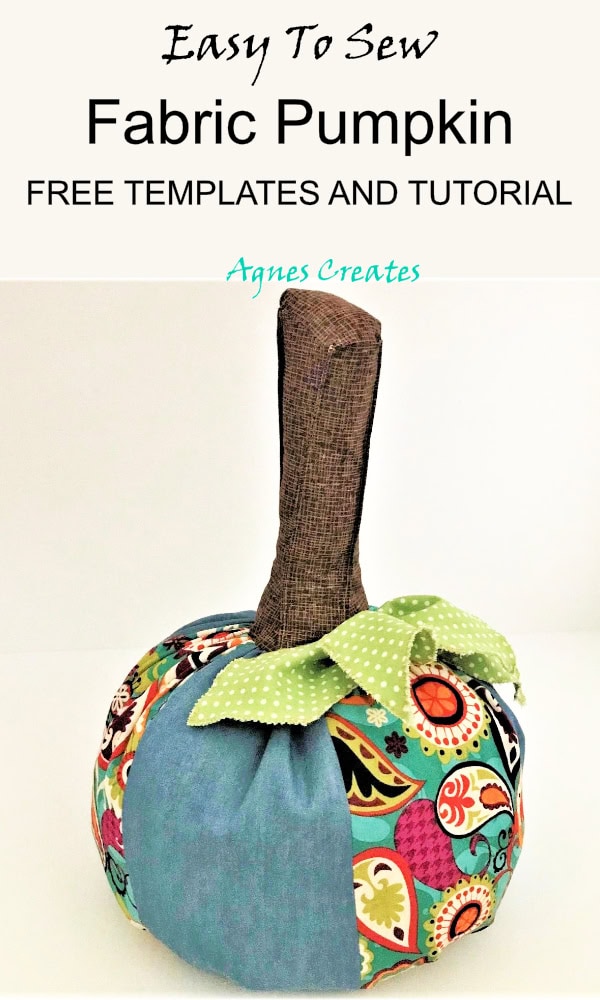
STEP 1.Sew the pumpkin body. Cut six rectangles out of the fabric you want to use for the pumpkin. For the medium-sized pumpkin, I used dark denim and orange quilting fabric, and each piece is 9 x 16 inches.
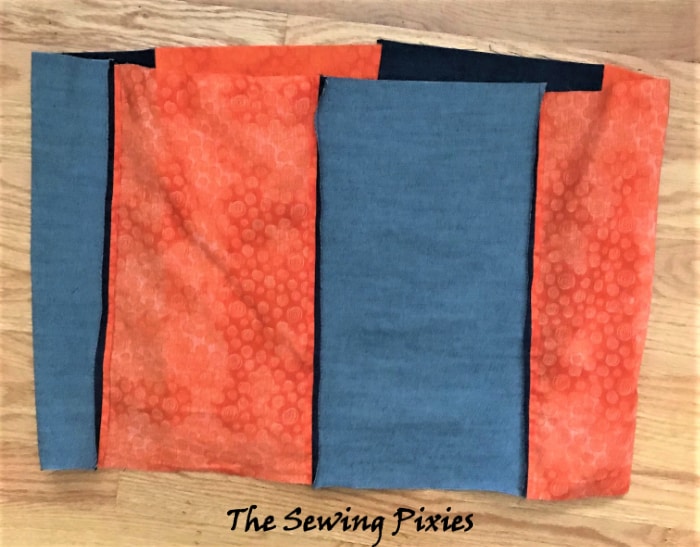
Pin the long edges right side together and stitch piece by piece. Stitch the first piece with the last one, right side together. Open and iron all the seams flat.
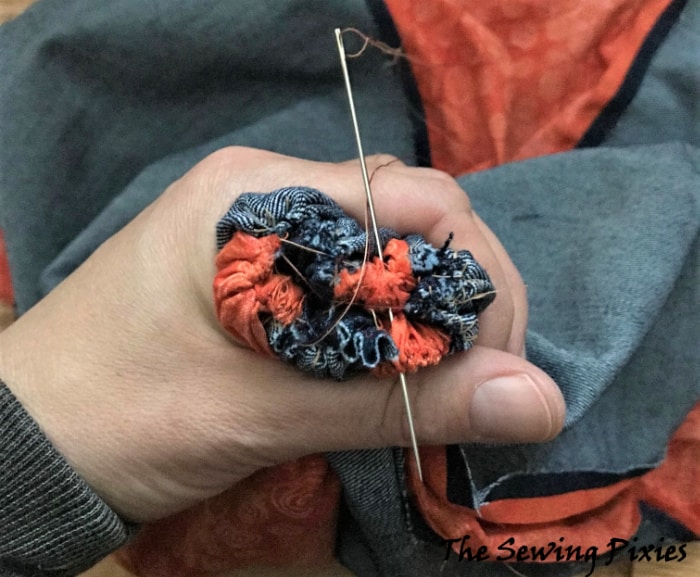
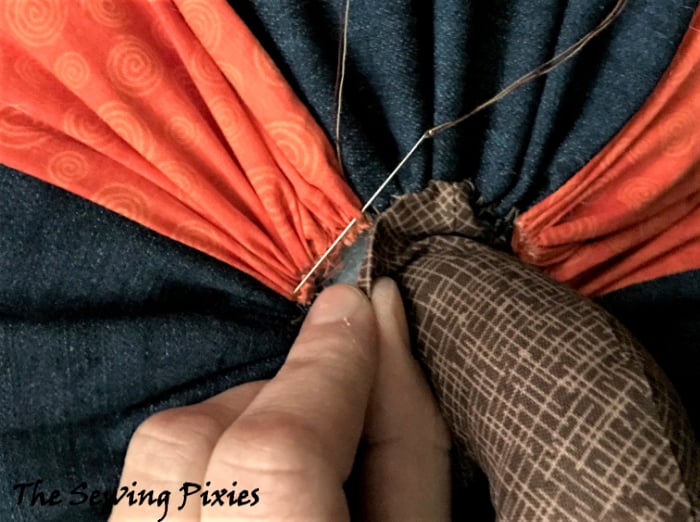
Now, gather one raw edge of the pumpkin piece.
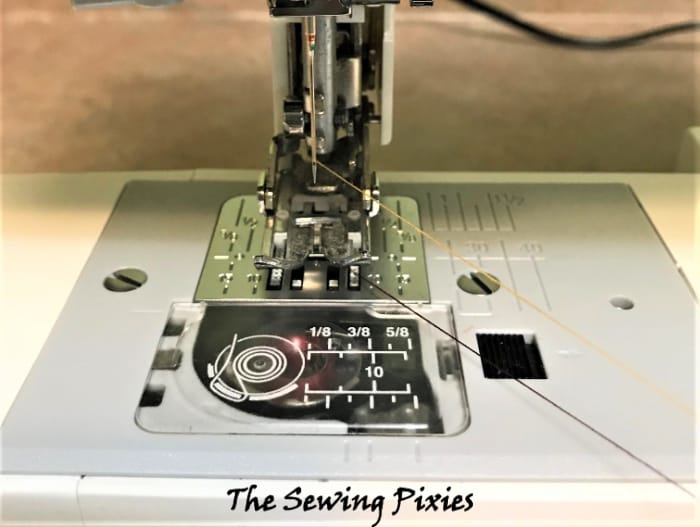
TIP: How I gather is: pull thread from the bobbin and the spool (a little longer than the length of the edges you want to gather). Then zig-zag along the edge, making sure both threads are in the middle of the zig-zag. Now, gather by pulling the threads. It is very important to gather as evenly as possible.
Gather until the opening is closed and hand stitch to secure.
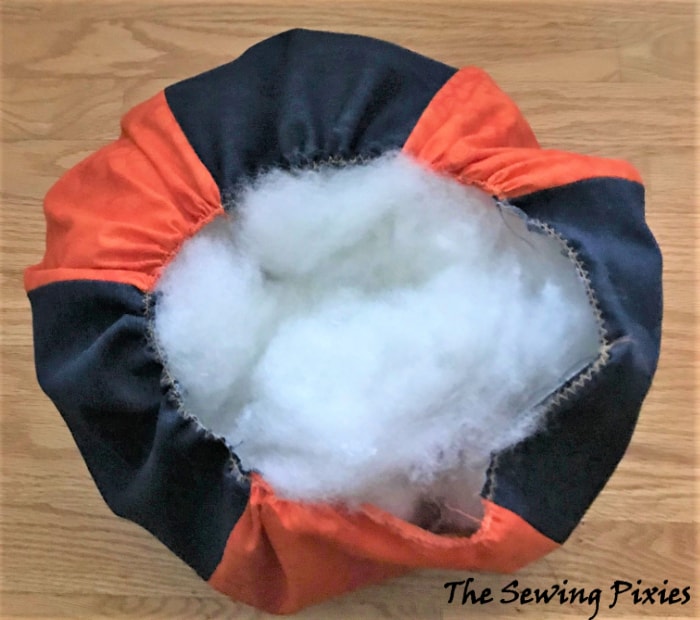
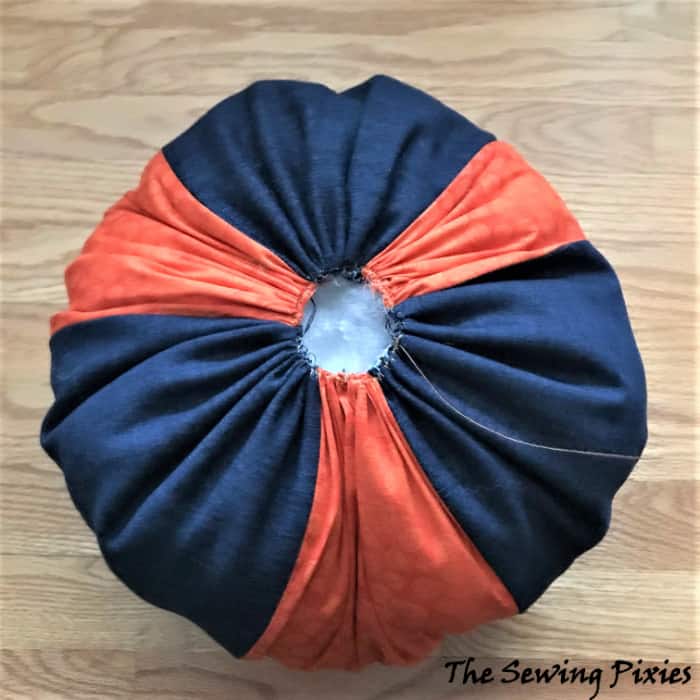
Turn the pumpkin body right side out and repeat the gathering on the opposite raw edge. Stuff in the fiberfill while gathering and stitch the opening closed.
Since you will be sewing on the stem here, the opening doesn’t have to be completely closed.
For the large-sized pumpkin, I used quilting fabric and old jeans. I made this pumpkin out of four fabric pieces. I cut out 18-inch-long pieces from the legs of the jeans and cut off the thicker seam. The size of the jean pieces is 16 x 18 inches, and the paisley is 18 x 18 inches.
The small pumpkin I made out of six pieces of fabric, 6 x 14 inches.
Follow the sewing instructions for the large and small pumpkins as for the medium size.
STEP 2.Sew pumpkin stem.
Medium-sized pumpkin
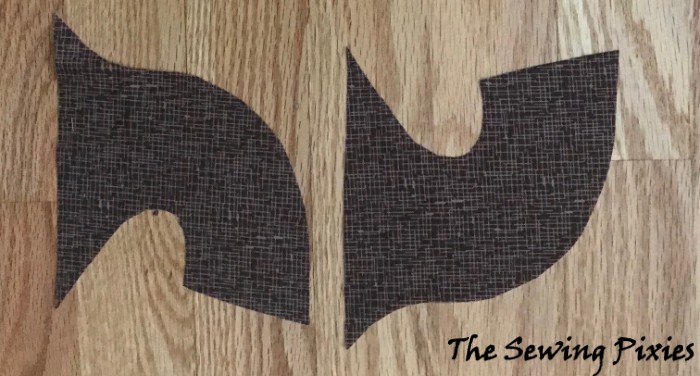
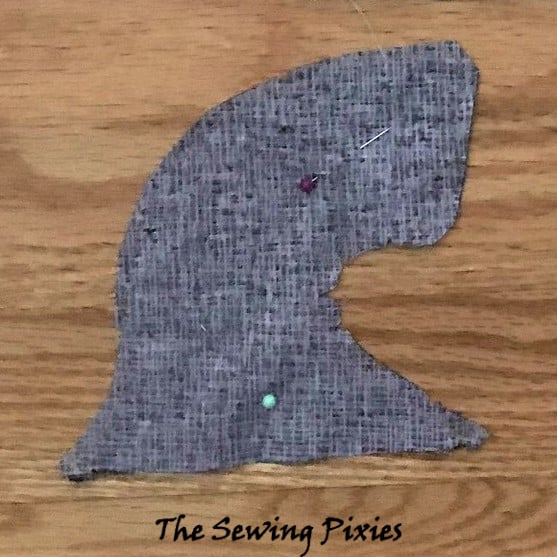
Cut the stem pieces out of preferred fabric. Pin them right sides together and stitch around, except for the bottom part.
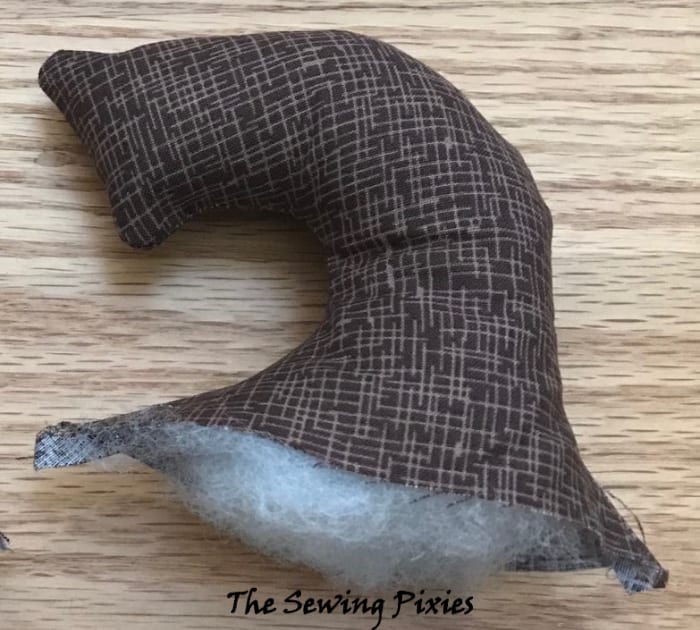
Turn it right side out and stuff it with fiberfill.
Turn the stem edge in, and hand stitch the stem over the top opening.
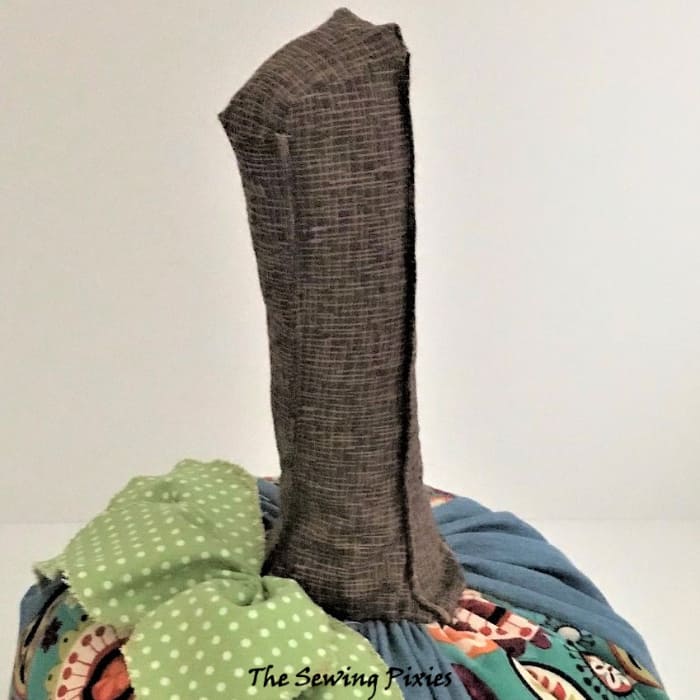
Small-sized pumpkin.
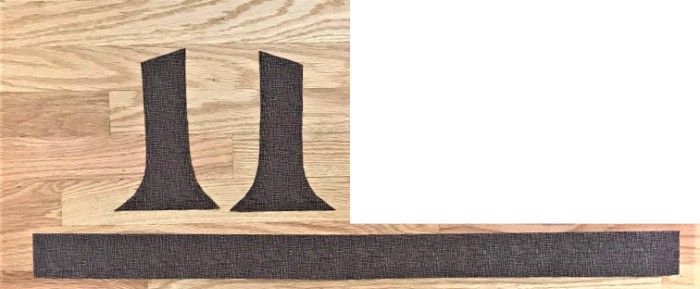
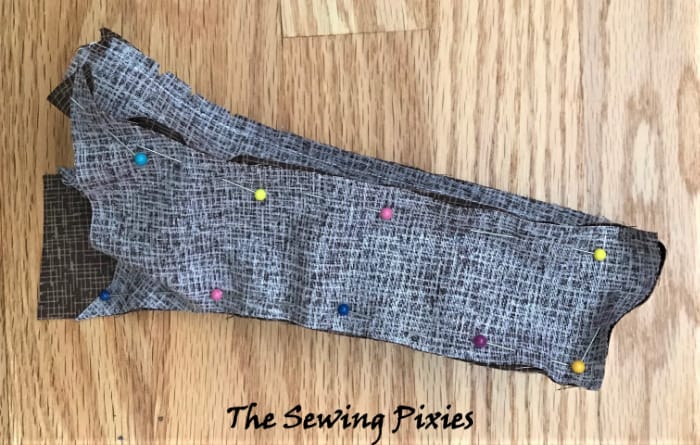
Cut out the stem pieces from the preferred fabric print using the free template. Also, cut a 2.25-inch-wide and about 20-inch-long strip out of this same fabric.
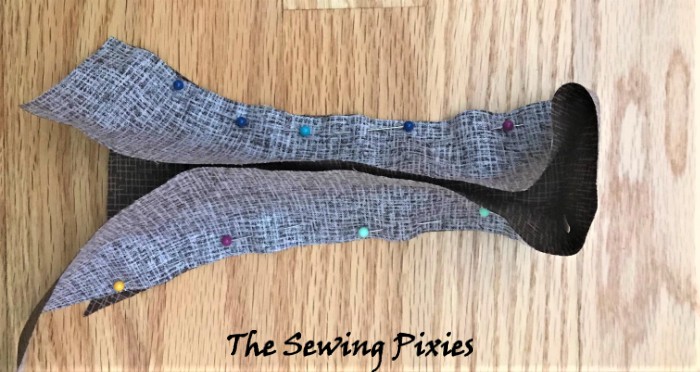
Pin one long side of the strip to the edges of one stem piece, right side together. Stitch around, except the bottom edge.
Pin the other stem piece to the opposite edge of the long strip, also right side together. Stitch around and cut off the fabric excess.
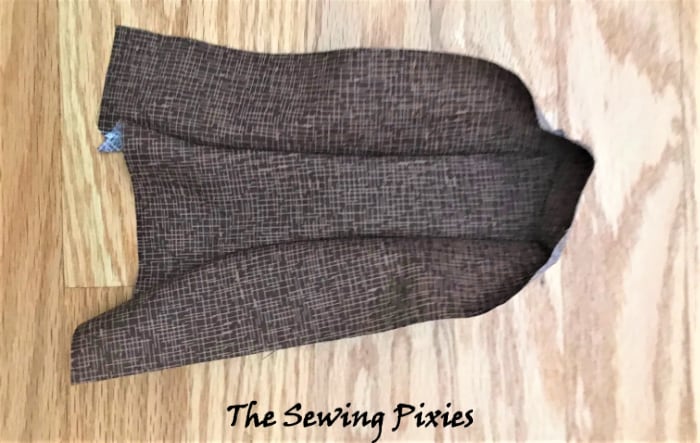
Turn it right side out and stitch the long corners very close to the edge. Doing so will give the stem a defined look. Stuff it with fiberfill and hand stitch the raw edges over the top opening of the pumpkin.
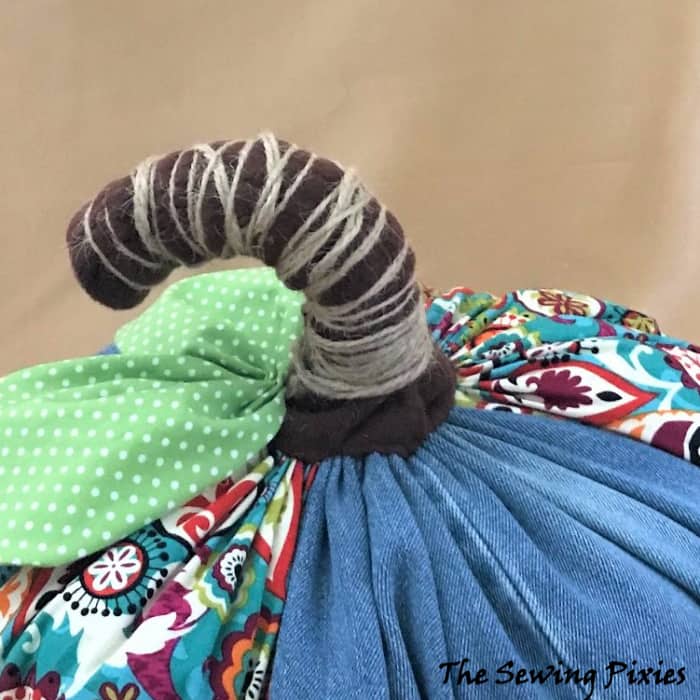
Large-sized pumpkin.
Since this pumpkin’s top opening ended up being big, the stem templates were too small. I know, I could have made them bigger, but I made a different stem instead.
So, I rolled up a double-folded piece of fleece and wrapped hemp rope around it. Since the fleece fabric is stretchy, I could easily hand-stitch it and nicely cover the opening.
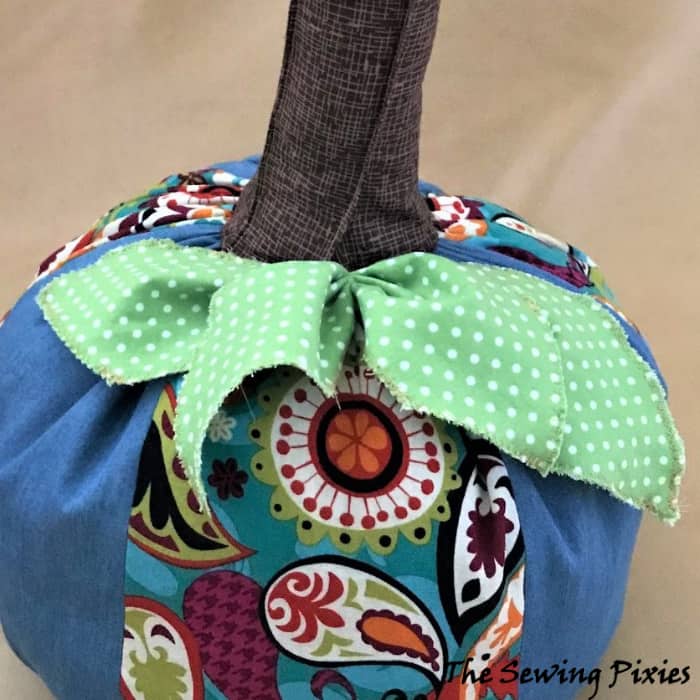
STEP 3.Now, sew pumpkin leaves.
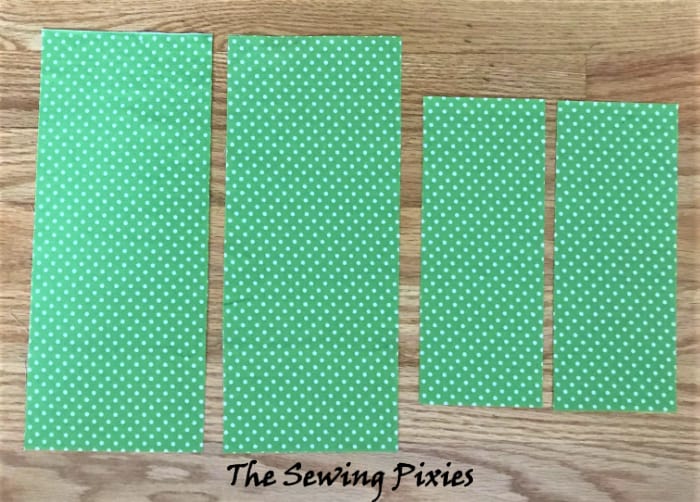
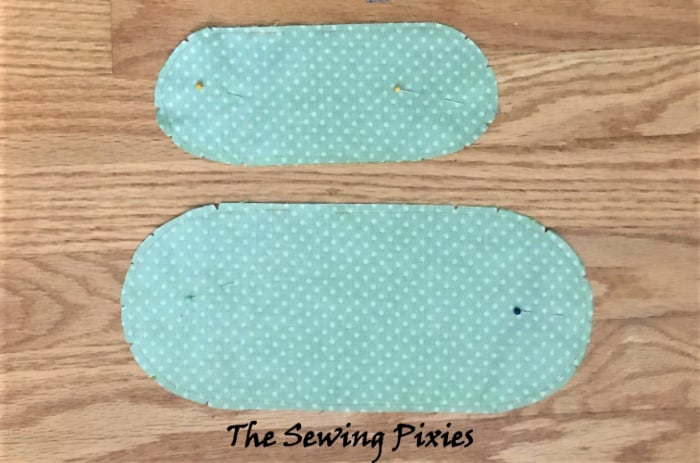
Cut out a pair of rectangles from green fabric or any fabric color you want to use for leaves. Mine are 5 x 12 inches and 3.5 x 9 inches.
Pin the pieces right sides together and cut the short edges round. Stitch them together, leaving a small opening.
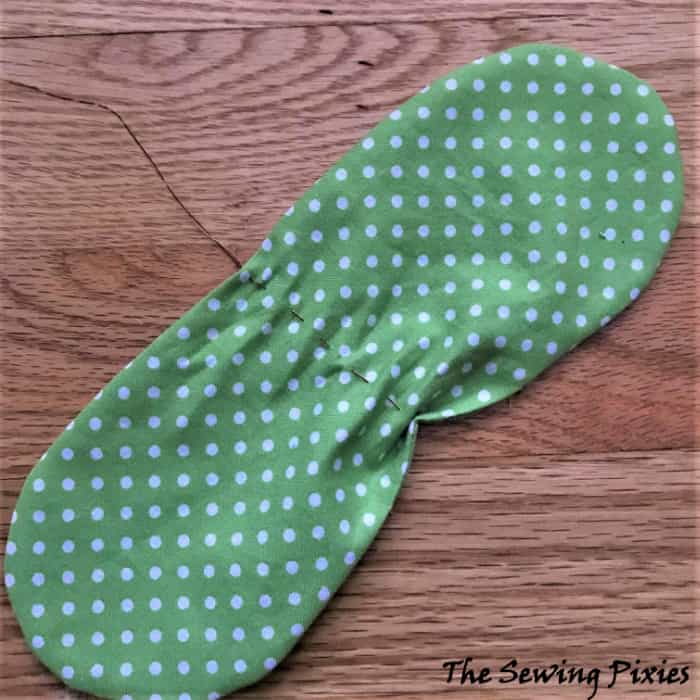
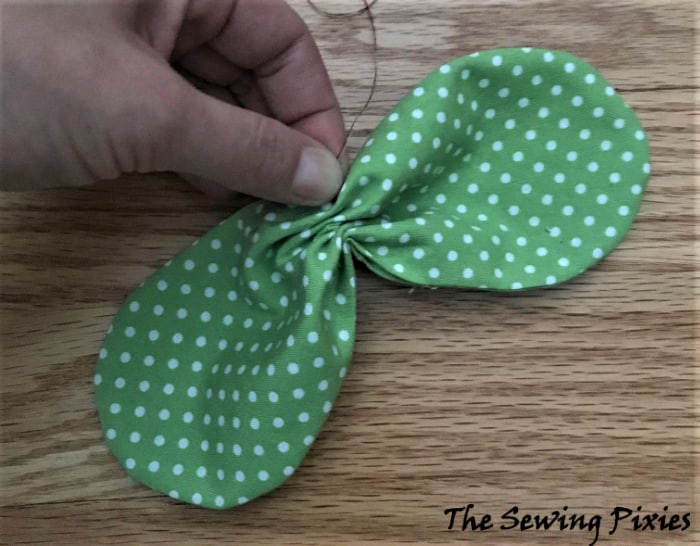
Turn the leaf pieces right side out and flatten the seams using an iron. Gather the leaves in the middle by weaving a needle with thread.
Hand stitch the leaf to the pumpkin body right by the stem base.
As you see in the picture, for the small pumpkin, I cut the short edges pointy and overlocked the edges. Also, sewn on two pairs of leaves to the stem base instead of one.
I hope you enjoyed learning how to sew fabric pumpkins and are welcome to share a picture of your pumpkins on my Facebook page.