Follow my detailed felt puzzle game pattern and learn how to make this cool pixel puzzle game! I will lead you through my tutorial on how to make this fun felt puzzle game that looks like a grid coloring page!
I designed this felt puzzle game pattern because of my daughter’s love for grid coloring pages. She kept asking for new art designs, and I kept printing them.
My daughter suggested making a grid mat and pixel squares out of felt, and keep making the pixel codes. It makes a great coordinate grid game.
Also, my son Daniel chipped in on the idea of making this felt puzzle game pattern. He volunteered to design the codes for the grid mat, and I knew that, being a master in Minecraft, he would do a great job.
Let’s get ready to use the felt puzzle game pattern!
As I mentioned, you will need different colors of felt to make this pixel puzzle game. So, to make the grid mat, you need to get felt by the yard. And, I recommend getting the felt in a color that you won’t be using to cut up the squares for pixel tiles. I used a copper canyon color, but sandstone would also work great. For the pixel tiles, the felt sheets work perfectly because they give you an even cut. By saying that, I mean that you need to cut 3”x3” squares, and most felt sheets are 9”x12”. So, you evenly cut up the felt sheet without any leftover scraps.
Also, buy a premium felt because it is of better quality and is stiffer. And that’s what you need to make any felt puzzle toys.
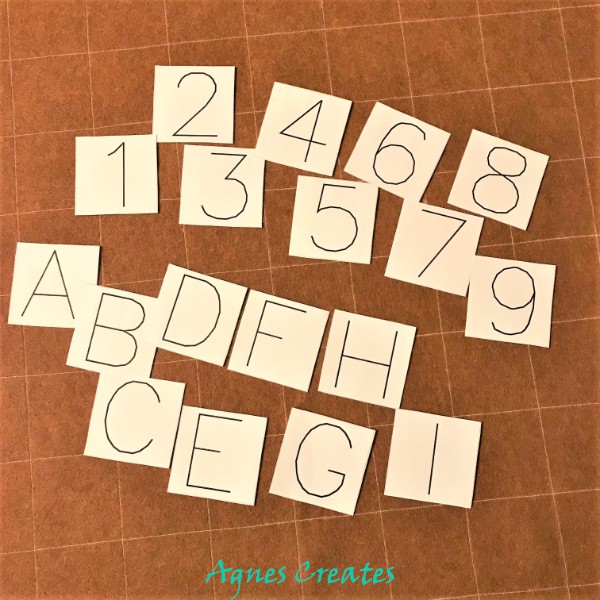
To make the felt puzzle game mat, you also need number and letter stencils. First, write the numbers and letters on the felt, using a white fabric pencil. To do that, used stencils I made, so they would look nice and even
You can buy stencils or make them yourself. If you are very talented, you may not need any stencils! Well, I need them.
I included the letter and number stencils in the free printout. And, I will show you how to use them below. This post contains some affiliate links for your convenience (which means if you make a purchase after clicking a link I will earn a small commission but it won’t cost you a penny more)!
What you need to make the felt puzzle game pattern work
free codes and stencil printables that are available in my resource library – to get the password to it, fill out the form at the bottom of this post
I am happy to teach how to make this grid coloring page mat and use my felt puzzle game pattern!
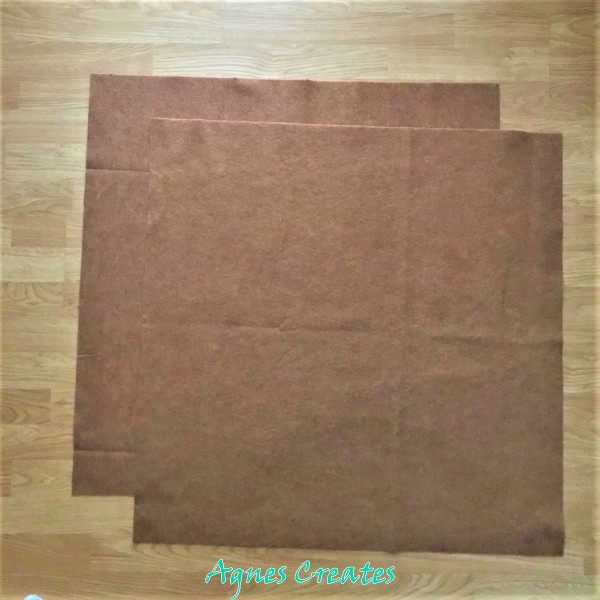
Step 1. First, cut two 30”x30” squares out of the felt by the yard and get the fabric pencil ready.
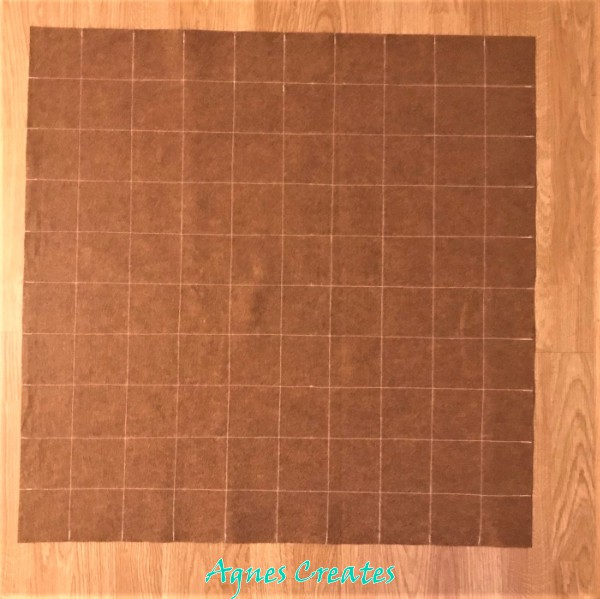
Step 2. On all four edges of one felt square, make marks for every three inches. And then, using a long ruler, connect the opposite marks and draw lines with the fabric pencil across the square.
If you don’t have a long ruler, you need to make marks in the middle of the square and then draw lines connecting them.
Step 3. Now, using the straight stitch on your machine, follow the marked lines. At some point, you need to roll the sides of the big felt square to fit it under the machine foot and stitch.
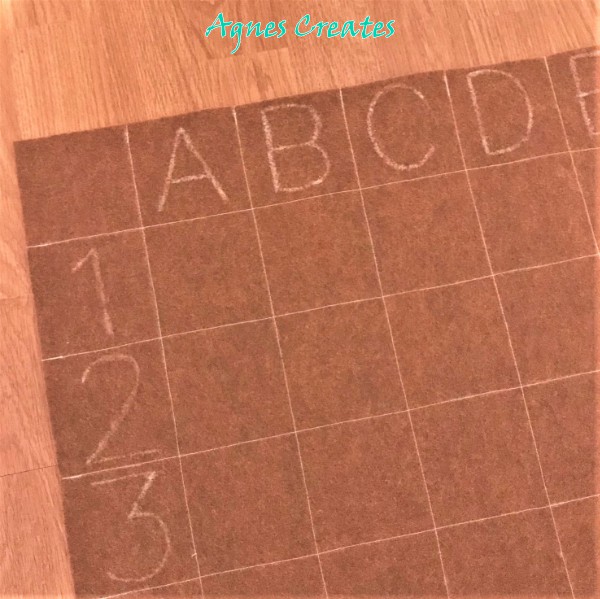
Step 4. Since you nicely made the grid, now it’s time to draw and embroider the numbers and letters.
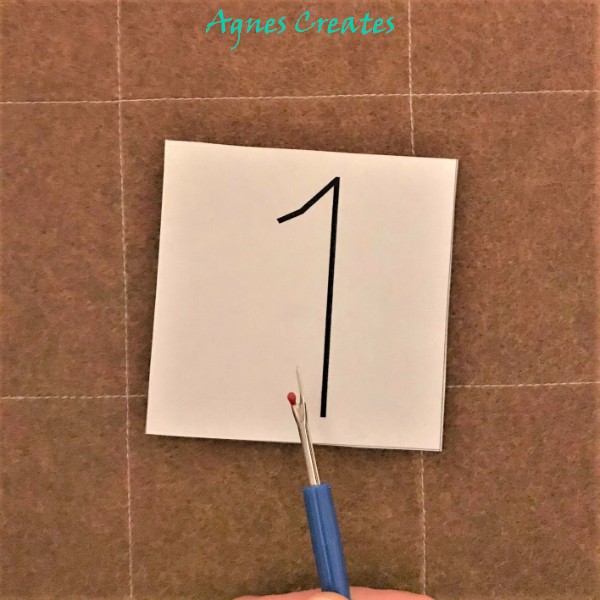
First, print out the stencil templates from my library and cut them up. Then, using a sharp seam ripper to cut along the numbers and letter lines.
Then, place the stencils on top of the felt mat in the designated squares and use a fabric pencil to follow the lines. And, that way, you have nicely and evenly drawn numbers and letters that you now need to embroider.
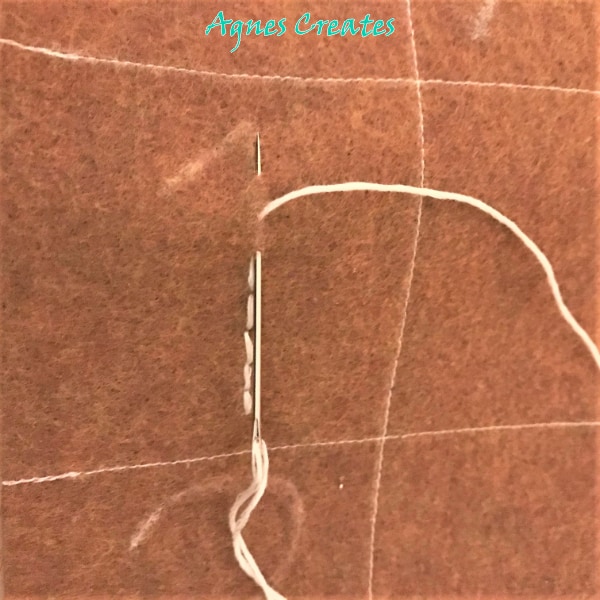
Step 5. Using the embroidery floss and backstitch, follow the lines of the drawn numbers and letters to have them nicely embroidered.
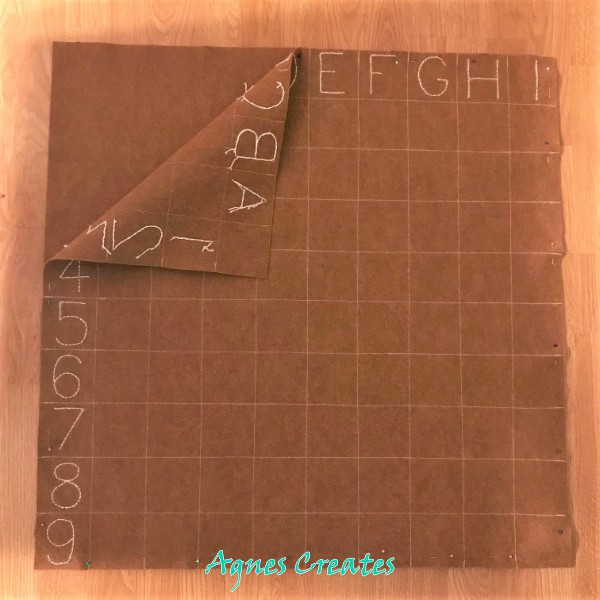
Step 6. Finally, pin the two felt squares together and, using a zig-zag stitch on your machine, stitch them around.
It seems like the felt puzzle game is almost done! Now, you just need to cut squares that will work as the pixel puzzles for the grid mat you just made.
So, each square has to be 3”x3” and below I wrote how many and what colors of squares you need. And, using the pixel puzzle squares, you will be able to fill out the grid using my codes. All of the codes are in my library, ready for you to print out, and there are eight of them.
yellow – 36
red – 46
white – 19
black – 36
gray – 6
blue – 8
light blue – 4
turquoise – 6
green – 21
dark green – 19
light green – 7
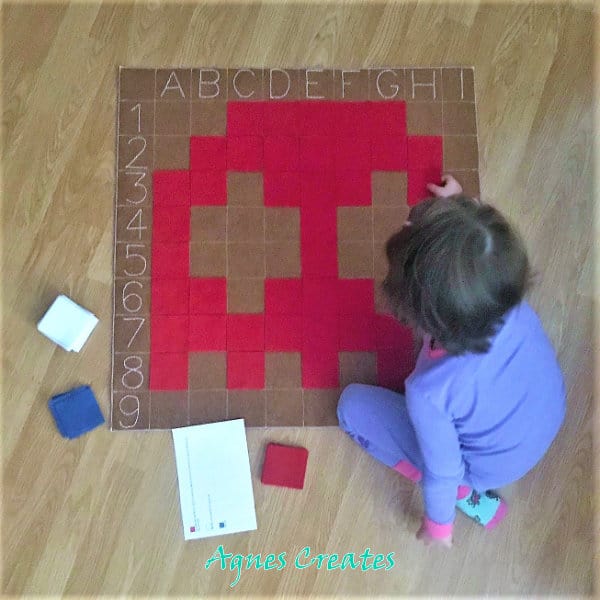
So, to play this felt puzzle game, first you need to cut out the lower part of the printed sheet with the code. And then your child has to read the code and put the squares on the grid mat according to the code.
Guess what Sophia is coding? I am sure you would like to know what’s on the eight coding sheets that my son designed! So, there is: smiley face, tulip, heart, butterfly, creeper, blinky ghost!, Pokeball and ladybug. Isn’t that fun!
Let me know if you are interested in more code, and I will gladly make it for you. I am thinking that maybe it would be fun to write more code for images for different holidays or seasons.
I hope you enjoyed making the felt puzzle toy for your child, and you found my felt puzzle game pattern easy to follow. It would be awesome if you would post a picture of your felt puzzle game on my Facebook page.