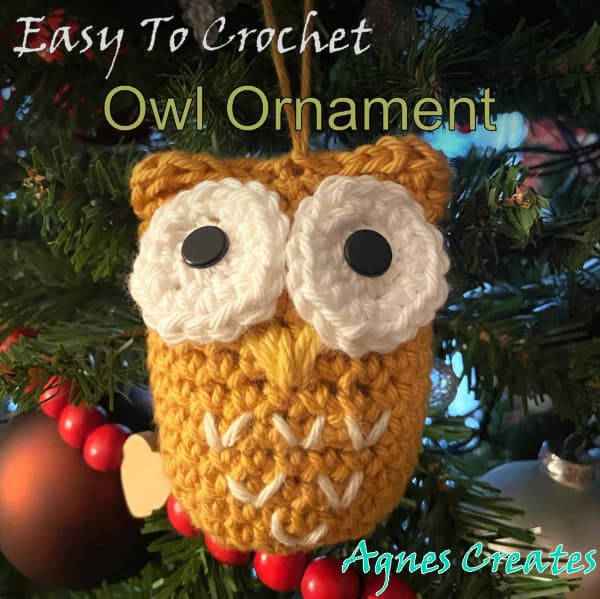
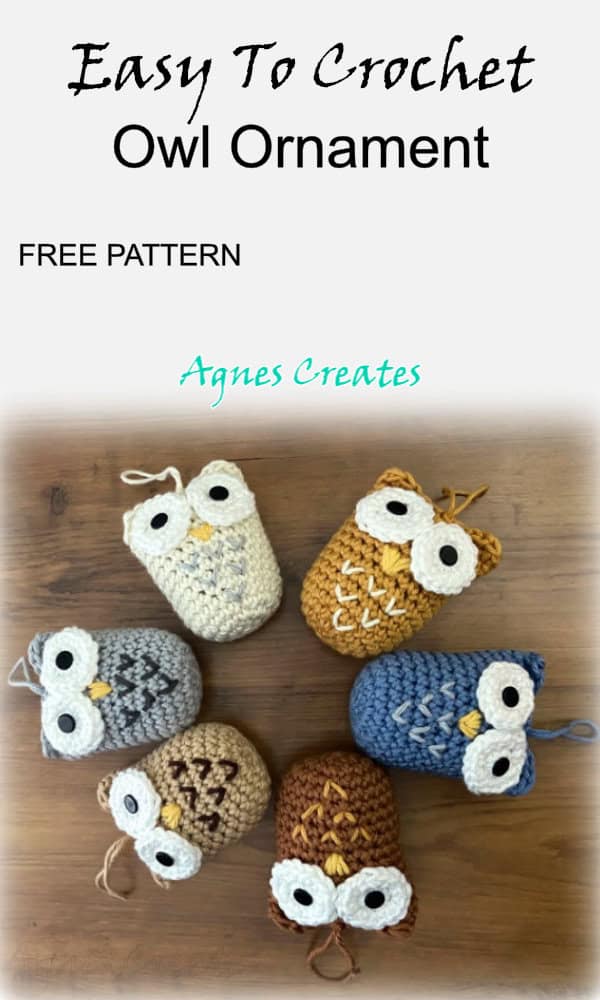
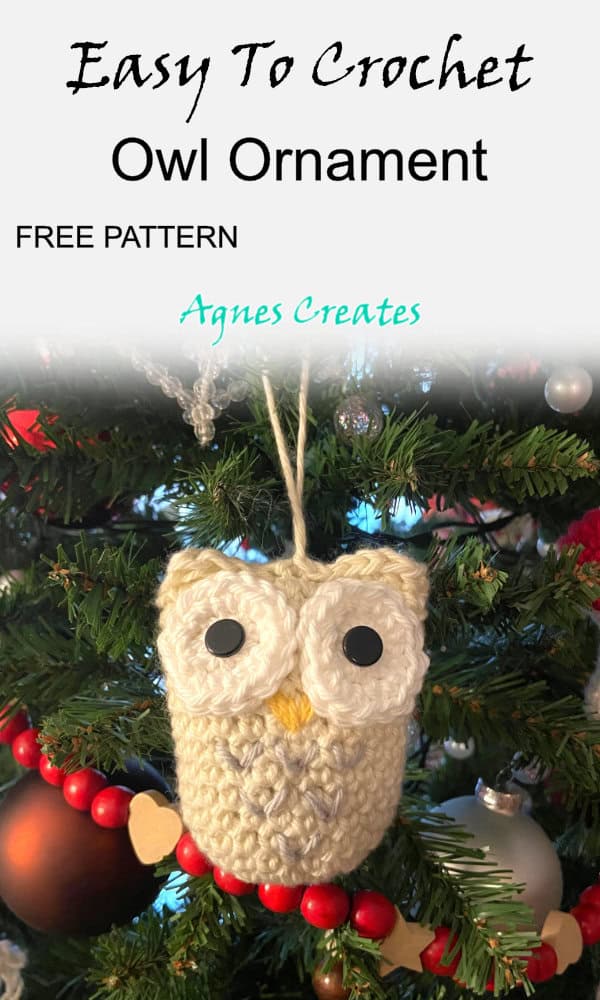
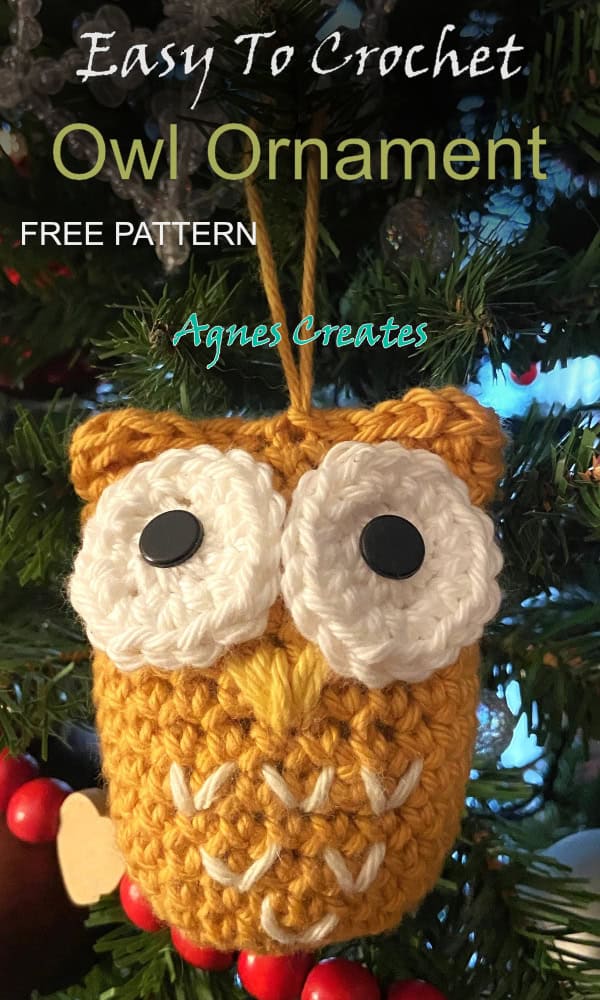
Follow my owl ornament crochet pattern and learn how to crochet this beautiful Christmas tree decoration.
I love owls! So, I created an owl ornament crochet pattern to make a few of them to decorate my Christmas tree this year. If you are looking for more owl ornament ideas, you can find one by viewing my post on upcycled denim ornaments. Also, check out my post on an easy angel crochet pattern, to get another unique Christmas crochet pattern to your collection. This post contains some affiliate links for your convenience (which means if you make a purchase after clicking a link I will earn a small commission but it won’t cost you a penny more)!
What you need for an owl ornament crochet pattern
-
cotton yarn, I like the I love cotton yarn or Lion Brand 24/7 cotton yarn
-
crochet hook size H – I love and use Clover brand
-
3/8 inch/ 9mm black shank buttons
-
yarn hand needle
-
scissors
-
fiberfill – Fairfield is my favorite
Abbreviations:
sc- single crochet
sl st- slip stitch
st(s) – stitch(es)
YOU CAN GET AN AD-FREE PRINTABLE PDF OF THE OWL ORNAMENT CROCHET PATTERN AT MY SHOP.
First, I’ll show you how to crochet the owl’s body.
1: Using the color of yarn of your choice make a magic circle and ch1. Work 8sc in the magic circle. Crochet in rounds – no slip stitching and use a stitch marker to track where you are in a pattern.
2: 2sc in every sc around (16)
3: (2sc in next sc, sc in next sc) x8 (24)
4 – 16: sc in every st around (24)
17: now, crochet the top of the body, you are creating an owl’s head with little ears on the sides. Before you crochet the owl’s body close, stuff it generously with fiberfill.
Crochet two opposite stitches together and in the middle (sixth stitches) make a loop for hanging.
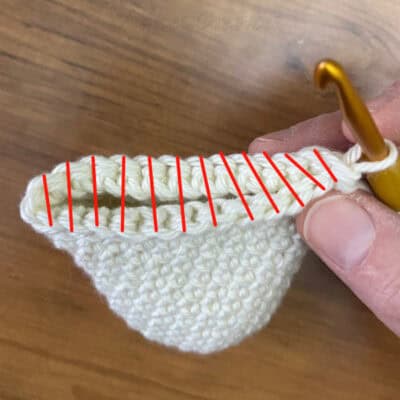
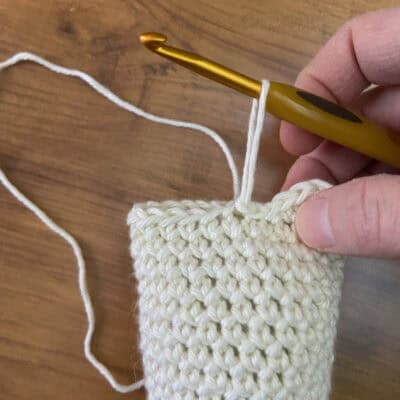
Here is the order of crocheting the top (head) of the owl’s body together:
dc, hdc, sc, sl st, sl st, sl st (pull about 2.5inch yarn out to make a loop), insert the hook in next sts and sl st, sl st, sc, hdc, dc.
Cut the yarn leaving a longer tail and pull through the stitch. Now, thread the hand yarn needle with the yarn tail. Stick the needle close to the finished ear and push through the body.
Make sure, the finishing yarn is nicely positioned to make the owl’s ear. Then, cut the yarn on the side where the needle is but close to the body. You do not need to make a knot because the fiberfill will stop the yarn from going back.
Now, let’s learn how to crochet eyes for the owl ornament crochet pattern.
1: with white yarn make a magic circle and ch1. Work 8sc in the magic circle and sl st to first sc.
2: ch 1, 2sc in every sc around (16)
Cut the yarn, leaving a longer tail, and pull the yarn through the stitch. Thread the yarn needle with the yarn tail and finish the round with an invisible stitch.
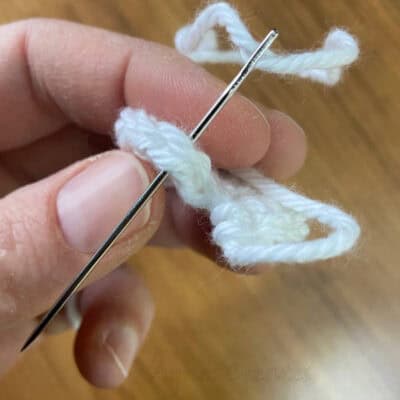
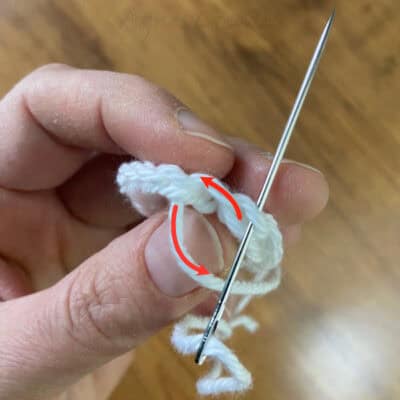
First, insert the needle underneath the top (both loops-front and back) of the first sc. Pull the yarn, and that way you create a back loop.
Then, insert the yarn needle underneath the back loop of the last sc. And that creates a front loop.
Secure the thread on the back of the eye by stitching through the top loop of stitches right next to the middle opening.
Push the needle with yarn through the opening and thread the button on the needle.
Slide the button on the yarn and push the needle back to the wrong side of the eye. Also, push the button shank into the opening.
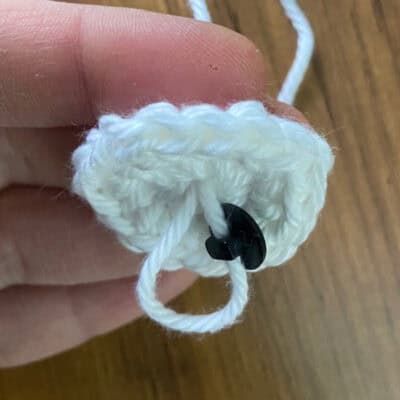
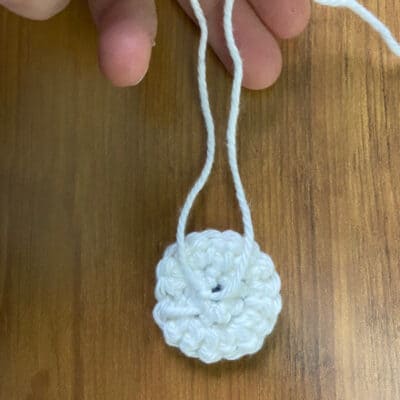
Stitch through the top loop of a stitch and tie a knot with the beginning yarn tail to secure the yarn. You can use the yarn tails to sew on the eyes to the owl’s head or snip them and glue the eyes on with hot glue.
Finally, use yellow yarn and a yarn needle to embroider the beak. Using contrast color yarn embroider the feathers on the front of the owl.
I hope you enjoyed learning how to crochet an owl ornament and my owl ornament crochet pattern was easy to follow. You can post pictures of your crochet owl on my Facebook page. I wonder what colors of yarn will you use?
Happy Crocheting!
Love,
Agnes
Want To Remember This? Save This Easy Owl Ornament Crochet Pattern To Your Favorite Pinterest Board!
